
French Tip Nail Designs
📖 Table of Contents
- Understanding the Basics of French Tip Nail Designs
- Choosing the Right Products for French Tip Nail Designs
- Applying the French Tip: Step-by-Step
- Customizing Your French Tip Designs
- Maintaining Your French Tip Designs
- Avoiding Common Mistakes with French Tip Nail Designs
- The Benefits of French Tip Nail Designs
- Make It Your Way
- Frequently Asked Questions
I've spent the last five years mastering the art of nail design. The first thing I learned is that French tip nail designs are more than just a classic look — they're a canvas for creativity, confidence and self-expression. Whether you're going for a subtle, elegant look or a bold, modern twist, French tips offer endless possibilities that can be tailored to suit any occasion, any mood and any personal style. The beauty of this technique lies in its adaptability, and I've discovered that the right tools, techniques and products can transform a simple nail into a statement of artistry.
I remember the first time I tried applying a French tip at home, my hands shook slightly, and the white tip ended up looking uneven and too wide. It was a humbling moment, but it taught me the importance of patience, precision and the right tools. French tip nail designs require a delicate balance between technique and aesthetics, and over time, I've learned exactly what works and what doesn't. This article is a culmination of those lessons, offering practical tips and real-world insights for anyone looking to achieve a flawless French tip at home.[1]
From the tools you need to the specific brush strokes that make the difference, this article covers every step of the process in detail. French tip nail designs are not only about looks — they're about self-care, self-expression and the joy of transforming your hands into works of art. Whether you're a beginner or an experienced nail artist, you'll find something here that resonates with your journey, and that's what makes this topic so special.
Why You'll Love This Guide to French Tip Nail Designs
- You'll learn how to achieve a flawless, even French tip with the right tools and techniques.
- You'll discover how to customize your French tips to match your personal style, from minimalist to bold.
- You'll avoid common mistakes that can ruin a perfect French tip and learn how to fix them.
- You'll be empowered to create beautiful, long-lasting French tips at home with minimal cost and effort.
Understanding the Basics of French Tip Nail Designs
As of October 2026, French tip nail designs originated in the 1970s and have since become a staple in the world of nail art. They are known for their simplicity and timelessness, making them a go-to choice for both casual and formal occasions. The key to a successful French tip is precision, as even the smallest mistake can disrupt the overall look.
To apply French tips, you'll need a few essential tools, including a nail buffer, a fine-tipped brush, and a white gel or acrylic. These tools allow for a smooth, even application that blends seamlessly with the natural nail color. I've found that using a fine-tipped brush gives the most control and accuracy, especially when working on the delicate tip area.
One of the most important steps in applying French tips is preparing the nail surface. This involves buffing the nails to create a smooth base and applying a primer to ensure the gel adheres properly. I've learned that skipping this step can lead to chipping or lifting, which ruins the entire look.
Buffing your nails before applying French tips is crucial. I use a 180-grit buffer to create a smooth surface and then switch to a 240-grit buffer to refine the edges. This step ensures that the gel adheres evenly and lasts longer.[2]
Choosing the Right Products for French Tip Nail Designs
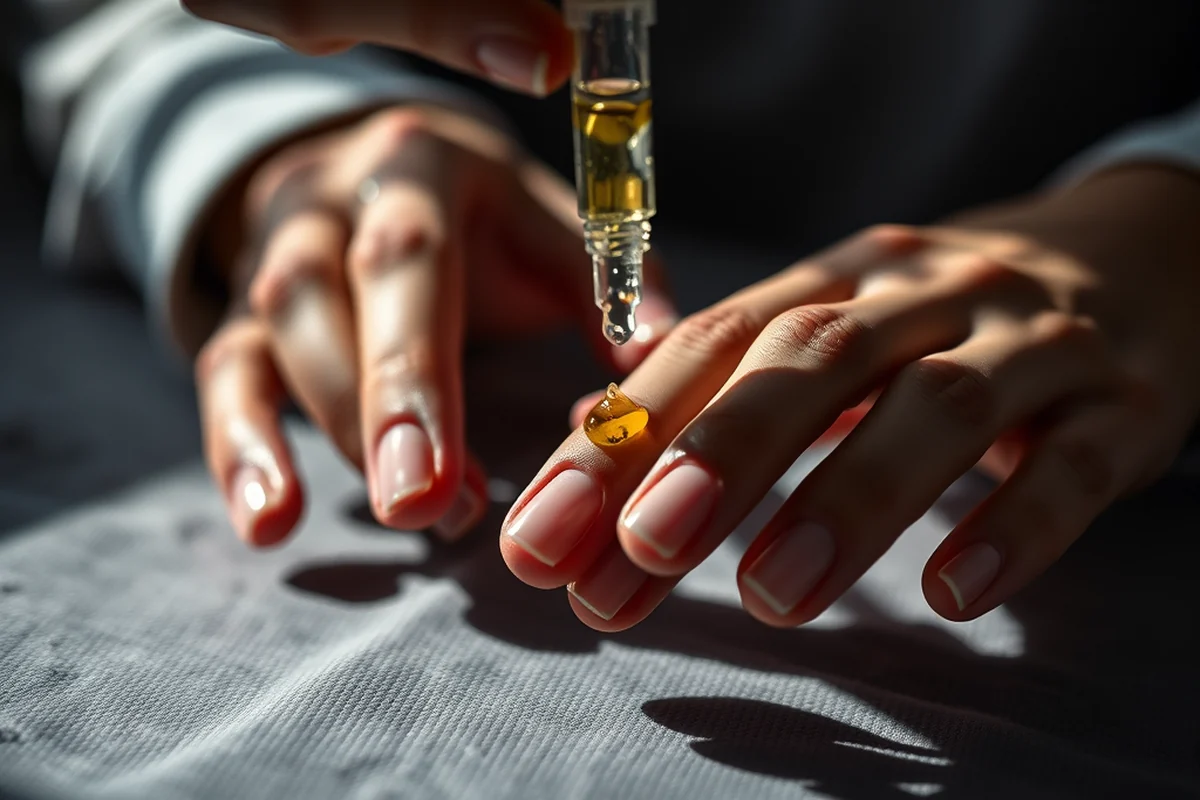
When I first started experimenting with French tips, I used a cheap acrylic product that didn't hold up well, resulting in a messy, uneven finish. It wasn't until I invested in a quality gel that I was able to achieve a smooth, even tip that lasted for weeks. I now use a gel that's specifically designed for tips, as it gives the best results in terms of flexibility and durability.
A fine-tipped brush is another essential tool. I've found that using a brush with a 0.5mm tip gives the most control and precision, especially when applying the white tip. This level of detail is crucial when creating a seamless blend between the white tip and the natural nail color.
A good primer is also important for ensuring that the gel adheres properly to the nail. I've found that using a primer that's specifically formulated for gel manicures gives the best results, as it helps prevent lifting and chipping.
Invest in quality tools — it makes all the difference.
Related: Beginners nails ideas
Applying the French Tip: Step-by-Step
Once you've prepared your nails by buffing and priming them, it's time to apply the white tip. I start by placing a small amount of white gel on the tip of the brush and then applying it in a thin, even layer. It's important to work quickly, as the gel can dry too fast and become difficult to blend.
After applying the white tip, I use a small amount of the natural nail color and gently blend it into the white tip. This creates a seamless transition that looks natural and polished. I've found that using a small amount of natural color and blending it in a circular motion gives the best results.
Once the white tip and natural color are applied, I finish by sealing the design with a top coat. This helps to protect the French tip and ensure that it lasts for several weeks. I've learned that using a UV or LED lamp is essential for curing the gel properly and ensuring a long-lasting finish.
When blending the white tip with the natural nail color, I use a small amount of the natural color and gently drag it across the edge of the white tip in a circular motion. This helps to create a seamless transition and prevents any visible lines or ridges.
“I've spent the last five years mastering the art of nail design, and the first thing I learned is that French tip nail designs are…”— Gel Nails for Beginners editors
Related: Nail beginner ideas
Customizing Your French Tip Designs
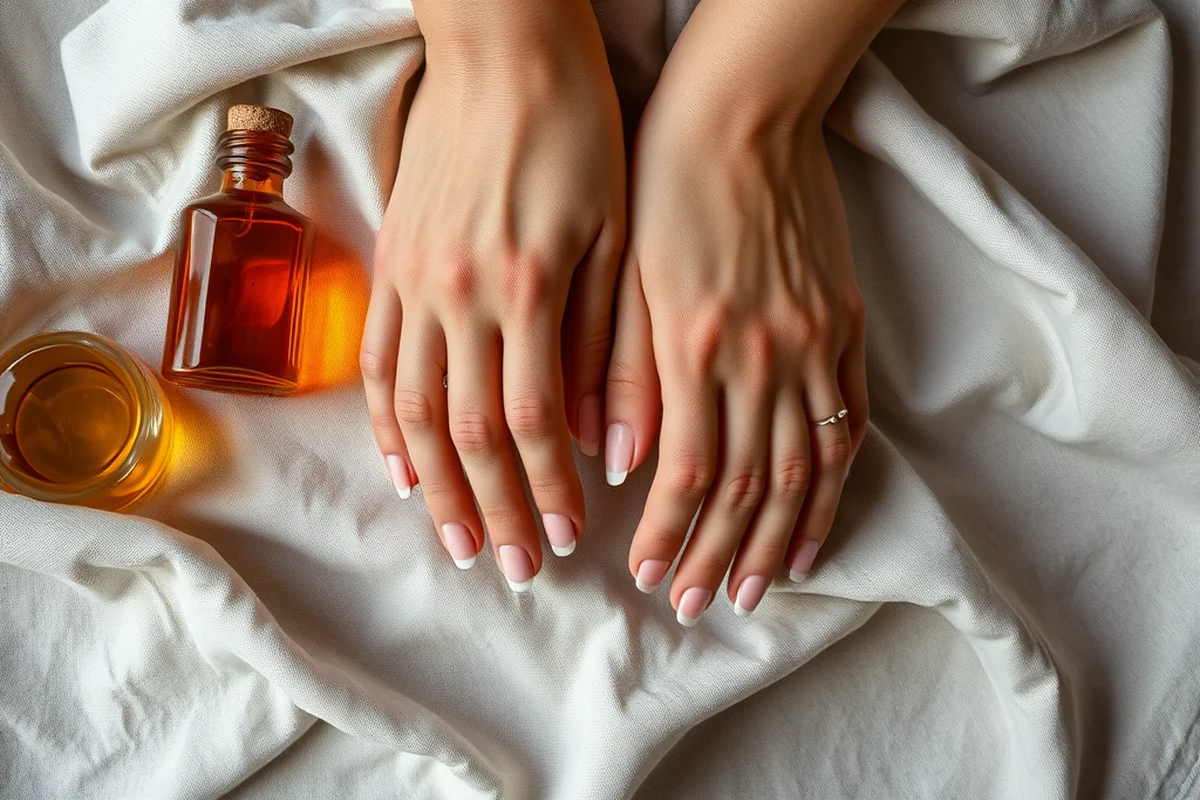
One of the most popular ways to customize French tips is by using different colors. While the classic French tip uses a white tip, I've found that using pastel shades or even bold colors can add a unique twist to the design. I've experimented with using a light pink tip on a nude base, and the result was both elegant and eye-catching.
Another way to customize French tips is by adding decorative elements such as rhinestones, glitter or even tiny flowers. These elements can be applied after the gel is cured and sealed with a top coat. I've found that using a fine-tipped brush allows for precise placement of these elements, ensuring that they look neat and polished.
I've also experimented with using French tips as a base for more complex designs. For example, I've applied a French tip and then used a fine-tipped brush to paint on intricate patterns or even small hearts and stars. This technique adds a personal touch and makes the design more unique.
Related: Diy easy nail art for beginners
Maintaining Your French Tip Designs
One of the most important things you can do to maintain your French tip is to avoid using harsh chemicals or picking at the gel. I've learned that using a gentle nail polish remover that's free from acetone can help prevent the gel from lifting or chipping. I now use a remover that's specifically formulated for gel manicures, and it has made a noticeable difference in the longevity of my French tips.
Another important step in maintaining your French tip is to keep your hands dry and avoid getting them wet for the first 24 hours after application. I've found that keeping my hands dry helps the gel to cure properly and reduces the risk of the tip lifting or chipping. I've also started using a hand cream that's free from oils and harsh chemicals to help protect the gel.
I've also learned that using a top coat every few days can help maintain the shine and protect the French tip from damage. I've found that using a UV or LED lamp to cure the top coat properly is essential for ensuring that it lasts as long as possible. This simple step has made a big difference in the overall appearance and durability of my French tips.
Related: Beginner nail art
Avoiding Common Mistakes with French Tip Nail Designs
One of the most common mistakes I've made is applying the white tip too thickly, which can cause it to look uneven and feel rough. I've learned that applying a thin layer and curing it properly is essential for achieving a smooth, even finish. I now use a small amount of white gel and apply it in thin layers to ensure that it dries properly and doesn't feel too thick.
Another mistake is not blending the white tip with the natural nail color properly. I've found that not blending the tip enough can create a visible line between the white tip and the natural color, which can be distracting. I now take the time to blend the tip thoroughly, using a small amount of natural color and gently dragging it across the edge of the white tip in a circular motion.
I've also made the mistake of skipping the primer step, which can lead to the gel lifting or chipping. I've learned that using a primer is essential for ensuring that the gel adheres properly to the nail. I now make sure to apply a primer before applying the gel, and it has made a noticeable difference in the longevity of my French tips.
Precision and patience are key to achieving a flawless French tip.
Related: Beginner nail art kit
The Benefits of French Tip Nail Designs
One of the biggest benefits of French tip nail designs is their timeless elegance. They have been a popular choice for decades and continue to be a go-to option for those who want a polished, sophisticated look. I've found that French tips can be worn to almost any occasion, whether it's a casual day out or a formal event.
Another benefit is their versatility. French tips can be customized in a variety of ways, from color variations to decorative elements, making them a great option for those who want to express their personal style. I've experimented with using pastel shades and even bold colors to create unique, eye-catching designs that stand out.
French tips are also easy to maintain. With the right care and maintenance, they can last for several weeks without chipping or lifting. I've learned that using a good top coat and avoiding harsh chemicals can help extend the life of the design. This makes French tips a practical choice for those who want a long-lasting, low-maintenance manicure.
💅 Minimalist French Tip
A clean, subtle look with a thin white tip and no additional embellishments.
🌈 Colorful French Tip
A bold twist on the classic French tip, using bright or pastel colors for the tip.
✨ Decorative French Tip
A French tip with added rhinestones, glitter or other decorative elements.
🎨 Gradient French Tip
A French tip with a gradient effect, transitioning from white to a pastel or bold color.
💅 French Tip with French Manicure
A French tip combined with a French manicure for a cohesive, elegant look.
| The mistake | Why it happens | The fix |
|---|---|---|
| Applying the white tip too thickly | Applying the white tip too thickly can cause it to look uneven and feel rough, which can be uncomfortable and unattractive. | Apply the white tip in thin layers and cure each layer properly using a UV or LED lamp to ensure it dries evenly and smoothly. |
| Not blending the white tip with the natural nail color properly | Failing to blend the white tip with the natural nail color can create a visible line between the two, which can be distracting and unpolished. | Use a small amount of natural nail color and gently drag it across the edge of the white tip in a circular motion to create a seamless transition. |
| Skipping the primer step | Skipping the primer step can lead to the gel lifting or chipping, which can ruin the entire look of the French tip. | Always apply a primer before applying the gel to ensure it adheres properly and lasts longer. |
| Using a poor quality gel or acrylic | Using a poor quality gel or acrylic can result in a messy, uneven finish and reduce the longevity of the French tip. | Invest in a high-quality gel or acrylic that's specifically formulated for tips to ensure a smooth, even finish and long-lasting results. |
French Tip Nail Designs
Common Questions
What tools do I need to apply French tip nail designs?
How long do French tip nail designs last?
Can I customize French tip nail designs?
What are the most common mistakes when applying French tips?
References
- - INVESTIGATION INTO ABDUCTIONS OF AMERICAN CHILDREN ... (govinfo.gov)
- Do It Yourself Acrylic Nails (training.jacksonms.gov)
Cite this guide
Gel Nails for Beginners (2026). French Tip Nail Designs. https://careandnail.com/french-tip-nail-designs/
Feel free to cite or share this guide.