
Gel Nails Step By Step
📖 Table of Contents
The first time I applied gel nails at home, I was both nervous and excited. I had watched countless tutorials, but nothing prepared me for the moment my hands looked like they had stepped out of a salon. It was the kind of transformation that made me realize how much control I had over my beauty routine — and how easy it could be once you knew the right steps.
Gel nails have become a staple in my beauty arsenal, not just for their durability but for the way they make me feel about my hands. They’re a canvas for creativity, a statement of self-care, and a testament to how much I’ve learned about the 'gel nails step by step' process. What started as a simple experiment became a daily ritual I now take pride in.
I remember the first time I messed up a layer — it was a minor mistake, but it taught me the importance of patience and precision. Now, with every set I do, I feel more confident and more in control. That’s the magic of gel nails: they’re not just about looking good, they’re about feeling good. I’ve come to love the journey that comes with mastering the 'gel nails step by step' method.
Why You'll Love This Gel Nails Journey
- Your hands look salon-quality at home, every time.
- You can customize the color and design to match your mood.
- The process is faster and easier than you think once you get the hang of it.
- You save money in the long run by doing it yourself.
Choosing the Right Base
As of September 2026, I always start with a clean, dry nail bed, making sure there’s no oil or residue. I use a nail buffer to slightly roughen the surface, which helps the gel adhere better. For the base, I go with a clear gel that has a slight ridge-filling effect. This is the foundation of the whole process and can’t be skipped.
I’ve tried cheaper bases, and they always lead to peeling or lifting within a week. Investing in a quality base gel makes all the difference. I use a brand that has a slight blue tint — it helps me see the ridges and apply the gel more evenly.
After applying a thin layer, I cure it under the UV lamp for 30 seconds. This step is crucial because it sets the base and creates a smooth surface for the color gel. I’ve learned that going too fast here can lead to bubbles, so I make sure to be patient.[1]
Invest in a quality ridge-filling base gel — it's the difference between a perfect manicure and one that peels off in days.
Applying Color Gel Correctly
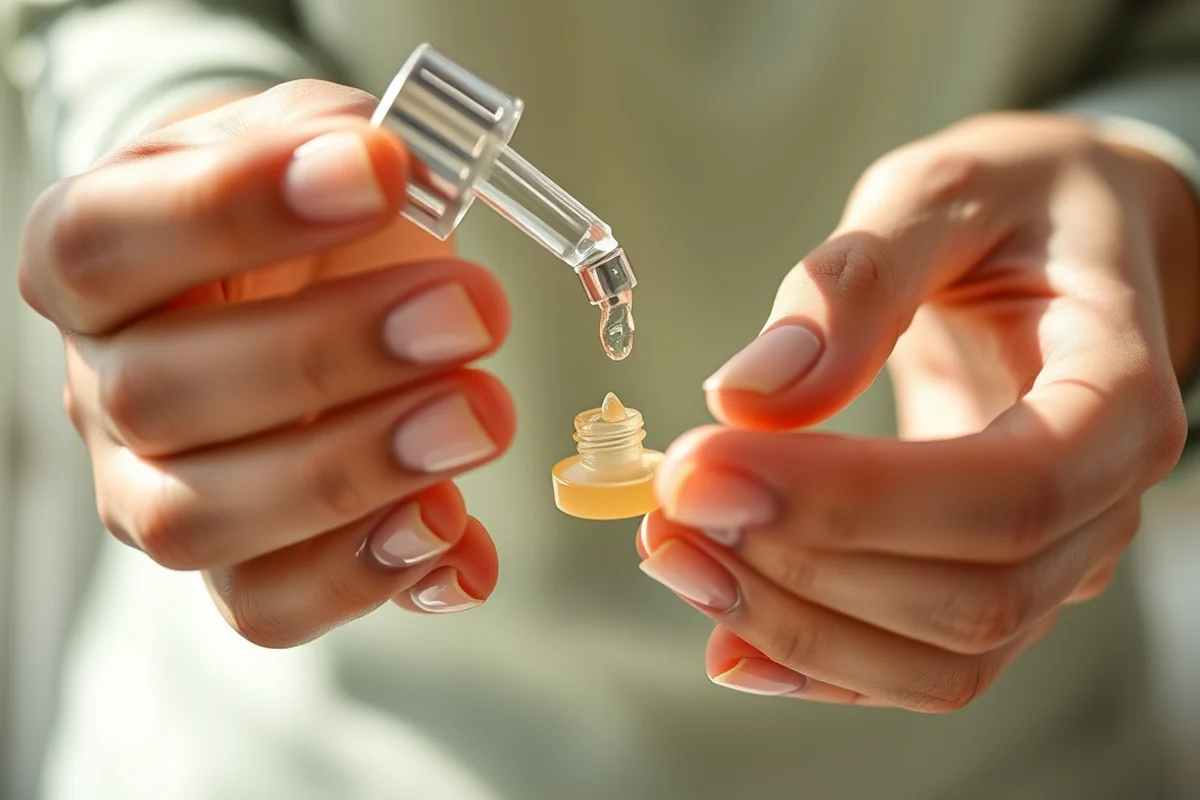
I always apply the color gel in thin layers, never thick. Thick layers can cause bubbles and take longer to cure. For the best results, I apply two coats of color, curing each for 30 seconds. This gives the color a rich, even finish without making it look too heavy.[2]
I’ve noticed that some gels are more pigmented than others. If the color is too translucent, I’ll add a second layer. But I always make sure not to go overboard — too many layers can make the nails look thick and unnatural.
After applying the second coat, I cure it again. I’ve learned that patience here is key. Rushing this step can cause the gel to lift or develop tiny cracks, which ruin the whole look.
Thin layers and patience are the keys to a perfect color application.
Related: Gel nails for fall
Related: Gel nails for may
Related: Gel nail tips tutorial
Related: Nail designs for 2026
Related: Builder gel for the nails
The Power of a Top Gel
I always apply a top gel after the color, even if I don’t think I need it. It’s the secret to that salon-like sheen. I use a clear, glossy top gel that gives my nails a high-shine finish. It makes the color pop and protects the gel from chipping.
I apply two thin layers of top gel, curing each for 30 seconds. This gives my nails a flawless finish and makes them look like they were done in a professional salon. I’ve noticed that skipping the top gel can lead to dullness and quicker chipping.[3]
I’ve made the mistake of not using a top gel before, and my nails looked flat and lifeless. Since I started using it, the difference is dramatic — my nails now look like they’ve been professionally done, every time.
A top gel is the difference between a good manicure and a great one. Always apply it for that glossy, long-lasting finish.
“The first time I applied gel nails at home, I was both nervous and excited.”— Gel Nails for Beginners editors
Curing Time and Technique
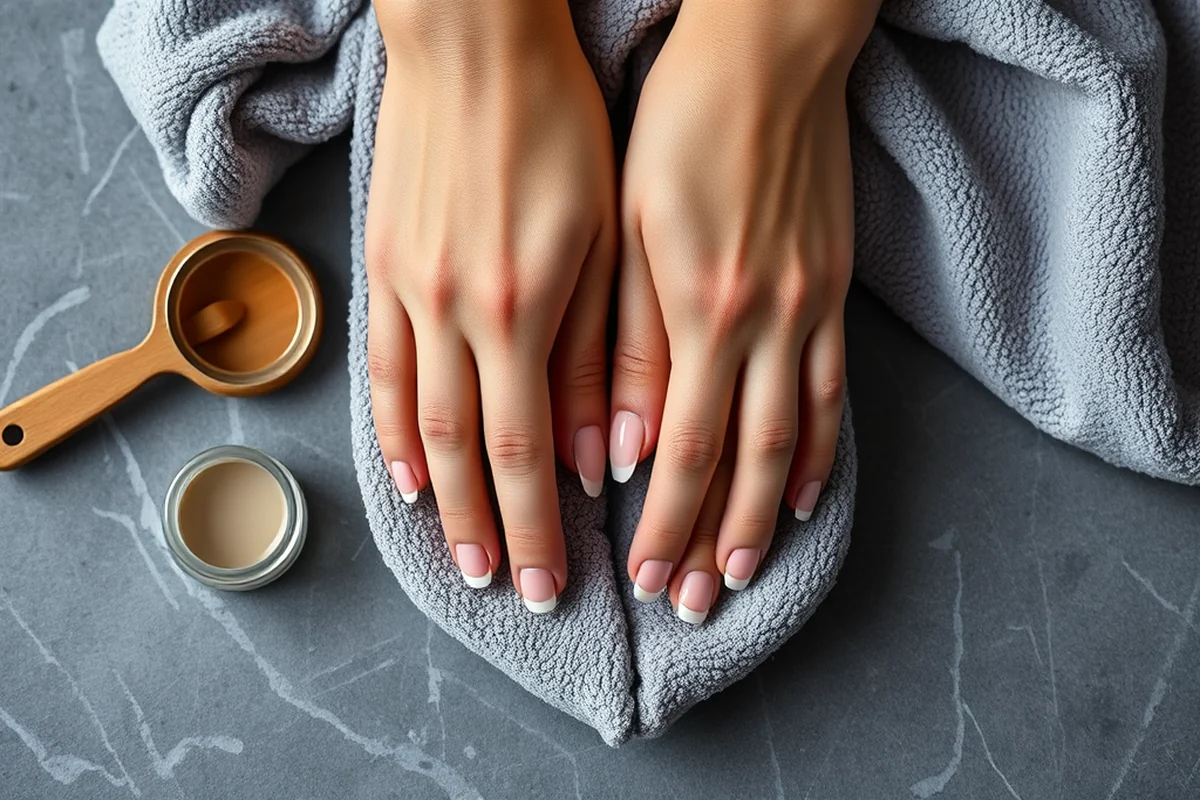
I make sure to cure each layer for exactly 30 seconds, no more, no less. This helps the gel harden properly without getting too hot or developing bubbles. I’ve learned that over-curing can make the gel brittle, and under-curing can lead to soft spots.
I position my hands in a way that the UV light reaches all my nails evenly. I also make sure the lamp is working properly — a faulty lamp can ruin an entire set of nails. I’ve had to replace a lamp before because it wasn’t giving enough light.
I’ve tried different curing times, and I’ve found that 30 seconds is the sweet spot for most gels. It’s a balance between getting the gel hard enough and not overdoing it. This step is one of the most important, and I take it very seriously.
Shaping and Buffing
After applying the top gel, I use a nail buffer to shape the nails. I start with a coarse grit and work my way to a finer grit for a smoother finish. This gives my nails a nice rounded shape and prevents them from looking too sharp.
I’ve noticed that some people skip this step, but I always make time for it. It’s the difference between a messy look and a polished one. I also use a file to shape the corners and ensure the nails are even.
After shaping, I buff the nails lightly to remove any ridges or bumps. This gives them a smooth finish and makes them look more natural. I’ve learned that this step is often overlooked but can make a huge difference in the final look.
Removing Gel Nails Safely
I use a gel nail remover with a gentle formula to avoid damaging my natural nails. I always start by softening the gel with a soak, which makes the removal process easier and less painful.
I’ve had a few experiences where I used a harsh remover, and it left my nails dry and brittle. Now, I always choose a gentle formula that doesn’t strip my nails of their natural oils. It’s a small investment that makes a big difference.
After soaking, I use a nail buffer to lift the gel slightly, which makes it easier to scrape off. I always follow this up with a cuticle oil to nourish my nails and keep them healthy. This step is crucial for maintaining strong, healthy nails.
Gentle removal is key to keeping your natural nails healthy and strong.
Maintaining Your Gel Nails
I make sure to take care of my gel nails by avoiding excessive water exposure and using a cuticle oil regularly. I’ve noticed that my nails last longer when I’m careful with them and don’t use them for heavy tasks.
I also apply a top gel every few days to keep the shine and protect the color. This helps maintain the glossy finish and prevents the gel from looking dull. I’ve found that this step is especially important for maintaining the longevity of the manicure.
I’ve had to replace my gel nails a few times due to chipping, but now I’ve gotten better at caring for them. I’ve learned that a little maintenance goes a long way in keeping them looking perfect for weeks.
🌸 Sensitive Skin Routine
For those with sensitive skin, this routine focuses on gentle products and minimal chemical exposure.
💰 Budget-Friendly Routine
This routine uses affordable products to achieve a professional look without breaking the bank.
🎨 Minimalist Routine
Ideal for those who want a simple, no-frills manicure with just a few steps.
💅 Targeted Routine
This routine is perfect for those looking to fix specific issues like lifting or chipping.
🔄 Maintenance Routine
A quick and easy routine for maintaining your gel nails between full sets.
| The mistake | Why it happens | The fix |
|---|---|---|
| Using too much gel in one layer | Too much gel can cause bubbles and make the nails look thick and unnatural. | Always apply thin layers and cure each one properly. |
| Skipping the base gel | The base gel is essential for adhesion and prevents peeling. | Always start with a quality base gel, even if it’s just a small amount. |
| Not curing the gel properly | Under-curing can lead to soft spots and chipping, while over-curing can make the gel brittle. | Cure each layer for exactly 30 seconds, and check that your UV lamp is working properly. |
| Not using a top gel | The top gel is what gives your nails the glossy finish and protects the color. | Always apply a top gel, even if you’re in a rush. |
Gel Nails Step By Step
Common Questions
How long does a gel manicure last?
Can I do gel nails at home without a UV lamp?
What if I don’t have a nail buffer?
Is it safe to do gel nails at home regularly?
References
- Step-by-Step Guide to Perfect Gel Manicure at Home - Cortiva Institute (cortiva.edu)
- COATINGS AND COLOR MANUAL (media.defense.gov)
- RAL DESIGN CRITERIA FOR FILAMENT-WOUND SHELLS NAG (ntrs.nasa.gov)
Cite this guide
Gel Nails for Beginners (2026). Gel Nails Step By Step. https://careandnail.com/gel-nails-step-by-step/
Feel free to cite or share this guide.