
How To Apply Gel For Beginners
📖 Table of Contents
- Getting Started: Tools and Products You Need
- Prep Work: The Secret to a Flawless Base
- Application: Layering the Gel with Precision
- Curing: The Key to Long-Lasting Results
- Finishing Touches: Buffing and Shaping
- Maintenance: Keeping Your Gel Nails Looking Fresh
- Troubleshooting: Common Issues and How to Fix Them
- Make It Your Way
- Frequently Asked Questions
I remember the first time I tried gel nails at a local salon—my hands looked like something out of a movie, but the cost was enough to make me hesitate. The idea of doing it myself felt intimidating, but after a few trial runs, I discovered how rewarding and empowering it could be. Whether you're a skincare enthusiast or just curious about beauty techniques, learning how to apply gel for beginners can open up a world of self-expression and confidence.
I spent weeks watching tutorials and reading guides, but nothing compared to the moment I finally got the hang of it. The process is more precise than I expected, but the results are worth it—shiny, long-lasting, and uniquely yours. If you're thinking about getting into gel nails, you're not alone, and this guide will walk you through every step with the clarity I wish I'd had when I started.
There's a reason gel nails have become a staple in the beauty industry—they’re durable, customizable, and can last up to four weeks with proper care. But if you're new to the world of gel manicures, the learning curve can be steep. I’ll break it down into simple, actionable steps so you can achieve that salon-quality look in your own home, with minimal cost and maximum satisfaction.
Why You'll Love This Gel Nailing Routine
- Lasting results that outperform traditional polish
- Complete control over your manicure’s color and design
- A cost-effective alternative to frequent salon visits
- A fun, creative way to express your personal style
Getting Started: Tools and Products You Need
As of August 2026, to begin your journey into gel nails, you’ll need a few essential tools and products. A basic starter kit will typically include a base coat, color gel, top coat, a UV or LED lamp, a buffer, and a few nail files. These items are easy to find at beauty retailers or online, and a quality starter kit will cost around $28.[1]
When choosing your products, look for brands that offer a wide range of colors and finishes. The UV lamp is particularly important—it’s what will cure the gel and make it hard and long-lasting. Some lamps take only 30 seconds to cure each layer, while others may take up to a minute, depending on the strength of the lamp and the type of gel used.[2]
Once you have your tools, it's time to set up your workspace. A well-lit area with a clean, flat surface will help you apply the gel more precisely. I recommend using a paper towel to clean up any excess gel and prevent smudges as you work.[3]
Invest in a lamp that allows you to adjust the curing time and brightness. This will help you avoid burning your nails and make the process more comfortable.
Part of our How to use blooming gel for beginners guide.
Prep Work: The Secret to a Flawless Base
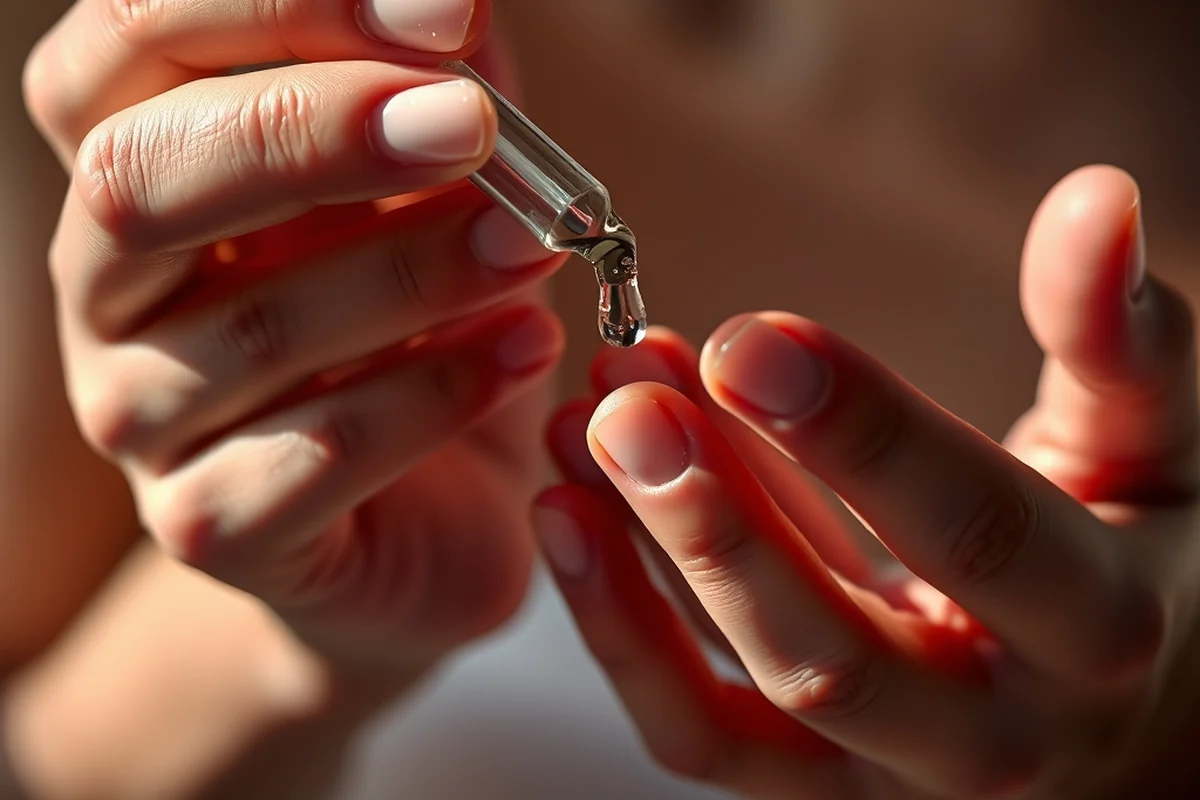
Many beginners skip the prep work, assuming that the gel will stick to any surface. But without proper preparation, the gel can lift or chip within days. The first step is to clean your nails thoroughly with a nail cleaner or alcohol wipe to remove any oils or residue.
Next, shape your nails with a file or buffer. This not only gives your nails a polished look but also creates a smooth surface for the gel to adhere to. I personally use a 100-grit file to shape my nails and then buff them with a 180-grit buffer for extra smoothness.[4]
After shaping, apply a thin layer of base coat and cure it under the UV lamp for the recommended time. This base coat acts as a primer, helping the gel stick and preventing staining.
A clean nail is a happy nail.
Related: Gels for beginner runners
Related: Builder gel for beginners
Related: Beginner hard gel
Related: Builder gel beginner kit
Related: How to use blooming gel for beginners 2
Related: Gel Printing Beginners
Application: Layering the Gel with Precision
Once your nails are prepped, it's time to apply the color gel. I start by applying a thin layer of gel to the tip of the nail and work my way back toward the cuticle. It's important to keep the layer thin to avoid bubbles forming under the gel.
After applying the first layer, cure it under the UV lamp for the recommended time. This will harden the gel and make it easier to apply the next layer. I typically apply two thin layers of color gel, curing each one before moving on to the next.
Avoiding bubbles is key to achieving a flawless finish. If you notice any air pockets, use a small brush to gently press them out before curing. This step can make a big difference in the final appearance of your manicure.
Gel products can sometimes emit a slight odor, so it's best to work in a well-ventilated area. This will help you avoid inhaling fumes and make the process more comfortable.
“I remember the first time I tried gel nails at a local salon—my hands looked like something out of a movie, but the cost was…”— Gel Nails for Beginners editors
Curing: The Key to Long-Lasting Results

Curing is one of the most important steps in the gel nail process. It's not just about timing—it's about consistency. Each layer of gel needs to be cured for the same amount of time, and it's important to follow the manufacturer's instructions.
I typically use a 30-watt UV lamp, which gives me enough power to cure each layer in about 30 seconds. If I use a lower wattage lamp, I may need to increase the curing time by a few seconds to ensure the gel fully hardens.
It's also important to cure the top coat for the full recommended time. This is the layer that gives your nails a shiny, protective finish and helps them last longer. I always check the top coat under a light to make sure it's fully cured and has a smooth, even finish.
Finishing Touches: Buffing and Shaping
Once all the layers are cured and the top coat is applied, it's time to finish with a quick buff and shape. This step helps to smooth out any rough edges and gives your nails a more refined look.
I use a buffer with a fine grit to lightly buff the edges of each nail. This not only enhances the shine but also helps the gel adhere better to the nail surface. After buffing, I use a small file to shape the tips of the nails and give them a more defined look.
Finally, I wipe away any excess gel or residue with a clean paper towel. This step is essential to avoid smudges and ensure that your nails look clean and professional.
Maintenance: Keeping Your Gel Nails Looking Fresh
Even the best gel manicures can start to lift or chip if not properly maintained. I make it a habit to wipe my nails with a nail cleaner after each hand wash to remove any oils or residue that could cause the gel to lift.
If any lifting occurs, it's important to address it as soon as possible. I use a small buffer to gently file down the lifted edges and reapply a thin layer of top coat to restore the shine and protect the gel.
By following a simple maintenance routine, you can extend the life of your gel nails and keep them looking their best for up to four weeks. This is one of the main reasons I love doing my own gel manicures—it's a cost-effective way to enjoy salon-quality nails without the expense.
A little care goes a long way in keeping your gel nails looking fresh.
Troubleshooting: Common Issues and How to Fix Them
One of the most common issues beginners face is lifting or peeling gel nails. This is usually caused by improper prep work or not curing the gel long enough. To fix this, make sure to clean your nails thoroughly and cure each layer for the recommended time.
Bubbles in the gel are another common issue, often caused by applying too thick of a layer or not pressing them out before curing. To avoid this, apply thin layers and use a small brush to press out any air pockets.
If your gel nails are not shiny or smooth after curing, it could be due to not using enough top coat or not curing it long enough. Always apply two thin layers of top coat and cure each layer for the full recommended time.
🧖♀️ Sensitive Skin Routine
Perfect for those with weak or sensitive nails, using nourishing base layers and less abrasive tools.
💰 Budget-Friendly Starter
Use affordable, no-frills products and focus on the essential steps for a lasting manicure.
💅 Minimalist Manicure
Apply a single color with a natural finish to keep it simple and elegant.
🎨 Targeted Color Correction
Use gel to fix uneven color or enhance nail shape for a more polished look.
🔁 Maintenance Refresher
Quick top-up using only top coat and buffer for a chip-free refresh without starting over.
| The mistake | Why it happens | The fix |
|---|---|---|
| Applying too thick of a gel layer | Thick layers can cause the gel to crack or lift, and they're harder to cure properly. | Always apply thin, even layers and cure each one before applying the next. |
| Skipping the curing time | Not curing the gel long enough can lead to a weak finish that peels or chips easily. | Follow the manufacturer's curing instructions and make sure to cure each layer for the full recommended time. |
| Not cleaning the nails before applying gel | Oils or residue on the nails can prevent the gel from adhering properly. | Clean your nails thoroughly with a nail cleaner or alcohol wipe before applying any gel. |
| Using the same brush for multiple colors | This can cause color contamination and lead to uneven application. | Use a separate brush for each color and clean it thoroughly between uses. |
How To Apply Gel For Beginners
Common Questions
What happens if I skip the base coat?
Can I use regular nail polish with gel?
How long does it take to apply a full set of gel nails?
What should I do if I get gel on my skin?
References
- Guidelines for Calculating Emissions from Polyester Resin Operations (aqmd.gov)
- Gel-X Training | BELBO BEAUTY INSTITUTE (belbobeautyinstitute.edu)
- An easy-to-apply gel prevents abdominal adhesions in animals in ... (biox.stanford.edu)
- Can Topical Drugs Help Prevent Breast Cancer? - NCI (cancer.gov)
Cite this guide
Gel Nails for Beginners (2026). How To Apply Gel For Beginners. https://careandnail.com/how-to-apply-gel-for-beginners/
Feel free to cite or share this guide.