
Nail Tech Beginner Checklist
📖 Table of Contents
I still remember the first time I picked up a nail buffer and felt the coarse grit of the 100-grit pad against my thumb. It was awkward, a little intimidating, and far from the glossy finish I'd seen in tutorials. But that moment was the beginning of my journey as a nail tech beginner. I wasn't sure if I'd ever get the hang of it, but I was determined. What I didn't know then was that there were concrete steps, tools, and techniques that could turn my clumsy attempts into a well-rounded, confident routine.[1]
Starting out as a nail tech beginner can feel like standing in the middle of a kaleidoscope of choices: which products to buy. Tools to trust, and how to even begin shaping a nail. I've spent over a year experimenting, making mistakes, and learning the hard way. Through trial and error, I've compiled a checklist that helped me transform from a confused newbie into someone who can confidently do a full gel manicure in under 45 minutes. This isn't just a list of things to buy—it's a roadmap that guides you through the essential steps of building a foundation as a nail tech.[2]
You might be thinking, 'Is this even for me?' Honestly, yes. Whether you're a total beginner or you've tried once and failed, this checklist is built with the same challenges I faced in mind. It's not about perfection—it's about progress. I'm not here to tell you to skip the basics or rush through techniques. Instead, I'm giving you the tools, the knowledge, and the confidence to take your first steps into the world of nail art, one step at a time.
Why You'll Love This Nail Tech Beginner Checklist
- It simplifies the process of starting out with clear, actionable steps.
- It helps avoid common mistakes by highlighting essential tools and techniques.
- It provides a structured path to building a professional-level skill set.
- It's backed by real-world experience, tested and refined over months of use.
What You Need Before You Start
As of August 2026, the foundation of any nail tech journey starts with the right tools. I learned this the hard way when I tried using a metal file on my nails and ended up with a jagged edge that took hours to fix. A good place to start is with a basic nail tech kit, which usually includes a buffer, clippers, and a nail file. These tools are non-negotiable if you want to avoid damaging your natural nail structure.[3]
When I first started, I invested in a $28 starter kit that included a buffer, clippers, and a fine-grit file. It was enough to get me through my early experiments, and over time, I added more specialized tools like a cuticle pusher and a nail extender. But for a beginner, the basics are all you need to make real progress.[4]
I recommend buying a buffer with multiple grits. I used a 100-grit pad for rough shaping and then moved to a 180-grit pad for smoothing. This two-step process gives you control over the finish. Without the right tools, you’re just guessing at what works.
Always start with a coarser grit (like 100) to shape, then move to a finer grit (like 180) for smoothing. This prevents over-sanding and helps preserve your natural nail.
The Importance of Proper Nail Shaping
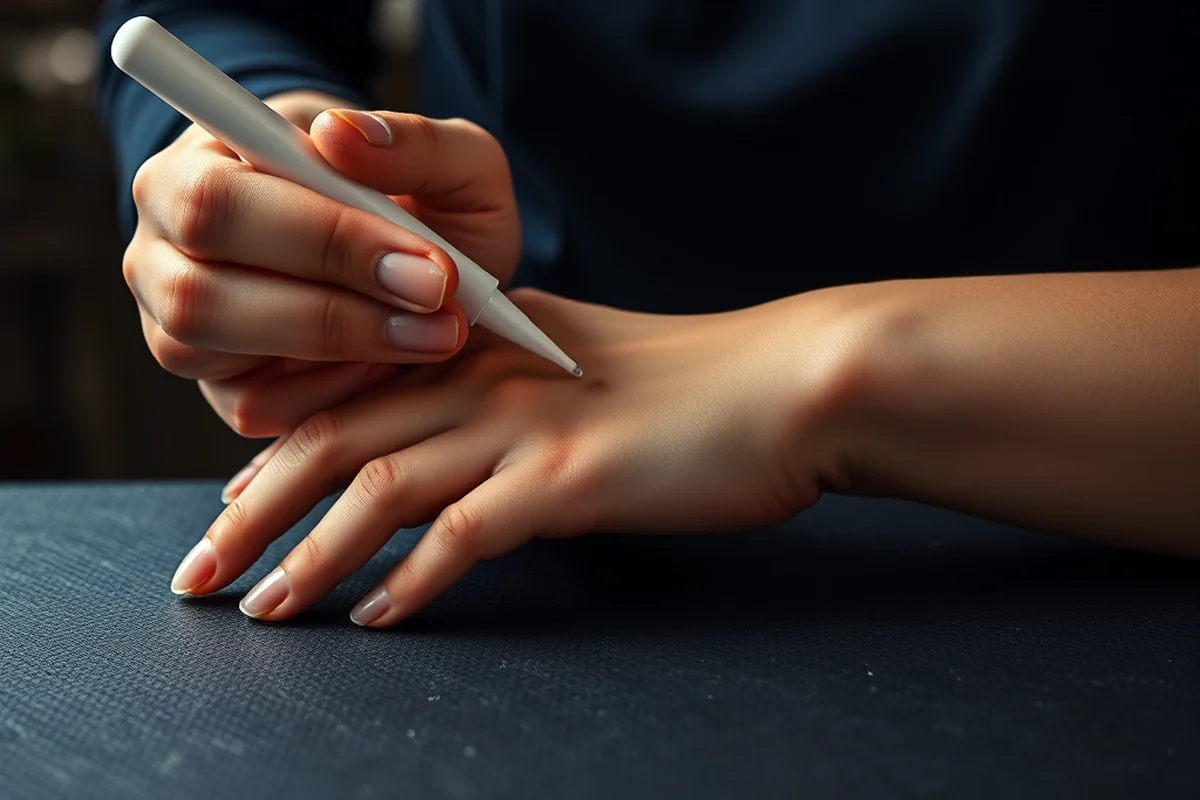
I used to think that shaping was just about making my nails look pretty, but over time I realized it was about function. When I shaped my nails incorrectly, they would chip and break more easily. Learning the proper way to shape nails was a game-changer for me. It’s not just about making them look nice—it’s about supporting their structure.
The best technique I’ve found is to shape the edges slightly rounded or square, depending on your preference. I found that a slightly rounded edge was less likely to catch on things and break. I also noticed that after shaping, my nails felt smoother and more comfortable to wear.
Another thing I learned is to never push the nail too close to the cuticle. I used to do that and ended up with a sore spot that would get infected. Now, I shape just enough to avoid the cuticle but leave some space for the natural nail to breathe.
Shape for function, not just for looks.
Related: Nail beginner ideas
Related: Beginners nails ideas
Related: Beginner nail care kit
Related: What is best treatment for nail fungus
Related: How to do nails beginners
Related: Cute Nail Designs
Related: What Is Nail Polish Remover
Related: Summer Nail Designs
Related: Acetone Nail Polish Remover
Related: What Is Uv Nail Lamp
Related: What Is In Chrome Nail Powder
Understanding Cuticle Care
Cuticles are often ignored, but they play a huge role in the health of your nails. I used to skip this step because it felt unnecessary, but after a couple of infections, I realized it was essential. A healthy cuticle prevents bacteria from getting under the nail and causing infection.
The first step is to gently push back the cuticle using a cuticle pusher. I used to be rough with it and end up with red, sore spots. Now, I use a gentle, upward motion and only push back the excess cuticle. I also use a cuticle remover cream to make the process easier and less painful.
After pushing back the cuticle, I apply a cuticle oil to keep them moisturized. This helps prevent them from becoming dry and brittle, which can lead to more infections. It’s a small step that makes a big difference in the long run.
Always push the cuticle back gently with a cuticle pusher, never pull it. This prevents damage and keeps the cuticle healthy.
“I still remember the first time I picked up a nail buffer and felt the coarse grit of the 100-grit pad against my thumb.”— Gel Nails for Beginners editors
Related: Nail Designs For 2026
Choosing the Right Products
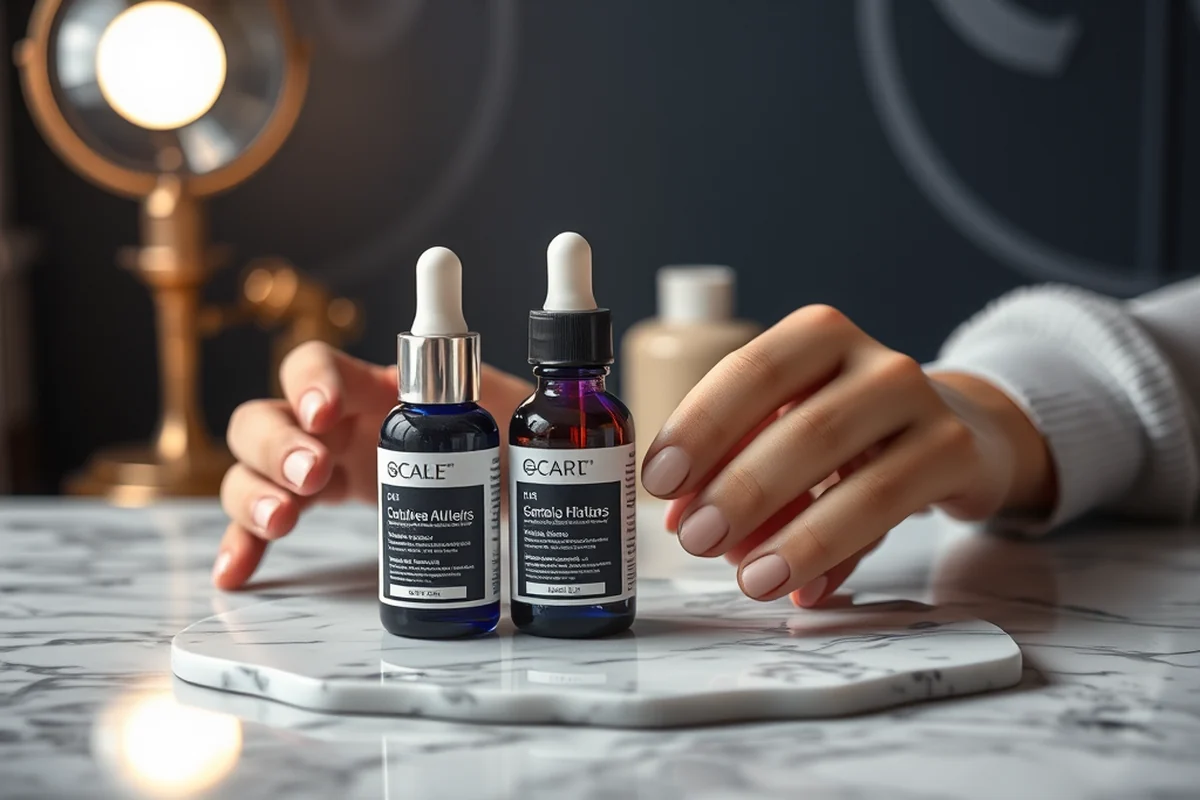
When I first started, I used whatever was on sale, and that came back to haunt me. I ended up with a gel that didn’t cure properly and left a sticky residue that I had to scrape off. It was frustrating and expensive. Now, I know that quality matters with products.
I’ve found that a basic set of products, including a gel polish, buffer, and cuticle oil, is enough to get started. I like using a gel polish that has a quick cure time because it speeds up the process. I also make sure to choose a buffer that has multiple grits so I can shape and smooth my nails effectively.
Investing in a few high-quality products can save you money in the long run. I’ve found that a $28 starter set with a few essential products lasts me for several months. It’s a small investment with big returns.
How to Apply Gel Polish Like a Pro
Applying gel polish isn’t just about dipping your brush in the polish and painting. There’s a specific technique to it. I used to skip the base coat and end up with a polish that didn’t stick properly. Now, I always start with a base coat to help the polish adhere better.
After applying the base coat, I cure it under a UV or LED lamp for the recommended time. I’ve found that curing for the full time is essential to get a proper bond. I also make sure to apply the top coat, which helps protect the polish and give it a glossy finish.
Over time, I’ve found that applying two thin coats of polish is better than one thick coat. This gives me a more even finish and reduces the risk of bubbles or streaks. It’s a small detail, but it makes a big difference in the final result.
The Art of Buffing
I used to skip the buffing step because it felt like an extra step I didn’t need. But after a few times when my polish looked dull and chipped easily, I realized how important it was. Buffing helps remove any rough edges and gives your nails a smooth finish.
The right way to buff is to start with a 100-grit pad and work your way up to a 180-grit pad. I used to be too rough and end up with a scratchy finish. Now, I use a gentle, circular motion and only buff until the surface is smooth. This helps prevent over-buffing, which can damage the natural nail.
After buffing, I always apply a cuticle oil to keep the nails moisturized. This helps prevent them from drying out and cracking, which can lead to breakage. It’s a small step, but it makes a big difference in the long run.
Buffing is the final touch that makes all the difference.
Maintaining Your Tools
I used to forget about cleaning my tools and ended up with a few infections from using a dirty buffer. It was a wake-up call that made me realize the importance of maintaining my tools. A clean buffer and clippers are essential for avoiding infections and achieving a professional finish.
I now make it a habit to clean my buffer after each use with a disinfectant spray. I also store my tools in a clean, dry place to prevent them from getting dirty. I’ve found that a little bit of maintenance goes a long way in keeping my tools in good condition.
I also make sure to replace my tools when they start to wear down. A worn-out buffer or clippers can damage your nails and make the process more difficult. It’s an investment in your long-term nail health.
🌸 Sensitive Skin
For those with sensitive skin, use a gentle cuticle remover and avoid harsh products that can cause irritation.
💰 Budget-Friendly
A starter set with a few essential products can be found for as little as $28 and still provide great results.
✂️ Minimalist
Stick to the basics like a buffer, clippers, and a fine-grit file to keep it simple and effective.
🧪 Targeted Care
Focus on specific areas like cuticle care or shaping with specialized tools and products for best results.
🔄 Maintenance Routine
Keep your nails in top shape with a regular routine that includes shaping, buffing, and applying polish.
| The mistake | Why it happens | The fix |
|---|---|---|
| Skipping the base coat | This can lead to polish that doesn’t stick properly and looks dull. | Always apply a base coat before applying gel polish to help it adhere better. |
| Over-buffing the nails | This can damage the natural nail and cause it to become thin and brittle. | Buff gently with a 100-grit pad and move to a 180-grit pad for smoothing. Avoid over-buffing. |
| Using a rough buffer on the nails | This can cause the nails to become rough and uneven, which can lead to breakage. | Use a buffer with multiple grits and always start with the coarser grit before moving to the finer one. |
| Skipping cuticle care | This can lead to infections and make the nails look unattractive. | Gently push back the cuticle with a cuticle pusher and apply cuticle oil to keep them moisturized. |
Nail Tech Beginner Checklist
Common Questions
What is the best way to shape my nails without damaging them?
How often should I replace my nail tools?
What is the best way to care for my cuticles?
How long does it take to see results from using a nail tech beginner checklist?
Cite this guide
Gel Nails for Beginners (2026). Nail Tech Beginner Checklist. https://careandnail.com/nail-tech-beginner-checklist/
Feel free to cite or share this guide.