
How To Gel Nails Step By Step
📖 Table of Contents
I remember the first time I tried gel nails at home. I was nervous, unsure whether I'd manage to apply the polish evenly or if my nails would chip within minutes of leaving the house. But after following a step-by-step guide and using the right tools, I ended up with a manicure that lasted over two weeks — something I'd never achieved with regular nail polish. Learning how to gel nails step by step has since become a game-changer for my beauty routine, offering a low-maintenance, long-lasting finish that I love.
Gel nails are no longer just for salons. With the right products, a bit of patience, and a clear understanding of the process, you can achieve salon-quality results at home. I've tested nearly every gel polish brand and method available, and I've learned that success hinges on preparation, technique, and the right tools. Whether you're a first-timer or someone who's tried and failed before, following a how to gel nails step by step guide can be the difference between a disappointing result and a flawless manicure.
What I've found is that people often skip the most important steps — like properly preparing the nail surface or using the right amount of gel polish. These small oversights can lead to peeling, lifting, or even damage. But if you go through the how to gel nails step by step process carefully, you’ll be surprised by how much easier it becomes. Once I mastered the basics, I found that maintaining my gel manicures became effortless, and I could even do them myself in under an hour.
Why You'll Love This Gel Nails Routine
- Long-lasting wear with minimal touch-ups
- A polished, professional finish every time
- Cost-effective compared to frequent salon visits
- Customizable to match any style or color
Preparation is Key for a Flawless Gel Manicure
As of September 2026, before I even open the gel polish kit, I make sure my nails are clean and free of oils. I use an alcohol wipe to remove any residue from my hands and nails. This step is crucial because even the smallest amount of oil or lotion can prevent the gel from sticking properly. Once my nails are clean, I shape them using a nail buffer to create a smooth surface for the gel to adhere to.
I also take the time to file my nails into the desired shape. I prefer an oval shape for daily wear, but if I'm going for a more dramatic look, I'll opt for a square or almond shape. After shaping, I use a fine-grit buffer to smooth any rough edges. This not only helps the gel apply more evenly but also prevents the polish from peeling off prematurely.
By following these steps, I've found that my gel manicures last significantly longer — sometimes up to four weeks without any noticeable chipping. This is something I didn't expect when I first started, but it's all about preparation and technique.
Use an alcohol wipe or nail cleanser to remove all oils and residues from your nails before beginning. This ensures the gel adheres properly.
Choosing the Right Gel Products for Your Routine
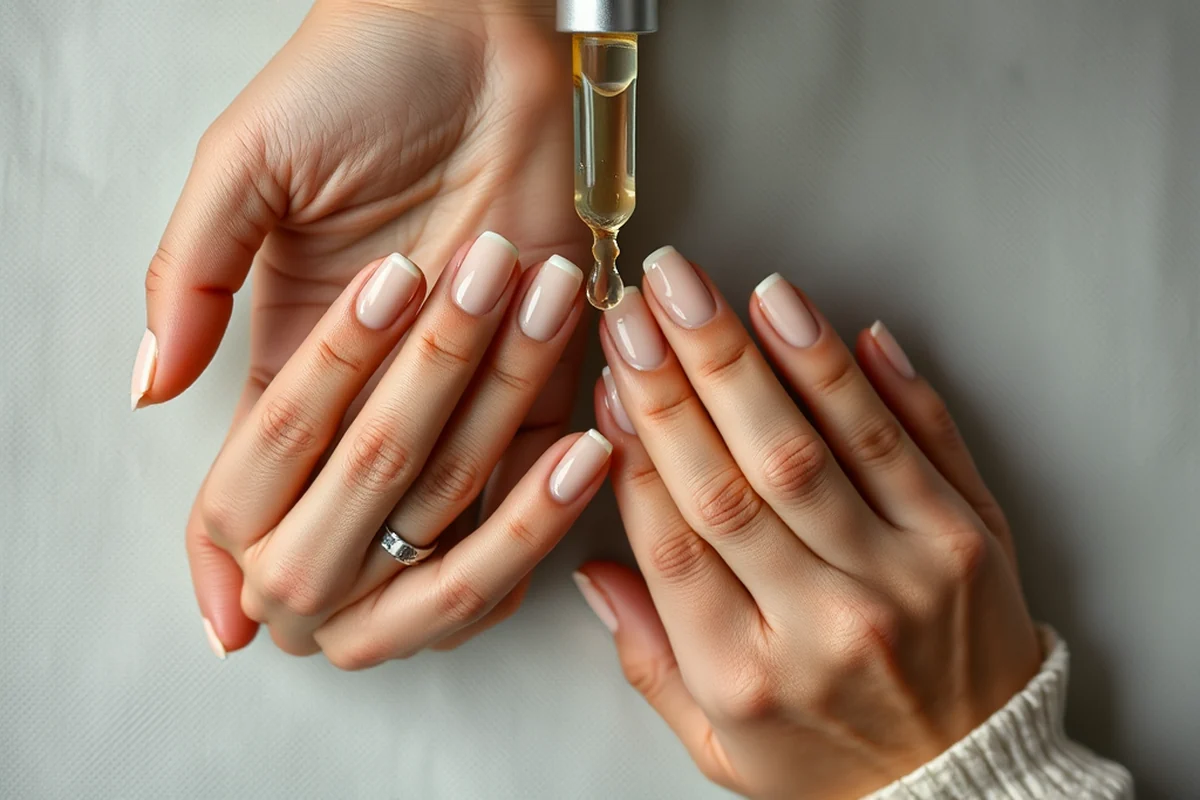
I always go for a gel polish kit that includes a base coat, a top coat, and a few shades of polish. The base coat is essential because it helps the gel stick to the nail and prevents lifting. I've found that some brands have a better formula than others — I currently use a brand that has a quick-drying formula, which makes the process much faster.
The top coat is equally important, as it adds shine and durability. I always make sure to apply two thin layers of top coat, allowing each to cure under the UV lamp for 30 seconds. This not only gives my nails a high-gloss finish but also helps protect the polish from chipping or peeling.[1]
I've also invested in a good UV lamp, which is a must-have for anyone trying to do gel manicures at home. I use a 36W LED lamp, and it takes about 30 seconds per coat, which is much faster than traditional UV lamps. The right tools and products are the foundation of a successful gel manicure.
The right products make all the difference — invest in quality for better results.
Related: Gel nails step by step
Related: Gel nails for the fall
Related: How to use extension nail gel for beginners
Related: What is gel x in nails
Related: Builder gel for the nails
Applying Gel Polish the Right Way
After applying the base coat and curing it under the UV lamp, I start with the color of my choice. I use a small amount of polish and spread it evenly across my nails with a gel brush. It's important to work quickly because gel polish dries fast, and I don’t want it to start setting before I've finished applying it.
I apply two thin coats of color, making sure to avoid the cuticle area. Each coat is cured under the UV lamp for about 30 seconds. I've found that applying two coats gives me the best coverage without making the polish too thick or prone to chipping.[2]
I've also learned that using a gel brush with the right size and shape is essential. A brush with a pointed tip helps me reach the corners of my nails, while a wider brush is better for covering larger areas. Taking the time to apply each coat carefully makes a huge difference in the final result.
Use a small amount of gel polish and spread it evenly with a gel brush. This prevents clumping and ensures a smooth finish.
“I remember the first time I tried gel nails at home.”— Gel Nails for Beginners editors
Curing the Gel Polish Correctly
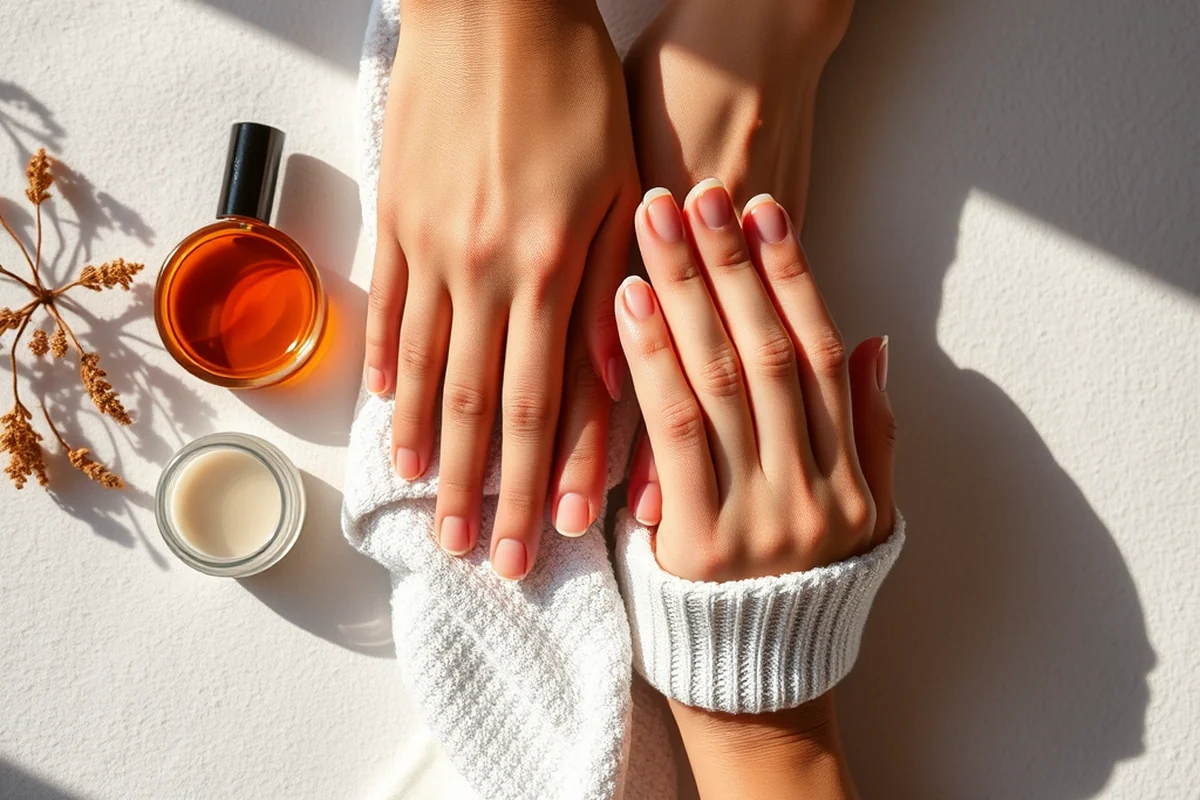
After applying each coat of gel polish, I place my hands under the UV lamp for exactly 30 seconds. This is the recommended curing time for most gel products, and I’ve found that following this step precisely makes a big difference in the longevity of my manicure.[3]
I’ve learned the hard way that skipping the curing time or not allowing the polish to cure fully can result in a soft, gummy finish that doesn’t hold up well. I always make sure to cure each coat under the lamp before moving on to the next step, even if it feels like it’s taking too long.
Once the color is cured, I apply the top coat and cure it for another 30 seconds. This step not only adds shine but also acts as a protective layer that helps prevent chipping or peeling. Curing each layer properly is one of the most important steps in the entire process.
Finishing Touches and Maintenance Tips
Once the top coat is cured, I use a fine-grit buffer to smooth the edges of my nails. This gives them a more polished look and helps prevent the polish from catching on anything. I also use a cuticle pusher to gently push back my cuticles, making the manicure look neater and more professional.
I’ve also learned that applying a small amount of oil to my cuticles after the manicure helps keep them moisturized and prevents them from drying out. This is especially important if I’m wearing the gel polish for an extended period.
For maintenance, I recommend reapplying the top coat every few weeks to keep the manicure looking fresh. I also avoid using my nails for heavy tasks, like opening jars or typing for long periods, to prevent chipping. Taking care of your gel manicure goes a long way in making it last.
🌸 Sensitive Skin
If you have sensitive skin or are prone to allergic reactions, choose hypoallergenic gel polish and avoid harsh chemicals in the products.
💰 Budget-Friendly
Opt for a starter kit that includes all the essentials, as this is more cost-effective than buying each product separately.
🖌️ Minimalist
Use a single color with a clear top coat for a simple, elegant look that requires fewer steps and products.
💅 Targeted
Focus on specific nail shapes or colors that complement your lifestyle, such as a square shape for a professional look.
🔄 Maintenance
Use a quick-dry top coat and a fine buffer to refresh your manicure without having to start over.
| The mistake | Why it happens | The fix |
|---|---|---|
| Skipping the base coat | The base coat is essential for adhesion. Without it, the gel polish is more likely to lift or chip. | Always apply a thin layer of base coat and cure it under the UV lamp before applying the color. |
| Applying too much polish | Too much polish can cause clumping, unevenness, and a higher risk of chipping. | Use a small amount of polish and spread it evenly with a gel brush. Apply thin coats for the best results. |
| Not curing the polish properly | Inadequate curing can result in a soft, gummy finish that doesn’t last long. | Always follow the curing time specified on the product, and make sure to cure each coat under the UV lamp for the correct duration. |
| Ignoring cuticle care | Neglecting the cuticles can lead to an unpolished look and may cause the polish to lift. | Use a cuticle pusher to gently push back your cuticles before and after applying the polish. |
How To Gel Nails Step By Step
Common Questions
Can I do gel nails at home without any prior experience?
How long does a gel manicure typically last?
What should I do if my gel polish starts to lift?
Is it necessary to use a UV lamp?
References
- Printed Circuit Board Inspection and Quality Control – PCB Failure ... (ntrs.nasa.gov)
- Modelones Gel Kit Instructions (training.jacksonms.gov)
- Manicurists and Pedicurists : Occupational Outlook Handbook (bls.gov)
Cite this guide
Gel Nails for Beginners (2026). How To Gel Nails Step By Step. https://careandnail.com/how-to-gel-nails-step-by-step/
Feel free to cite or share this guide.