
How To Remove Gel Nails In Home
📖 Table of Contents
- Choosing the Right Products for Gel Removal
- The Step-by-Step Process for Removing Gel Nails
- How Long Does It Take to Remove Gel Nails at Home?
- Common Mistakes to Avoid When Removing Gel Nails
- How to Care for Your Nails After Removing Gel Nails
- The Benefits of Removing Gel Nails at Home
- How Often Should You Remove Gel Nails?
- Make It Your Way
- Frequently Asked Questions
I still remember the first time I tried to remove my gel nails at home. It was a weekend afternoon, and I was desperate to switch up my manicure after a week of work meetings and client calls. I followed a tutorial online, but it didn’t go as smoothly as I hoped. My nails felt raw, and I had to repeat the process three times before they finally came off. That experience taught me that removing gel nails at home requires patience, the right tools, and a step-by-step approach. Now, I do it every few weeks without any issues, and I’ve learned that the key is to know exactly what you're doing.
Removing gel nails at home is not just a matter of convenience—it's also a way to save money and avoid the hassle of going to a salon. However, without the right knowledge, it can be a frustrating and painful process. I’ve tested several methods over the years, from using acetone-soaked cotton pads to specialized gel removal kits, and I’ve learned which ones actually work and which ones can damage your nails. The goal is to remove the gel without leaving behind any residue or causing your nails to split or peel.
If you're like me, you probably want a method that’s gentle, effective, and quick. I’ve found that the best approach involves a few key steps: using a high-quality gel nail remover, soaking your nails for a specific amount of time. Taking care to avoid over-sanding or picking at the gel. It’s a process that can take about 15-20 minutes, but with the right tools and care, it can be done safely and without any long-term damage to your nails. The result? Smooth, fresh nails that are ready for a new manicure the same day.[1]
Why You'll Love This Gel Nail Removal Process
- Saves you money by avoiding salon visits
- Can be done in the comfort of your own home
- Helps maintain the health of your natural nails
- Is faster than you might expect with the right tools
Choosing the Right Products for Gel Removal
As of October 2026, I always start with a gel nail removal kit that includes a nail buffer, cuticle pusher, and a few cotton pads soaked in acetone. The key is to pick a product that is free from harsh chemicals that can dry out your skin or irritate your nails. The acetone should be at least 80% concentration to be effective, but not so high that it burns your skin.[2]
After I’ve soaked my nails for about 15 minutes, I use the buffer to gently remove the softened gel. I make sure to be gentle and not apply too much pressure. If I feel any pain or resistance, I stop and let the nails soak longer. The process is slower but safer for my nails in the long run.[3]
One of the most important things I’ve learned is to never skip the step of using a cuticle pusher before soaking. It helps to lift the gel slightly and makes the removal process easier. The result is a smooth, even removal without any leftover residue or damage to the natural nail.
Look for cotton pads that are thick and not too thin. Thin pads can soak through the acetone and cause a mess. I always keep a few spare cotton pads on hand in case I need to replace them during the process.
The Step-by-Step Process for Removing Gel Nails
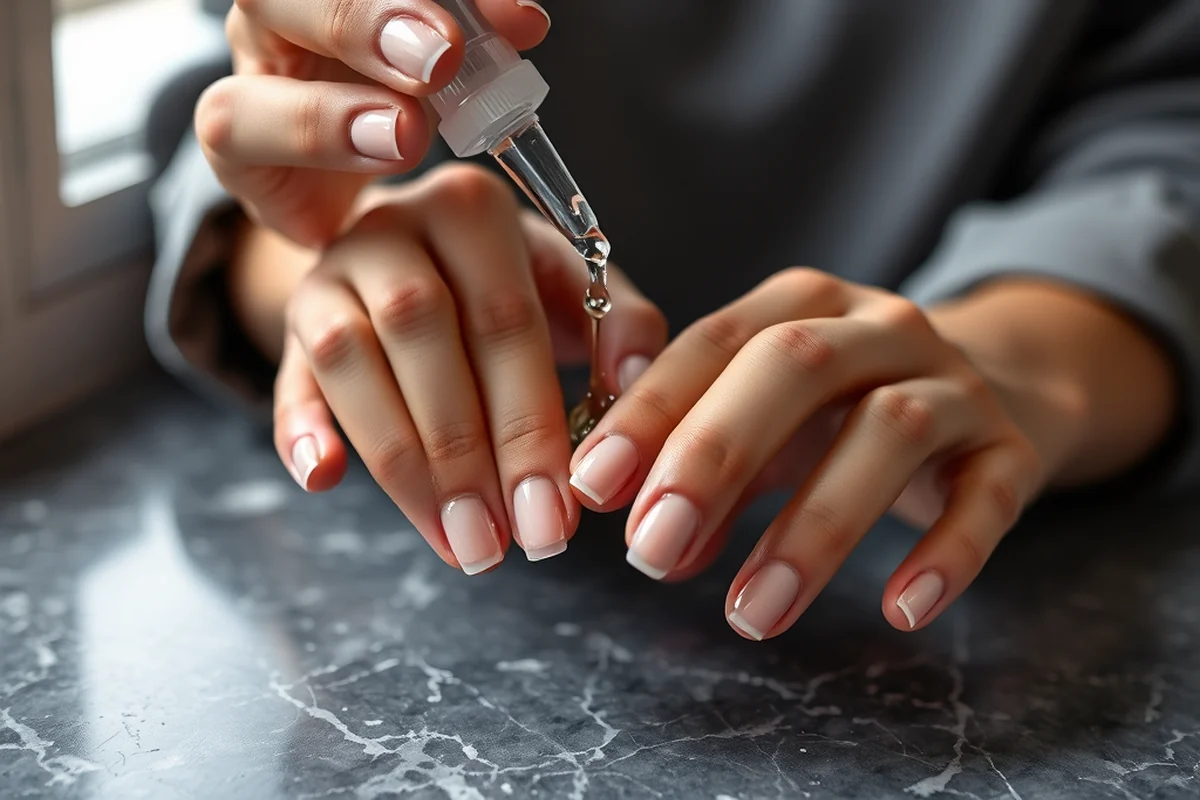
I always start by preparing my hands. I wash them with warm water and dry them thoroughly. Then I apply a generous amount of acetone-based gel remover to each nail using a cotton pad. I make sure the cotton pads are soaked enough to cover the entire surface of the nail.
I place the cotton pad over each nail and wrap them with a piece of aluminum foil. This helps keep the remover in place and speeds up the process. I let them soak for about 10-15 minutes, depending on how thick the gel is. I’ve noticed that thicker gels require a bit more time, so I adjust based on how the nails feel after the first few minutes.[4]
After the soaking time, I carefully use a cuticle pusher or orangewood stick to gently lift the gel from the nail. I apply the buffer in a circular motion, working from the tip of the nail towards the cuticle. I take my time and avoid any aggressive scrubbing, which can damage the natural nail underneath.
Patience is key when removing gel nails at home.
Related: What is gel x nail kit
How Long Does It Take to Remove Gel Nails at Home?
I’ve found that the average time to remove gel nails is about 15-20 minutes, depending on how thick the gel is and how long the nails have been on. If the nails have been on for longer than a month, they tend to be a bit harder to remove and may require a bit more soaking time.
I always make sure to allocate enough time for the process, even if I'm in a rush. Rushing can lead to mistakes, like leaving residue or damaging the natural nail. I’ve learned that taking a few extra minutes upfront saves me time and trouble in the long run.
After the gel is removed, I use a cuticle oil to moisturize my nails and cuticles. This helps to soothe any dryness or irritation caused by the acetone. The result is smooth, healthy-looking nails that are ready for a new manicure the same day.
Don’t rush the process. It’s better to take 15-20 minutes and do it right than to spend more time fixing any mistakes later.
“I still remember the first time I tried to remove my gel nails at home.”— Gel Nails for Beginners editors
Related: What s builder gel nails
Common Mistakes to Avoid When Removing Gel Nails
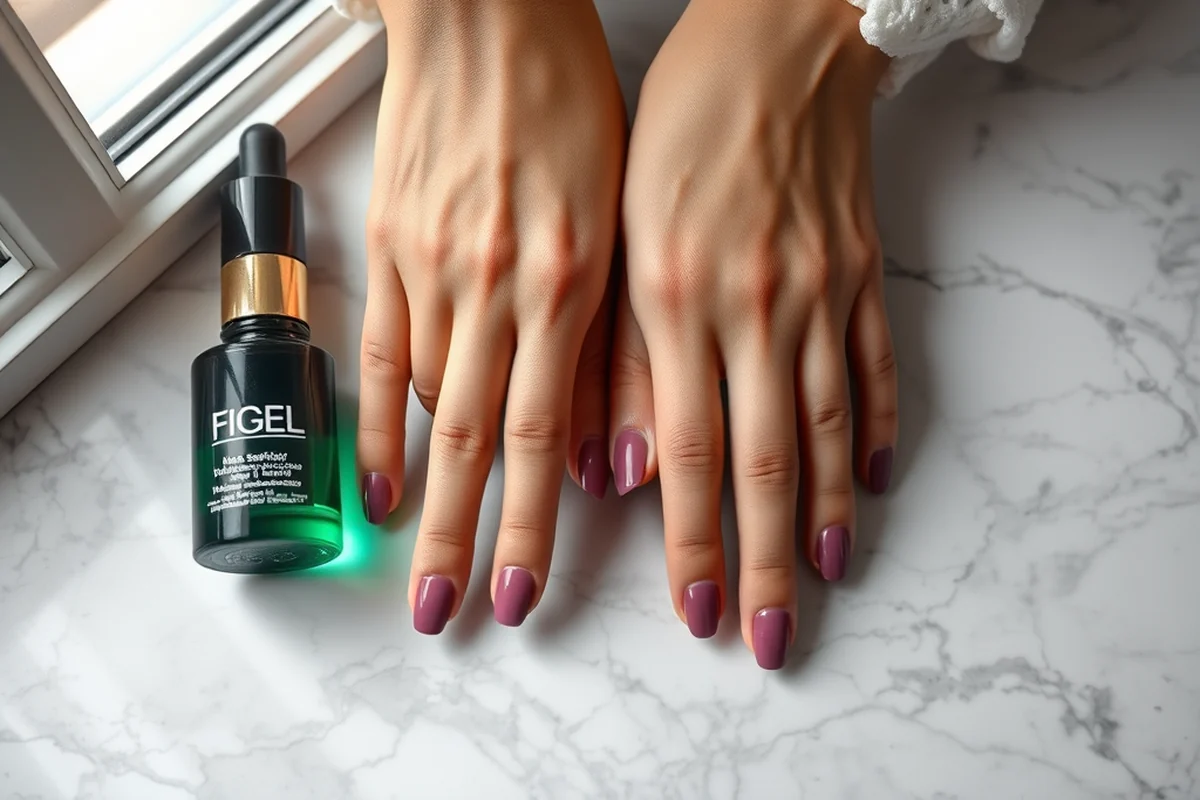
One of the biggest mistakes I’ve seen people make is using too much force when trying to remove gel nails. This can cause the natural nail to split or break, leading to long-term damage. I’ve learned that the right approach is to let the acetone do the work and avoid using excessive pressure.
Another common mistake is skipping the step of using a cuticle pusher or orangewood stick. These tools help to lift the gel and make the removal process easier. Without them, you’re more likely to scratch the natural nail or leave residue behind.
I’ve also seen people skip the step of using a cuticle oil after removal. This can lead to dryness, cracking, and even infection in severe cases. Applying a cuticle oil or cream immediately after removal helps to soothe and protect the nails and surrounding skin.
Related: What is a gel nail kit
How to Care for Your Nails After Removing Gel Nails
After I’ve removed the gel nails, I always apply a cuticle oil or a moisturizing cream to my nails and cuticles. This helps to hydrate the area and prevent any dryness or cracking that can occur after using acetone.
I avoid using any harsh chemicals or nail polish for a few days after removal. This gives my nails time to breathe and recover from the removal process. I’ve found that this step is crucial for keeping my nails strong and healthy.
I also make sure to keep my nails trimmed and filed regularly to prevent them from becoming too long or jagged. This helps to keep them looking neat and prevents any damage to the nail bed.
Related: What is deluxe nails
The Benefits of Removing Gel Nails at Home
One of the main benefits is that it saves you time and money. You don’t have to make a trip to the salon, which can be especially helpful if you’re on a tight schedule or budget.
Another benefit is that you have control over the entire process. You can take your time and make sure that every step is done correctly, which leads to better results and fewer mistakes.
I’ve found that removing gel nails at home also helps me to maintain the health of my natural nails. When done correctly, it doesn’t cause any damage or irritation, and I can keep my nails looking strong and healthy.
Removing gel nails at home is a time-saving and cost-effective option.
Related: Builder gel for the nails
How Often Should You Remove Gel Nails?
I usually remove my gel nails every 2-3 weeks, depending on how long they’ve been on and how much they’ve grown. If I’ve been wearing them for over a month, I tend to remove them sooner to prevent any buildup or damage to the natural nail.
I’ve found that removing them every 2-3 weeks helps to maintain the health of my nails and prevents them from becoming too thick or brittle. This also allows me to keep my manicure fresh and up-to-date with my personal style.
If I’m traveling or have a busy schedule, I might remove them more frequently to avoid any issues with the nails becoming too long or difficult to manage. It’s all about finding the right balance that works for your lifestyle.
🛡️ Sensitive Skin
If you have sensitive skin or are prone to irritation, look for a gentler acetone remover and avoid using any harsh chemicals.
💰 Budget
For a budget-friendly approach, use a basic acetone-based nail remover and cotton pads, which can be purchased for under $10.
🧼 Minimalist
If you prefer a minimalist approach, use a single product like a gel nail remover and follow the steps carefully without any extra tools.
🎯 Targeted
For a targeted removal, focus on the affected areas and avoid soaking the entire nail if only a small portion of the gel is left.
🛠️ Maintenance
For regular maintenance, use a cuticle oil or moisturizer after each removal to keep your nails and cuticles healthy and hydrated.
| The mistake | Why it happens | The fix |
|---|---|---|
| Using too much force when removing gel nails | This can cause the natural nail to split or break, leading to long-term damage. | Let the acetone do the work and avoid using excessive pressure. |
| Skipping the step of using a cuticle pusher or orangewood stick | This can make the removal process harder and may damage the natural nail. | Always use a cuticle pusher or orangewood stick to lift the gel and make the process easier. |
| Skipping the step of using a cuticle oil after removal | This can lead to dryness, cracking, and even infection in severe cases. | Apply a cuticle oil or moisturizing cream immediately after the removal process. |
| Using harsh chemicals or nail polish too soon after removal | This can cause damage to the natural nail and prevent it from recovering properly. | Avoid using any harsh chemicals or nail polish for a few days after removal. |
How To Remove Gel Nails In Home
Common Questions
Can I remove gel nails at home if I have sensitive skin?
How long should I soak my nails in acetone?
What should I do if my nails feel dry or cracked after removal?
Can I use any type of cotton pad for removing gel nails?
References
- Advancing Bio-Based Alternatives to UV Gel Nail Products (aggietranscript.ucdavis.edu)
- BarberCosmo - California Board of Barbering and Cosmetology (barbercosmo.ca.gov)
- What to Know and How to Know if Your Local Nail Salon is Using ... (bcb.az.gov)
- How to save on a splurge: Gel Manicure at home Dare to Dream (blogs.baruch.cuny.edu)
Cite this guide
Gel Nails for Beginners (2026). How To Remove Gel Nails In Home. https://careandnail.com/how-to-remove-gel-nails-in-home/
Feel free to cite or share this guide.