
How To Use Extension Nail Gel For Beginners
📖 Table of Contents
I remember the first time I tried extension nail gel — my nails looked like they belonged to a celebrity, but the process was more complicated than I expected. I had read a few tutorials online, but nothing prepared me for the texture of the gel, the precision required, or the patience needed to get it right. As a beginner, I was overwhelmed by the sheer number of products, techniques, and steps, but after a few attempts and a lot of trial and error, I finally figured it out. If you're looking for a way to achieve long, strong. Beautiful nails without the hassle of acrylics, extension nail gel is the way to go — and I'm here to walk you through every step of the way.
Getting started with extension nail gel can feel intimidating, especially if you’re new to nail art or have never used gel polish before. The first thing I realized was that the success of this technique relies on proper preparation, the right tools, and a clear understanding of the process. I’ve made mistakes along the way — like applying too much gel or not curing it long enough — but with each attempt, I learned more about the nuances of this craft. If you’re reading this, I suspect you’re looking for a beginner-friendly guide that’s both comprehensive and accessible, and that’s exactly what I want to provide.
What I love most about using extension nail gel is the way it transforms your nails, making them look longer, stronger, and more polished than ever before. It’s a bit like giving your nails a luxury spa treatment, and the results are nothing short of spectacular. Whether you’re heading to a party, a job interview, or just want to feel confident in your daily routine, the right nail look can make all the difference. In the next few sections, I’ll walk you through everything you need to know — from selecting the right products to mastering the application process — and I promise you’ll leave with a solid foundation to build on.
Why You'll Love This Technique
- It gives you the look of professionally done nails without the cost of a salon visit.
- You can customize the look with various colors, lengths, and designs.
- Extension nail gel is lightweight and doesn’t break your natural nails like acrylics.
- It’s easier to maintain and lasts up to four weeks with proper care.
Getting Started with Extension Nail Gel
As of August 2026, before you even pick up the gel, it’s important to prepare your natural nails. I always start by filing them into a square or oval shape, depending on the look I want. Then I clean them thoroughly with an alcohol wipe to remove any oils or residue. This step is crucial because if your nails aren’t clean, the gel won’t adhere properly. I also use a cuticle pusher to make sure the cuticles are pushed back, giving the gel a smooth surface to work with.[1]
Once your nails are prepped, I apply a thin layer of base coat. This helps protect your natural nails from the gel and also improves adhesion. I make sure not to apply too much, because a thick layer can cause the gel to lift later. After the base coat is on, I use the LED light to cure it for about 30 seconds. It’s amazing how quickly it hardens — it’s almost like magic.[2]
Now comes the fun part: applying the extension nail gel. I start by using a small amount of gel on the tip of my brush and gently press it onto the nail, starting from the cuticle and working my way down. I make sure to keep the brush at a 45-degree angle to prevent the gel from pooling on the nail bed. Once the gel is on, I cure it under the LED light again for 30 seconds. It’s easy to get carried away and apply too much gel, but I’ve learned that less is more with this step.[3]
Before applying the gel, always clean your nails with alcohol wipes and push back the cuticles. This step ensures the gel adheres properly and lasts longer.
Choosing the Right Gel for Your Nails
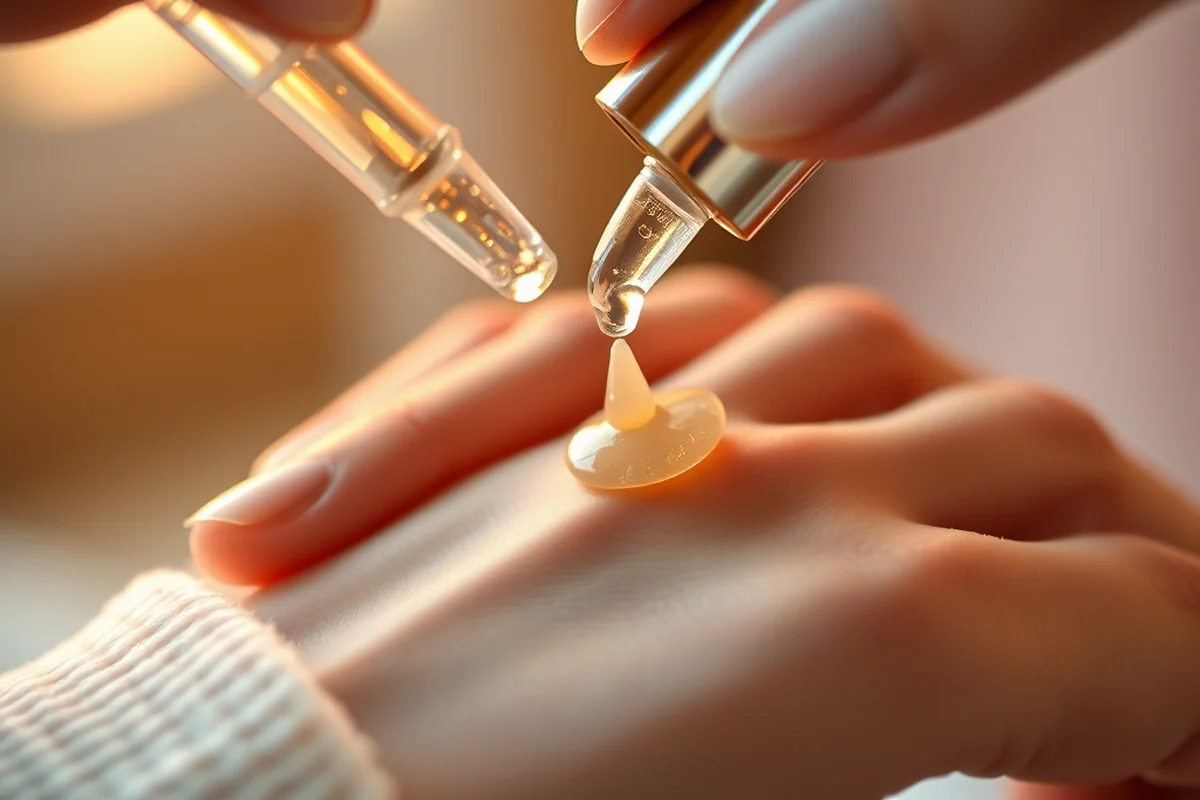
I’ve tried several brands of extension nail gel, and not all of them are created equal. Some gels are too sticky or too runny, which can make the application process frustrating. I’ve found that the best gels have a thick, but manageable consistency that allows for easy control. When I first started, I used a gel that was too runny, and it dripped down my nails, making them look messy. It was a learning curve, but now I know exactly what to look for.
One of the most important things to consider when choosing a gel is the type of finish it provides. I prefer a gel that gives a smooth, glass-like finish because it looks more professional and lasts longer. I’ve also noticed that some gels are more flexible than others, which is a big plus because it reduces the risk of the gel breaking or chipping. If you’re going for a bold color or a glitter look, make sure the gel can handle it without cracking.
Another thing to think about is the price. I’ve found that some of the more expensive gels are worth the investment because they last longer and don’t yellow as quickly. On the other hand, cheaper gels can sometimes be difficult to work with and may not last as long. It’s a balance between cost and quality, and I’ve found that spending a little more upfront can save you time and money in the long run.
Choose a gel with a smooth, even texture and a glass-like finish for the best results.
Related: Easy Nail Ideas For Beginners
Related: Gel nails for may
Related: Gel nail diy designs
Related: Gel nails cheap near me
Related: Gel nails step by step
Related: Dnd Gel Nail Polish Set
Related: How To Gel Nail Polish
Related: What Is Opi Gel Nail Polish
Related: What Is Gel Nail Polish
Related: Gel Nail Kit For Beginners With Everything
Related: How To Gel Nail Polish Remover
Related: What Is Gel X Nail Kit
Applying the Gel: A Step-by-Step Guide
I’ve learned that applying the gel too quickly can lead to mistakes, so I take my time with each nail. I start by applying a small amount of gel to the tip of my brush and press it onto the nail, starting at the cuticle and working my way down. I make sure the gel is evenly distributed and doesn’t pool in one area. If I notice any excess gel, I gently wipe it away with a lint-free wipe before curing.
After applying the gel, I place my finger under the LED light and cure it for 30 seconds. This is a crucial step because it hardens the gel and ensures it adheres properly to the nail. If I skip this step or cure it for too short of a time, the gel may not hold and can lift later. I’ve made this mistake before, and it was frustrating to see the gel chip off after just a few days.[4]
Once the first layer is cured, I apply a second layer of gel, making sure it’s thin and even. I repeat the curing process again. I’ve found that applying two layers gives the best results — it makes the gel stronger and prevents it from breaking off too easily. I also make sure to keep my nails away from the light until the curing is complete to avoid any smudges.
Always cure the gel for exactly 30 seconds under the LED light. Skipping this step can cause the gel to lift or chip prematurely.[5]
“I remember the first time I tried extension nail gel — my nails looked like they belonged to a celebrity, but the process was more…”— Gel Nails for Beginners editors
Related: How To Gel Nail Strips
Related: How Is Gel Nail Polish Set
Related: What Is Cat Eye Gel Nail Polish
Creating the Desired Shape and Length
I’ve tried different methods for shaping my nails, and the most effective one is using a brush with a pointed tip. This allows for more control and precision, especially when creating a long, elegant look. I start by applying the gel in a vertical line from the cuticle to the tip, making sure it’s even and doesn’t sag. I’ve found that applying the gel in a straight line helps create a more natural shape and prevents the gel from bending or curling.
After the initial shape is formed, I use the brush to smooth out any rough edges or bumps on the gel. I gently glide the brush over the gel to create a smooth surface, which gives the nails a more polished look. This step is important because if the gel isn’t smooth, it can feel rough and may chip more easily. I’ve noticed that this smoothing process takes a little time, but it’s worth it for the final result.
I also pay close attention to the length of the gel. I’ve learned that it’s better to build the length gradually rather than applying too much at once. Applying too much can make the gel look bulky or uneven, which isn’t ideal. I usually apply the gel in layers, waiting for each layer to cure before adding the next. This gives me more control and ensures the gel is strong and even.
Adding Color and Design
I love experimenting with different colors and designs, and using a thin layer of color gel is key to achieving a clean look. I start by applying a thin layer of color gel to the entire nail, making sure it’s even and doesn’t sag. I’ve found that applying too much can cause the gel to lift or look uneven, especially if I rush through the process. A thin layer allows the color to show through evenly without any buildup.
After the color is applied, I use the LED light to cure it for 30 seconds. This step is important because it sets the color and prevents it from smudging or lifting. I’ve made the mistake of skipping this step before, and the result was a smudged look that didn’t look professional. I’ve also tried using a thick layer of color gel, but it always ended up looking clumpy and uneven, which isn’t ideal.
Once the color is cured, I can add some design elements if I want. I’ve used glitter, rhinestones, and even intricate patterns to create a unique look. I make sure to apply any design elements carefully and cure them under the LED light as well. This ensures that the design stays in place and doesn’t smudge or lift over time.
Finishing Touches and Curing
After the color and design are applied, I move on to the top coat. I apply a thin layer of top coat gel to the entire nail, making sure it’s even and covers the edges. The top coat is important because it helps seal the gel and gives it a glossy finish. I’ve found that applying too much top coat can make the gel look thick and uneven, so I always go with a thin layer.
Once the top coat is on, I place my finger under the LED light and cure it for 30 seconds. This step is crucial because it sets the top coat and ensures it adheres properly to the nail. I’ve made the mistake of skipping this step before, and the result was a dull, uneven finish that didn’t look professional. I’ve also noticed that curing the top coat for the right amount of time is important — too short and it doesn’t harden, too long and it can become too brittle.
After the top coat is cured, I gently wipe away any excess gel with a lint-free wipe. This gives the nails a clean look and removes any excess gel that may have built up during the process. I’ve found that this step is important because it prevents the gel from lifting or chipping later on. It also helps the nails look more polished and professional.
A thin layer of top coat and proper curing give your nails a professional, glossy finish.
Maintaining and Removing Your Gel Nails
I’ve found that maintaining your gel nails is just as important as applying them. I always use a cuticle oil after each application to keep my nails and cuticles healthy. This helps prevent the gel from lifting and keeps the nails looking shiny and polished. I’ve noticed that if I skip this step, my nails can become dry and brittle, which isn’t ideal.
Applying a top coat every few days is also important because it helps maintain the shine and durability of the gel. I’ve learned that if I wait too long between top coats, the gel can start to look dull and may chip more easily. I’ve also tried using different types of top coats, and I’ve found that some are better than others with maintaining the shine and durability of the gel.
When it’s time to remove the gel, I use an acetone-based nail remover and soak my nails in it for about 10-15 minutes. This softens the gel and makes it easier to remove. I’ve found that using a gentle, non-abrasive method is important because using harsh tools or scrubbing too hard can damage the natural nail. I always make sure to be gentle and take my time to avoid any damage.
🌼 Sensitive Skin Routine
For those with sensitive skin, using a gentler gel and avoiding harsh chemicals is key. I recommend using a non-acetone remover and taking extra care when applying and removing the gel.
💰 Budget-Friendly Routine
If you're on a budget, there are affordable gels and tools that can help you achieve professional-looking results. I recommend looking for reputable brands that offer good quality at a lower price.
💅 Minimalist Routine
For a minimalist look, focus on a clean, natural shape and a simple color. I recommend using a clear or neutral gel and avoiding too much color or design.
🎯 Targeted Routine
If you're targeting a specific look, such as a bold color or a glitter design, choose a gel that can handle the weight and texture. I recommend using a thick, durable gel for this type of look.
🔄 Maintenance Routine
For those who want to maintain their gel nails for longer, I recommend using a top coat every few days and keeping your nails clean and moisturized.
| The mistake | Why it happens | The fix |
|---|---|---|
| Applying too much gel at once | Applying too much gel can cause the gel to sag or look uneven, and it can also make the nail feel bulky. | Apply the gel in thin layers and cure it under the LED light after each layer. |
| Skipping the base coat | The base coat helps protect your natural nails and improves adhesion. Skipping it can lead to the gel lifting or not adhering properly. | Always apply a thin layer of base coat before the extension nail gel. |
| Not curing the gel properly | If the gel is not cured properly, it can smudge or lift, and it won’t have the right consistency or strength. | Cure the gel under the LED light for exactly 30 seconds after each layer. |
| Using the wrong type of gel | Using a regular gel polish or the wrong type of extension gel can lead to poor results, such as lifting or chipping. | Always use a gel that is specifically designed for extensions and has a smooth, even texture. |
How To Use Extension Nail Gel For Beginners
Common Questions
How long does extension nail gel last?
Can I use regular gel polish instead of extension nail gel?
What tools do I need to apply extension nail gel?
How do I avoid the gel from lifting?
Cite this guide
Gel Nails for Beginners (2026). How To Use Extension Nail Gel For Beginners. https://careandnail.com/how-to-use-extension-nail-gel-for-beginners/
Feel free to cite or share this guide.
References
- Pterygium inversum unguis secondary to gel polish - Academia.edu (academia.edu)
- Nail Specialty Core | Adult Career and Continuing Education Services (acces.nysed.gov)
- Advancing Bio-Based Alternatives to UV Gel Nail Products (aggietranscript.ucdavis.edu)
- Chapter 308-20 WAC: - Washington State Government (app.leg.wa.gov)
- Nail Technology Program | Austin, TX | Avenue Five Institute (avenuefive.edu)