
Gel Nail Diy Designs
📖 Table of Contents
- Getting Started: Essential Tools and Supplies
- The Art of Gel Nail Application
- Designing Your Gel Nails: Tips and Tricks
- Choosing the Right Gel Polish Colors and Finishes
- Maintaining Your Gel Nails: Tips and Tricks
- Removing Gel Nails: A Step-by-Step Guide
- Advanced Gel Nail Techniques: Going Beyond the Basics
- Make It Your Way
- Frequently Asked Questions
I remember the first time I tried gel nail DIY designs at my kitchen table, surrounded by a mess of nail files, UV lamps, and a half-filled bottle of gel polish. It was both thrilling and terrifying, but the result? A set of nails that looked like they’d been done by a professional. That moment sparked my obsession with gel nails, and I’ve since experimented with dozens of designs, techniques, and tools. Whether you're a beauty newbie or a seasoned DIYer, gel nail DIY designs are a creative and affordable way to express yourself without breaking the bank.
Gel nail DIY designs are more than just a fashion statement—they're a way to transform your hands into a canvas for personal expression. I’ve tried everything from minimalist French tips to intricate floral patterns, and each design has taught me something new. The process requires patience and precision, but the results are worth it. With the right tools, a bit of practice, and a little creativity, you can achieve salon-quality gel nails from the comfort of your own home.
What drew me to gel nail DIY designs was the freedom to experiment without the high cost of salon visits. I’ve spent hundreds on nail art before, only to walk away with a design that didn’t last a week. Gel nails, on the other hand, offer durability, color vibrancy, and the satisfaction of creating something unique. In this article, I’ll walk you through everything you need to know to start your own gel nail DIY journey, from choosing the right products to mastering advanced techniques.
Why You'll Love This DIY Approach to Gel Nails
- Unmatched customization to match your personal style or occasion
- Significant cost savings compared to professional salon services
- A creative outlet that allows you to express yourself through nail art
- Long-lasting, chip-resistant results that outperform regular polish
Getting Started: Essential Tools and Supplies
As of September 2026, a complete gel nail kit typically includes a UV lamp, nail buffers, a nail file, a cuticle pusher, a nail polish remover, and a variety of gel polishes. I personally recommend the CND SolarSpeed system, which dries in just 30 seconds under the UV lamp, making the process faster and more efficient.[1]
Investing in a high-quality UV lamp is essential. I use a 36W lamp with a built-in timer, which ensures that each layer of gel polish is cured properly. This helps prevent smudging and ensures a smooth finish. You can find a good one for around $40.[2]
Choosing the right gel polish is also important. I’ve tried several brands, and the best ones are those that offer a wide range of colors and finishes, including matte, glossy, and glitter. My go-to brand is OPI, which I’ve found to be both durable and long-lasting.
Opt for a brand that has a good reputation for quality and durability. I’ve had the best results with OPI and CND, which are both well-regarded in the nail industry.
The Art of Gel Nail Application
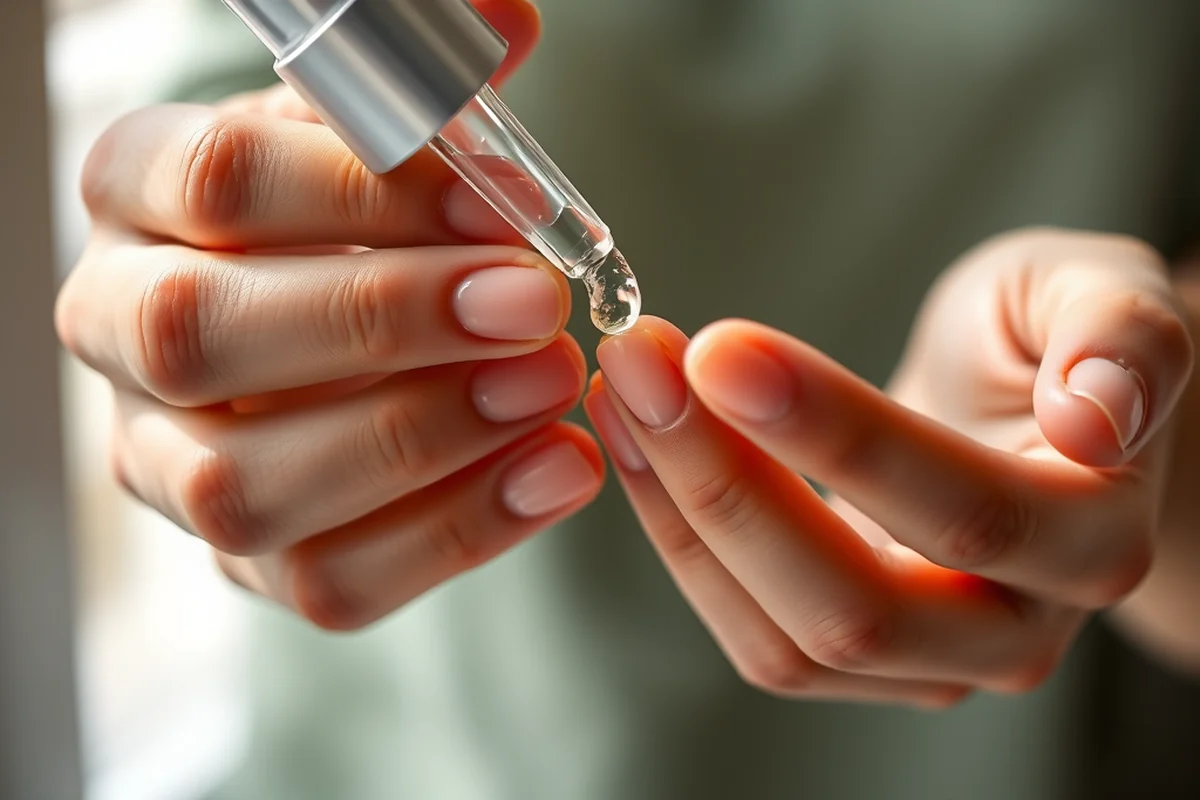
Start by prepping your nails. This involves cleaning them with a nail cleaner to remove any oils or residue, followed by buffing the surface to create a smooth base. I always use a 100-grit buffer, which works best for most nail types.[3]
Next, apply a base coat. This helps the gel polish adhere better to the nail and prevents staining. I use a clear base coat and cure it under the UV lamp for 30 seconds. This step is crucial, as skipping it can lead to peeling or chipping later on.[4]
Once the base coat is cured, apply the color of your choice. I apply two thin coats of gel polish, curing each for 30 seconds. This ensures an even and smooth finish without any bubbles or streaks.[5]
Proper application is key to achieving a flawless finish with gel nail DIY designs.
Related: How to use extension nail gel for beginners
Related: Beginner nail color
Related: Gel nail tips tutorial
Related: Gel nails near me prices
Related: Gel nails for fall
Related: What Is Dnd Gel Nail Polish
Related: How To Gel Nail Strips
Related: What Is Gel Nail Polish
Related: Acetone Nail Polish Remover
Related: How To Gel Nail Polish Remover
Related: Cute Nail Designs
Related: Summer Nail Designs
Related: How Is Gel Nail Polish Set
Related: Top 10 Nail Designs
Related: What Is Gel X Nail Kit
Related: Opi Nail Polish
Designing Your Gel Nails: Tips and Tricks
One of the easiest ways to add flair to your gel nails is by using a dotting tool. I’ve used this tool to create delicate dot patterns and small shapes on my nails. It’s also great for applying glitter or rhinestones without getting too messy.
Another technique I’ve found useful is using a nail art brush to paint intricate designs. I’ve used this method to create swirls, lines, and even small flowers on my nails. Using a fine-tipped brush allows for more control and precision.
If you want to try something bold, using a stencil can be a great option. I’ve used stencils to create geometric patterns and stripes on my nails. They’re easy to apply and can help you achieve a more professional look.
Don’t be afraid to try new tools and techniques to see what works best for you. I’ve found that using a dotting tool and a fine-tipped brush can help you achieve a wide range of designs.
“I remember the first time I tried gel nail DIY designs at my kitchen table, surrounded by a mess of nail files, UV lamps, and…”— Gel Nails for Beginners editors
Related: Nail Designs For 2026
Choosing the Right Gel Polish Colors and Finishes
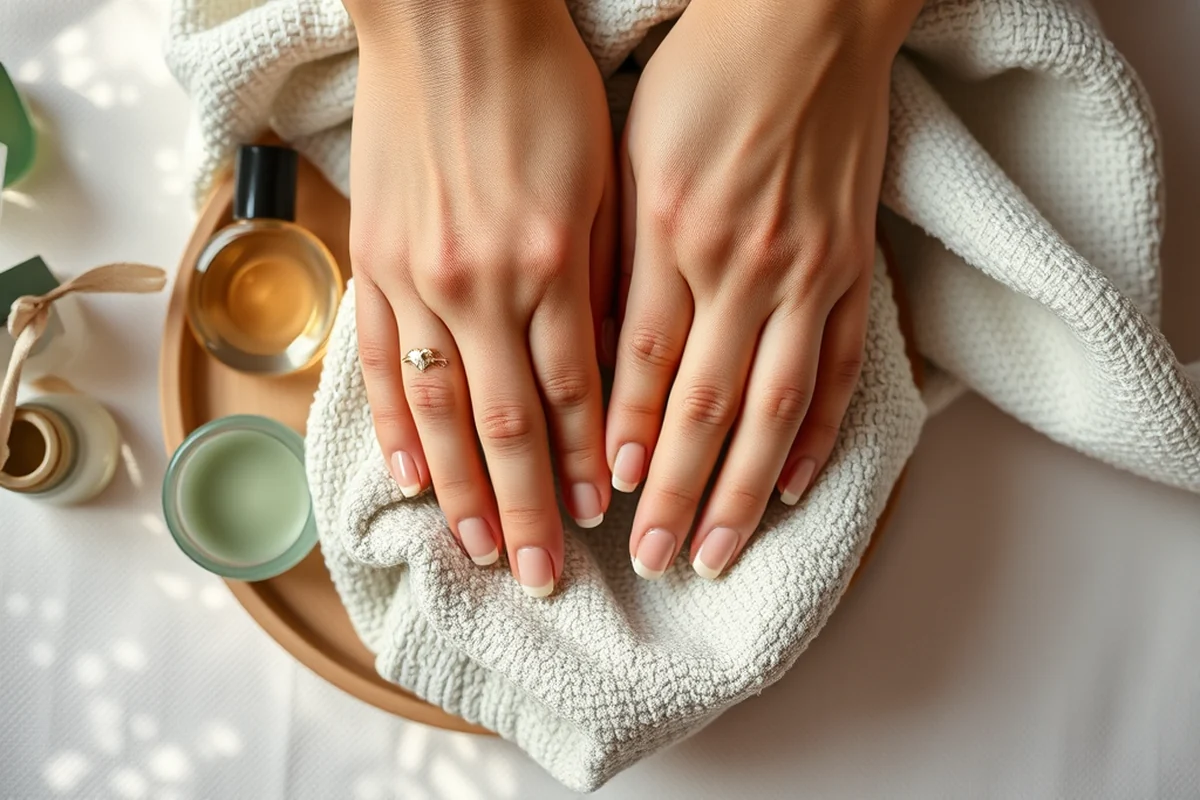
When choosing gel polish colors, it’s important to consider the occasion and the type of look you want to achieve. For a more natural look, I often go for shades of pink, nude, or clear. These colors are versatile and can be worn to work or casual events.
If you want to make a statement, bold colors like red, blue, or purple can be a great choice. I’ve found that these colors look amazing on darker skin tones and can be a great way to express your personality.
Finishes also play a role in the final appearance of your gel nails. I’ve used both glossy and matte finishes, and each has its own advantages. Glossy finishes are more reflective and can make your nails look more polished, while matte finishes offer a more subtle and modern look.
Maintaining Your Gel Nails: Tips and Tricks
One of the most important steps in maintaining your gel nails is keeping them clean and dry. I always avoid getting my nails wet immediately after applying gel polish, as this can cause the polish to lift or chip.
Another tip is to avoid using your nails as tools. I’ve found that using my nails to open jars or scratch surfaces can cause them to chip or break more easily. It’s best to use a nail file or a small tool for these tasks.
If your gel nails start to lift or chip, it’s important to address the issue quickly. I’ve used a nail buffer to smooth out any rough edges and then applied a small amount of gel polish to the affected area. This helps to restore the finish and prevent further damage.
Removing Gel Nails: A Step-by-Step Guide
The first step in removing gel nails is to soak your hands in warm water for about 10 minutes. This helps to soften the gel polish and makes it easier to remove.
After soaking, use a cuticle pusher or a small nail file to gently lift the edges of the gel polish. I’ve found that using a cuticle pusher is the most effective way to do this without causing any damage to the nail.
Once the edges are lifted, apply a nail polish remover to the entire surface of the nail. I use a cotton pad soaked in remover and gently press it against the nail for about 30 seconds. After that, use the cuticle pusher to gently remove the remaining gel polish.
Removing gel nails requires a specific process to avoid damaging your natural nails.
Advanced Gel Nail Techniques: Going Beyond the Basics
One advanced technique I’ve tried is using a gel pen to create intricate designs on my nails. I’ve used this technique to create detailed patterns, lines, and even small illustrations on my nails. The gel pen is a great tool for adding fine details and precision.
Another advanced technique is using a gel nail sticker. These stickers are pre-made and can be applied to the nail using a gel polish. I’ve used these stickers to create bold and eye-catching designs on my nails. They’re easy to apply and can add a lot of visual interest.
If you want to try something truly unique, you can use a gel nail decal. These decals are printed on a special paper and can be applied to the nail using a gel polish. I’ve used these decals to create intricate designs and patterns on my nails. They’re a great way to add a personal touch to your nail art.
🌸 Sensitive Skin
Opt for hypoallergenic gel polishes and gentle tools to protect your nails and skin from irritation.
💰 Budget
Start with affordable, beginner-friendly kits and gradually invest in higher-quality products as you gain experience.
🎨 Minimalist
Choose simple, elegant designs like single solid colors or basic French tips for a polished, low-maintenance look.
🎯 Targeted
Focus on specific techniques or styles, such as glitter or geometric patterns, to build expertise in a particular area of nail art.
🛠️ Maintenance
Learn the best practices for maintaining your gel nails, including how to remove them safely and keep them looking fresh.
| The mistake | Why it happens | The fix |
|---|---|---|
| Skipping the base coat | Skipping the base coat can lead to peeling or chipping later on. It's important to apply a base coat to help the gel polish adhere better to the nail and prevent staining. | Always apply a clear base coat before applying your gel polish. This will help ensure a smooth and long-lasting finish. |
| Applying too much gel polish in one coat | Applying too much gel polish in one coat can cause bubbles or streaks, which can ruin the appearance of your nails. | Apply two thin coats of gel polish instead of one thick coat. This helps ensure an even and smooth finish without any bubbles or streaks. |
| Not curing the gel polish properly | Not curing the gel polish properly can lead to smudging and a lack of adhesion. It's important to cure each layer of gel polish under a UV lamp for the recommended time. | Use a high-quality UV lamp and cure each layer of gel polish for the recommended time. This helps ensure a smooth and long-lasting finish. |
| Using the wrong tools for removal | Using the wrong tools for removal can damage your natural nails and make it difficult to remove the gel polish properly. | Use a cuticle pusher or a small nail file to gently lift the edges of the gel polish before applying a nail polish remover. This helps ensure a smooth and painless removal process. |
Gel Nail Diy Designs
Common Questions
How long do gel nails typically last?
Can I apply gel polish over regular nail polish?
What should I do if my gel polish starts to lift?
Is it possible to remove gel nails at home?
Cite this guide
Gel Nails for Beginners (2026). Gel Nail Diy Designs. https://careandnail.com/gel-nail-diy-designs/
Feel free to cite or share this guide.
References
- Nail Specialty Core | Adult Career and Continuing Education Services (acces.nysed.gov)
- Rule 11a: Cosmetology and Associated Professions Licensing Act ... (adminrules.utah.gov)
- Advancing Bio-Based Alternatives to UV Gel Nail Products (aggietranscript.ucdavis.edu)
- What Does a Nail Tech Do? - American Institute of Beauty (aibschool.edu)
- Nail Technology Program Training Program - AZ Job Connection (azjobconnection.gov)