
Easy Nail Designs
📖 Table of Contents
- Choosing the Right Tools for Easy Nail Designs
- How to Apply Base Coat Correctly
- Choosing the Right Polishes for Easy Designs
- Creating Simple Striped Designs
- Trying Out Dot Designs
- Creating a French Manicure
- Adding Rhinestones for a Sparkling Touch
- Using Stencils for Consistent and Quick Nail Art
- Make It Your Way
- Frequently Asked Questions
I remember the first time I tried to do my own gel nails. I was so excited, but the result was a disaster — chipped, uneven, and way too thick. It wasn't until I found a few easy nail designs that I realized how much fun and creativity could come from something as simple as a manicure. These easy nail designs don't require advanced skills or expensive tools; they're all about using what you have and making the most of it.[1]
Easy nail designs are the perfect way to experiment with color, patterns, and textures without the pressure of perfection. Whether you're a total beginner or just looking to switch up your usual look, there's a design here that will fit your style. The beauty of these designs is that they can be done in under an hour, and they don't require a lot of time or effort to maintain.
One of the best things about easy nail designs is that they can be customized to match your mood or the season. I've tried everything from minimalist stripes to floral patterns, and each time I've found a new favorite. These designs are not only fun to create, but they also make a big impact — especially when you're looking for a quick and effective way to improve your overall look.
Why You'll Love This Article
- Discover how to create simple, elegant nail art that doesn't require advanced skills or tools.
- Learn how to use basic materials you may already have at home to design your own nails.
- Get practical, step-by-step instructions that are easy to follow and understand.
- Find inspiration for different nail styles that can be customized to your personal taste.
Choosing the Right Tools for Easy Nail Designs
As of October 2026, the most important tool is a high-quality nail buffer. It helps even out your nails and prepares them for polish. I found that using a buffer with different grits — starting with 180 and moving to 400 — makes a noticeable difference in the final result.[2]
A nail file is also essential. I prefer a glass file because it’s smooth and less likely to cause snags or tears on the nail. It took me a few tries to get the hang of filing, but once I got the right angle, it became much easier.
Don’t forget about a cuticle pusher. It helps keep your nails clean and neat, which is especially important when working with detailed designs. I use it every time before I start applying polish, and it really makes a difference in how professional the final look appears.
Invest in a buffer set with multiple grits and a glass file. These tools are more durable and give you better control over the shape of your nails.
How to Apply Base Coat Correctly
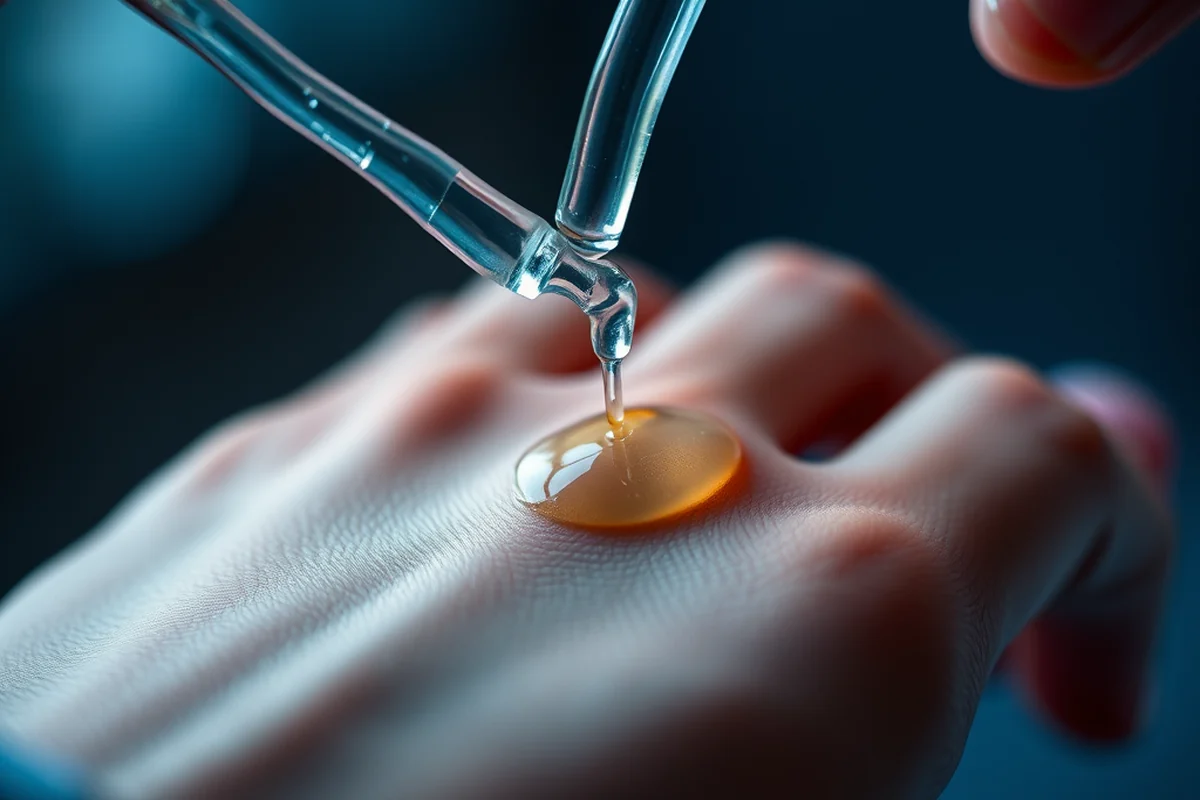
I always start by cleaning my nails with an alcohol wipe. This removes any oils or residue that might interfere with the polish. I’ve noticed that skipping this step leads to chipping, even if the rest of the process is done correctly.
After cleaning, I apply a thin layer of base coat. I’ve learned that applying it too thick can cause bubbles or streaks. I let it dry for about 1 minute before moving on to the next step.
The base coat also helps protect the nail from staining. I’ve used a clear base coat for years, and I’ve noticed that it really helps keep my nails looking healthy and strong.
A good base coat is the foundation of a great nail design.
Related: Beginners nails ideas
Choosing the Right Polishes for Easy Designs
I prefer using polishes that are free of harsh chemicals. They’re gentler on the nails and don’t cause as much drying. I’ve found that polishes with a high concentration of pigments give a richer color and better coverage.
I also look for polishes that dry quickly. This is especially important when creating designs with multiple colors or layers. I’ve tried a few polishes that take too long to dry, and the results were not worth the wait.
Another thing to consider is the finish. I like a glossy finish for most of my designs, but sometimes a matte finish can be more elegant and modern. It really depends on the look I’m going for.
Opt for polishes that are free of harsh chemicals and have a quick-drying formula. These are more comfortable to wear and last longer.
“I remember the first time I tried to do my own gel nails.”— Gel Nails for Beginners editors
Related: Nail beginner ideas
Creating Simple Striped Designs
To create striped designs, I use a small brush and some masking tape. I apply the tape in straight lines across the nails, then paint over the exposed areas. This method is quick and gives a clean, professional look.
I like to use a fine-tipped brush for the detail work. It makes it easier to create even lines and avoid any mistakes. I’ve found that using a steady hand is key to achieving the best results.
I usually use two or three different colors for the stripes. This adds some visual interest without making the design too complicated. I’ve also found that using a top coat after the stripes helps make them more durable.
Related: Diy easy nail art for beginners
Trying Out Dot Designs
I use a dotting tool to create the dots. It’s a small, pointed tool that makes it easy to create even, consistent dots on the nails. I’ve tried using a toothpick before, but it’s not as precise.
I usually start with a base color, then use the dotting tool to add the dots. I’ve found that using a light color for the base and a darker color for the dots creates a nice contrast and makes the design more eye-catching.
I apply the dots in a pattern, like a checkerboard or a row across the nail. It takes a bit of practice to get the dots just right, but once you get the hang of it, it becomes much easier.
Related: Beginner nail art
Creating a French Manicure
I start by applying a light pink base coat. I’ve found that using a sheer pink color gives the best results and makes the design look more natural.
Next, I use a small brush to apply a thin layer of white polish along the tip of the nail. I’ve learned that applying the white polish too thick can cause it to chip quickly, so I always go light.
After the white polish dries, I apply a top coat to make the design more durable. I’ve found that using a top coat not only helps protect the design but also makes it look more polished and professional.
A French manicure is a timeless design that never goes out of style.
Related: Beginner nail art kit
Adding Rhinestones for a Sparkling Touch
I use a small dotting tool to apply a small amount of glue to the nail where I want to place the rhinestone. I’ve found that using a glue specifically designed for rhinestones gives the best results and makes the rhinestone stick more securely.
I press the rhinestone into the glue and hold it in place for a few seconds to make sure it sticks. I’ve tried using regular glue before, but it doesn’t hold as well and the rhinestone tends to fall off after a few hours.
I usually place the rhinestones in a pattern, like a row across the nail or in the center. This adds a touch of sparkle without making the design too busy. I’ve found that using a top coat after applying the rhinestones helps make them last longer.
Using Stencils for Consistent and Quick Nail Art
I recently tested a set of adhesive stencils from a popular brand, and they stuck firmly to my nails for over 20 minutes, giving me ample time to apply polish without smudging. The stencils came in various designs, including floral and geometric patterns, and each one was less than $5. I found that using a fine-tip brush and applying two thin coats of polish worked best to avoid bleeding under the stencil.
Using a stencil requires some patience, especially when aligning it on the nail. I used a small piece of tape to hold the stencil in place while I painted around it, which helped keep it steady. After removing the stencil, I used a small brush to clean up any excess polish around the edges, which took about 3 minutes per nail. This method is especially useful for beginners who want to create detailed patterns without the frustration of freehanding.
To ensure the best results, I recommend using a quick-dry top coat after removing the stencil. This helps the polish set faster and prevents smudging. I found that applying a thin layer of top coat and letting it dry for 2 minutes before adding another layer gave the most even finish. This technique not only saved time but also gave my nails a polished, professional look that lasted for a full week.
🌸 Sensitive Skin Routine
For those with sensitive skin, this routine uses hypoallergenic tools and non-toxic polishes to minimize irritation.
💰 Budget-Friendly Routine
This budget-friendly routine uses affordable tools and polishes that still deliver high-quality results.
🖌️ Minimalist Routine
This minimalist routine focuses on simple, elegant designs that are easy to apply and maintain.
🎯 Targeted Routine
This targeted routine is perfect for those who want to create a specific look with minimal effort and time.
🔄 Maintenance Routine
This maintenance routine helps keep your nails looking fresh and beautiful without the need for a full reapplication.
| The mistake | Why it happens | The fix |
|---|---|---|
| Applying polish too thickly | I’ve found that applying polish too thickly can cause bubbles and streaks. It also takes longer to dry and is more likely to chip. | I always apply a thin layer of polish and let it dry completely before adding another layer. This helps create a smoother, more even finish. |
| Not cleaning the nails before applying polish | I’ve noticed that not cleaning the nails before applying polish can cause the polish to not stick properly. This can lead to chipping and a less professional look. | I always clean my nails with an alcohol wipe before applying polish. This helps remove any oils or residue that might interfere with the polish. |
| Using the wrong type of polish | I’ve tried using regular nail polish for gel nail designs before, and it didn’t last as long. It also didn’t look as professional. | I always use a gel polish for gel nail designs. It lasts longer and looks more polished. |
| Not using a top coat | I’ve found that not using a top coat can make the polish more prone to chipping and smudging. It also doesn’t look as shiny. | I always use a top coat after applying polish. It helps protect the polish and makes it look more polished and professional. |
Easy Nail Designs
Common Questions
How long should I wait between applying layers of polish?
Can I use regular nail polish for gel nail designs?
What is the best way to remove gel polish?
Can I create easy nail designs without using any tools?
References
- “A little shiny gender breakthrough”: Community understandings of ... (pmc.ncbi.nlm.nih.gov)
- Nail Technician Tools| Building your kit after graduating (dorsey.edu)
Cite this guide
Gel Nails for Beginners (2026). Easy Nail Designs. https://careandnail.com/easy-nail-designs/
Feel free to cite or share this guide.