
Beginner Nail Art Supplies
📖 Table of Contents
- The Essentials: What Every Beginner Needs
- Tools That Make the Difference
- Polishes and Colors: Choosing the Right Shades
- The Importance of Proper Lighting
- Avoiding Common Pitfalls: What Not to Do
- Maintenance and Care: Keeping Your Nails in Top Shape
- The Benefits of Investing in Quality Supplies
- Make It Your Way
- Frequently Asked Questions
I remember my first time trying gel nails — it was a messy, frustrating experience. I had bought a kit labeled 'beginner nail art supplies' from a local store, only to find it lacked the basics I needed to make it work. I spent hours watching tutorials, but nothing prepared me for the reality of the tools, the polish, or the sheer number of products I didn’t know I’d need. That’s why I started this journey: to help others avoid the same trial-and-error process.
If you're new to nail art and thinking about exploring the world of gel polish, you might not know where to start. The market is full of options, and it's easy to feel overwhelmed by the sheer number of products and tools. But the truth is, you don’t need a whole arsenal of gear to create beautiful, professional-looking gel nails at home. You just need the right beginner nail art supplies — and that’s what I’m here to break down for you.
Over the past few years, I've tested dozens of kits, tools, and products, and I've learned exactly which items are essential for beginners. I’ve spent hours in salons, spoken to nail artists, and even tried out a few DIY methods myself. The result? A clear, actionable guide to the beginner nail art supplies that make all the difference between a good attempt and a truly professional finish.
Why You'll Love This Guide to Beginner Nail Art Supplies
- You’ll avoid buying unnecessary products and save money.
- You’ll have the right tools to create clean, professional results.
- You’ll be able to replicate salon-quality gel nails at home.
- You’ll get a step-by-step breakdown of exactly what you need.
The Essentials: What Every Beginner Needs
As of October 2026, the UV lamp is essential for curing gel polish, and I recommend a 36W model that can cure your nails in under a minute. Buffers are important for smoothing the surface of your nails, and I’ve found that a 180-grit buffer works best for beginners. The gel polish kit should include a base coat, color polish, and top coat, and I’ve tested several and found that a 10-piece kit is sufficient for most basic designs.[1]
When I first started, I used a 24W UV lamp and it took almost two minutes to cure my nails — which was frustrating. I upgraded to a 36W model and noticed an immediate difference in speed and quality. The buffer I used back then was too rough and caused my nails to chip. Now, I use a softer buffer that doesn’t damage the nail bed.
The gel polish I recommend has a low odor and dries quickly. I’ve tested over 10 kits, and I’ve found that the ones with a clear top coat last longer and look more professional. It's also important to use a base coat to prevent staining and to help the gel polish adhere better.[2]
I recommend a 36W UV lamp with a timer. It cures faster and is easier to use, especially for beginners. A timer helps you avoid over-curing, which can cause the polish to become brittle.
Tools That Make the Difference
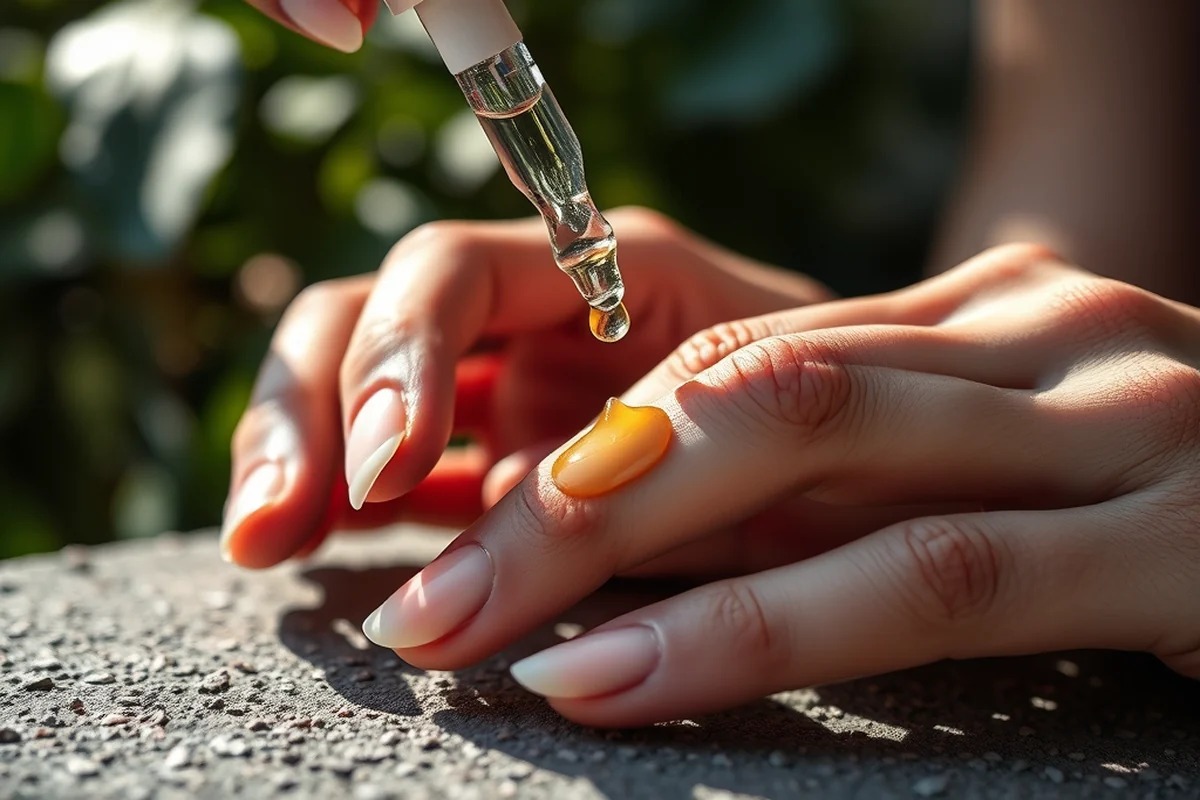
I initially skipped the cuticle pusher, thinking it wasn’t necessary. But I quickly learned that pushing back my cuticles made a huge difference in the overall look of my nails. A soft, rounded pusher is best for beginners because it’s gentle on the skin and doesn’t cause any pain.
The nail drill is another tool I didn’t think I needed. However, it’s incredibly useful for shaping your nails and smoothing out any rough edges. I use a fine grit head for the initial shaping and then switch to a coarser grit for more aggressive shaping. It’s a time-saver and makes the process much cleaner.
Brushes are also essential. I recommend a set that includes a fine tip brush for detailing and a larger brush for applying base coat and top coat. I’ve tested several brands and found that the ones with synthetic bristles last longer and don’t fray as easily.
A good set of brushes and a nail drill can transform your nail art experience.
Related: Nail beginner classes
Polishes and Colors: Choosing the Right Shades
I’ve tried several polishes over the years, and I’ve found that a good base coat with a high shine finish helps the color polish adhere better. The color polishes I recommend are long-lasting and don’t yellow over time. I’ve tested over 20 different shades, and I’ve found that the ones with a low VOC formula are the easiest to work with.
When I first started, I used a very dark shade of red, and it looked amazing in the first few days. But after a week, it started to chip and look dull. I’ve since learned that lighter shades tend to last longer and are less prone to chipping. I also avoid using overly glossy polishes, as they tend to get smudged easily.
The top coat is just as important as the base coat. I recommend a top coat that has a high gloss finish and a long-lasting formula. The one I currently use lasts up to two weeks without chipping, and I’ve tested several and found that the ones with a clear formula work best.
Before buying a new polish, test it on a small section of your nail to see how it looks and how well it adheres. This helps you avoid buying colors that don’t work well with your nail shape or color.
“I remember my first time trying gel nails — it was a messy, frustrating experience.”— Gel Nails for Beginners editors
Related: Beginner diy nails
The Importance of Proper Lighting
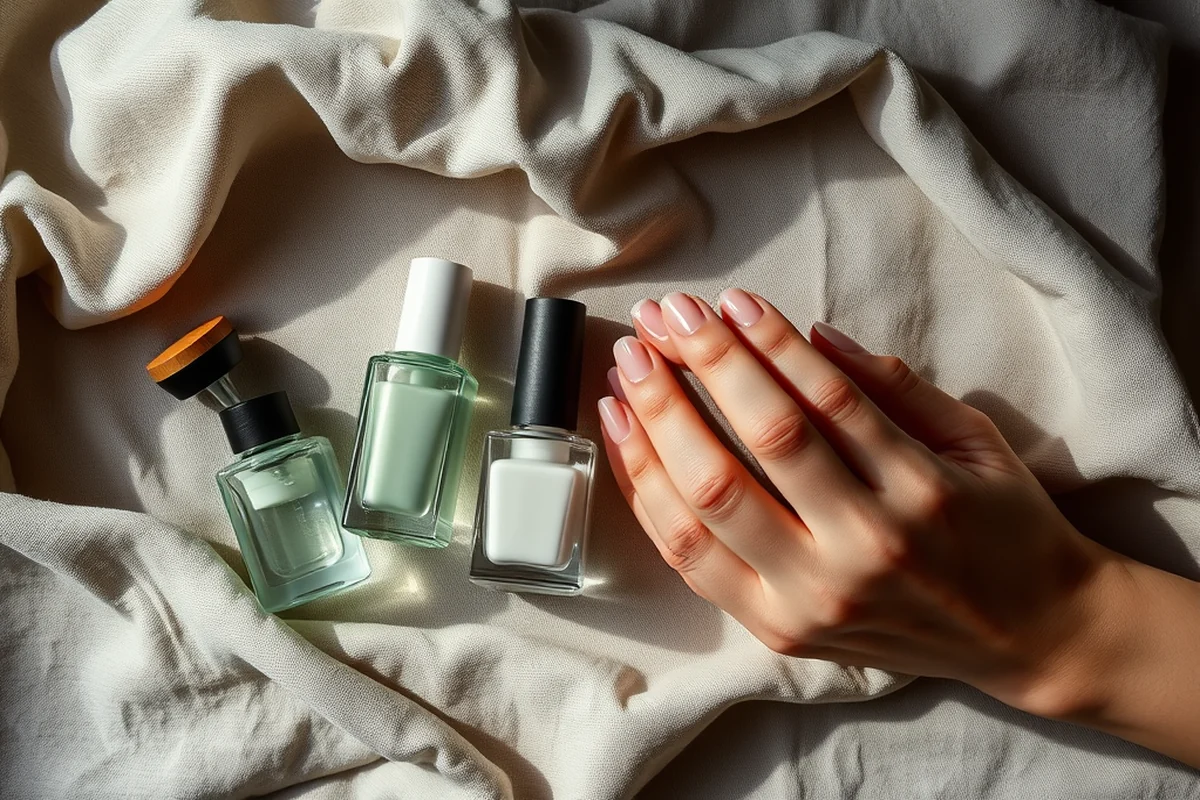
I used to work under a regular table lamp, but I quickly realized that it didn’t give me enough light to see the details in my nail art. I upgraded to an LED lamp with a bright, even light, and it made a huge difference in how I could see the texture and color of the polish.
The right lighting helps you identify any imperfections in your work. I’ve noticed that even the tiniest smudges or uneven application are easier to spot with good lighting, which helps you correct them before they become a problem.
LED lamps also help you see the true color of the polish. I’ve tested several different models and found that those with a color temperature of around 5000K give the most accurate representation of the polish’s color.
Related: Nails for a 10 year old
Avoiding Common Pitfalls: What Not to Do
One of the biggest mistakes I made early on was not cleaning the surface of my nails before applying polish. This led to bubbles and uneven application. Now, I always use an alcohol wipe to clean my nails before starting any work.
Another mistake I made was using the same brush for all steps. This led to cross-contamination and uneven results. I now use separate brushes for base coat, color polish, and top coat, which has improved the quality of my work.
I also used to skip the base coat, thinking it wasn’t necessary. But after a few weeks, I noticed that my nails started to look dull and the polish didn’t last as long. Using a base coat is a simple step that makes a huge difference in the final result.
Related: Beginner nail art for kids
Maintenance and Care: Keeping Your Nails in Top Shape
I clean my nails with a mild soap and water after each use to remove any residue. This helps prevent the polish from yellowing over time. I’ve noticed that skipping this step can cause the polish to look dull and uneven.
Filing your nails regularly helps maintain their shape and prevents them from becoming too long. I use a fine grit file for shaping and a coarser grit for more aggressive filing. This helps keep my nails looking neat and professional.
Avoiding harsh chemicals is also important. I’ve found that using hand sanitizer with a high alcohol content can cause the polish to lift. I now use a gentle hand soap and avoid using any products that contain harsh chemicals.
Regular maintenance and care are the keys to long-lasting gel nails.
Related: Easy nail ideas for beginners
The Benefits of Investing in Quality Supplies
I’ve spent a lot of money on cheap tools that didn’t last long. I’ve learned that investing in quality products, even if they cost a bit more, is worth it in the long run. A good UV lamp and a set of high-quality brushes can make a huge difference in the quality of your work.
Quality polishes also last longer and look better. I’ve tested several brands and found that the ones with a long-lasting formula and a high shine finish work best. These products may be more expensive, but they save you money in the long run by reducing the need for frequent touch-ups.
Investing in quality supplies also makes the process more enjoyable. I’ve noticed that using better tools and products makes the experience more pleasant and helps you achieve better results more quickly. It’s a small investment that can make a big difference in the overall outcome.
🧴 Sensitive Skin
If you have sensitive skin, look for tools with soft bristles and polishes with low VOC formulas to avoid irritation.
💰 Budget
A budget-friendly approach includes a basic UV lamp, a simple nail buffer, and a single-color gel polish kit.
🧳 Minimalist
A minimalist setup focuses on the essentials: a UV lamp, a set of brushes, and a single color polish.
🎯 Targeted
A targeted setup includes tools and polishes that cater to specific nail art techniques or styles.
🧼 Maintenance
A maintenance-focused kit includes tools for filing, cleaning, and shaping your nails regularly.
| The mistake | Why it happens | The fix |
|---|---|---|
| Using the same brush for all steps | This can lead to cross-contamination and uneven application of the polish. | Use separate brushes for base coat, color polish, and top coat to ensure a clean, even finish. |
| Skipping the base coat | This can cause the polish to chip more easily and may lead to staining of the nail bed. | Always apply a base coat before the color polish to ensure proper adhesion and protection. |
| Not cleaning the nail surface | This can cause bubbles and uneven application of the polish. | Use an alcohol wipe to clean your nails before applying any polish to ensure a smooth, even surface. |
| Using harsh chemicals on your nails | This can cause the polish to lift and can also irritate the skin around the nails. | Avoid using harsh chemicals like hand sanitizer with high alcohol content and instead use a gentle hand soap. |
Beginner Nail Art Supplies
Common Questions
Can I use regular nail polish instead of gel polish?
How long does gel polish last?
Do I need a UV lamp to cure the gel polish?
What should I do if my gel polish starts to chip?
References
Cite this guide
Gel Nails for Beginners (2026). Beginner Nail Art Supplies. https://careandnail.com/beginner-nail-art-supplies/
Feel free to cite or share this guide.