
How To Apply Gel X Nails At Home
📖 Table of Contents
The first time I tried applying gel X nails at home, I was equal parts nervous and excited. My nails had been chipped for weeks, and I wanted a long-lasting fix without the hassle of a salon visit. I had heard so many stories about how difficult it was, but I was determined to give it a shot. What I didn’t expect was just how satisfying the process would be once I got the hang of it.
I spent weeks researching the right products, watching tutorials, and reading reviews. It wasn’t until I tried a specific brand and followed a step-by-step method that things started to click. The result? A set of nails that lasted for four weeks without peeling or chipping. I didn’t just get a manicure—I got a confidence boost that lasted just as long.
Now, I apply gel X nails at home almost every other week, and it’s become a ritual I look forward to. The process is precise but doable, and the results are worth the effort. Whether you're a beauty novice or someone who’s tried gel nails before, this guide will walk you through the steps with the clarity and detail I wish I’d had when I first started.
Why You'll Love This Process
- You can create a professional-looking manicure in the comfort of your own home.
- It saves time and money by eliminating the need for regular salon visits.
- You get to customize your look with colors and designs that suit your style.
- The long-lasting finish means fewer touch-ups and more confidence.
Choosing the Right Tools and Products
As of October 2026, Gel X nails require specific tools and products that are not interchangeable with regular gel manicures. I started with a basic kit that included a UV lamp, nail clippers, a buffer block, and a few bottles of gel polish. It cost about $28, and I found that the quality of the products made a noticeable difference in the final result.
Choosing a reputable brand that offers a variety of shades and finishes is key. I looked for kits that included a base coat, a top coat, and a few color options. The consistency and thickness of the gel polish were important factors in my decision. I also made sure to buy a UV lamp with a built-in timer to ensure even curing.
Having the right tools and products not only improves the outcome of your manicure but also makes the process more efficient. I found that investing in a few high-quality items saved me time and frustration in the long run.
A UV lamp with a built-in timer ensures that each layer of gel is cured properly, which is essential for a long-lasting manicure.
Part of our Budget gel nails for beginners guide.
Prep Work for Perfect Nails
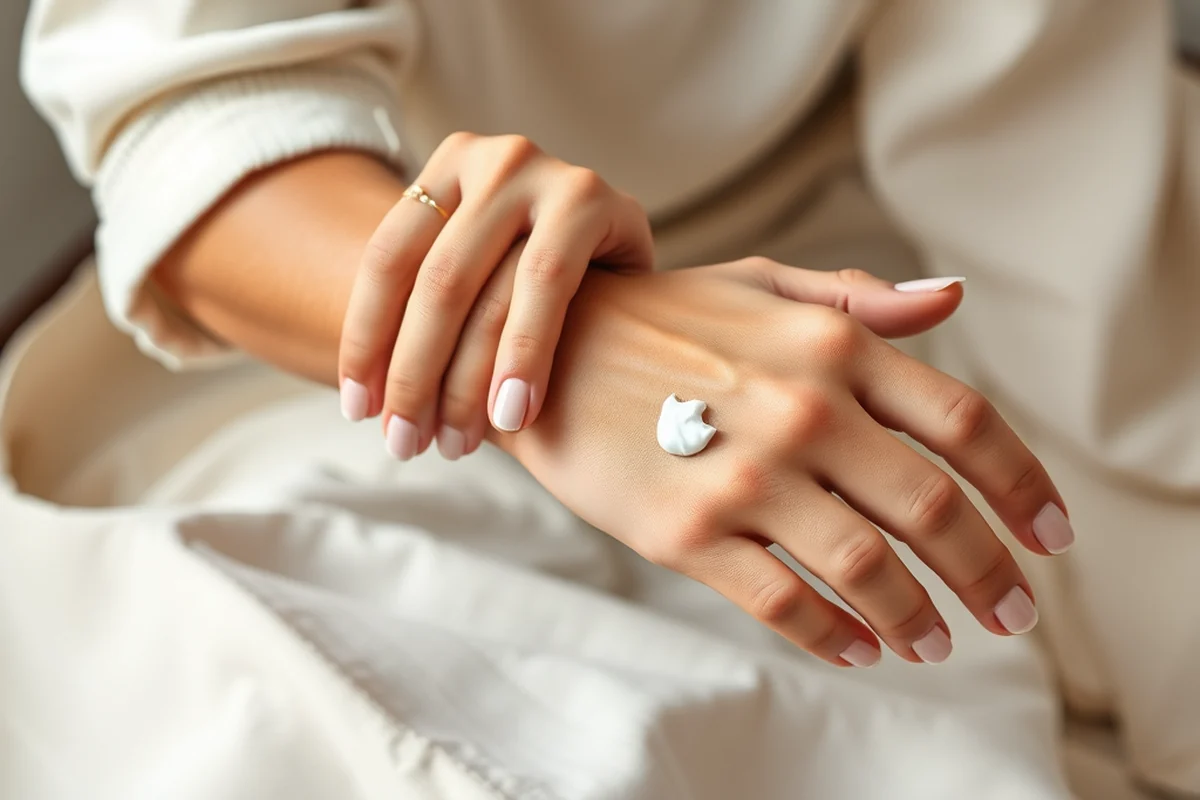
I always start by trimming and shaping my nails to the desired length and form. This step is crucial because it ensures that the gel polish adheres evenly and smoothly. I use a nail buffer block to file my nails into a rounded or square shape, depending on my preference.
Next, I clean my nails thoroughly with a nail wipe to remove any oils or residue. I’ve found that skipping this step can lead to lifting or peeling later on. I also use an acetone-free nail cleaner to avoid drying out my nails.
Finally, I apply a thin layer of base coat to create a smooth surface for the gel polish. This step helps prevent the polish from peeling and ensures that it lasts longer. I’ve noticed that skipping the base coat leads to uneven results and shorter wear time.
A little prep goes a long way in the world of gel X manicures.
Related: Gel nail kit for beginners with everything
Applying the Gel Polish
Once my nails are prepped, I begin by applying a thin layer of gel polish to each nail. I’ve learned that applying too much at once can lead to bubbles or uneven coverage. I use a gel brush with a small, pointed tip to control the amount of polish I apply.
I start with the base coat, then apply a thin layer of color, making sure to cover the entire nail surface. I then cure the polish under the UV lamp for the recommended time, usually 30 seconds. I repeat this process for the second coat of color, ensuring that the polish is even and free of streaks.[1]
Finally, I apply a top coat to seal everything in place and add a high-gloss finish. This step is crucial because it protects the polish and extends its wear time. I’ve found that using a high-quality top coat makes a noticeable difference in the overall look and longevity of the manicure.
Applying thin layers of gel polish ensures even coverage and helps prevent bubbles or ridges from forming during the curing process.
“The first time I tried applying gel X nails at home, I was equal parts nervous and excited.”— Gel Nails for Beginners editors
Related: How to do gel nails at home for beginners
Curing and Removing the Gel Polish
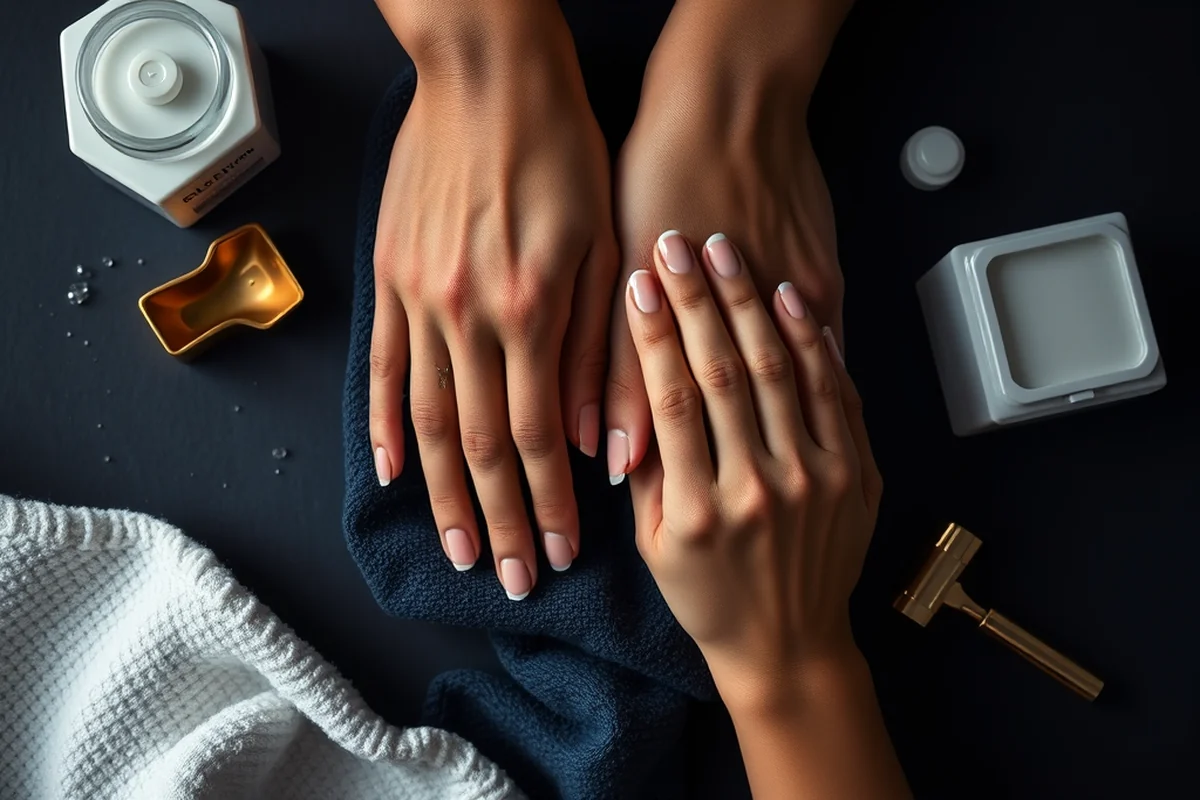
After applying each layer of gel polish, it’s important to cure it under the UV lamp for the recommended time. I’ve learned that curing the polish for too short or too long a time can lead to issues like lifting or peeling. I always follow the manufacturer’s instructions closely to ensure the best results.[2]
Once all the layers are cured and the top coat is applied, I let the nails cure for an additional minute under the UV lamp to ensure everything is fully set. I’ve noticed that skipping this step can lead to smudges or uneven finishes.
When it’s time to remove the gel polish, I use a gentle gel polish remover and a cotton pad to lift the polish off. I’ve found that using a warm, damp towel over the cotton pad helps the remover work more effectively and prevents the polish from lifting unevenly.
Related: Gel nails for home
Maintenance and Longevity Tips
To keep my gel X nails looking fresh, I avoid using harsh chemicals like acetone and opt for a gentle remover when it’s time to take them off. I’ve noticed that using acetone can dry out my nails and make the removal process more difficult.
I also make sure to avoid picking at any loose edges or peeling polish. This can cause the gel to lift and shorten the lifespan of the manicure. If I notice any lifting, I use a small amount of top coat to seal it and extend the wear time.
Finally, I avoid activities that can damage the polish, such as washing dishes without gloves or using my nails as tools. I’ve found that taking these simple precautions can make a big difference in how long the manicure lasts.
Related: How long for gel nails
Customizing Your Look
One of the best things about applying gel X nails at home is the ability to customize your look. I love experimenting with different colors, finishes, and designs. Whether I go for a classic French manicure or a bold, colorful look, the options are endless.
I’ve found that using gel polish with a shimmer or glitter finish adds a unique touch to my manicures. I also enjoy using gel stickers or nail art tools to create intricate designs. These additions make each manicure feel like a personal statement.
Customizing your gel X manicure allows you to match your outfit or mood perfectly. I’ve found that the right color and design can boost my confidence and make me feel more put-together. It’s a fun way to express my creativity and personal style.
Your nails are a canvas for self-expression—make them shine.
Related: How long gel nails dry
Troubleshooting Common Issues
I’ve encountered a few common issues while applying gel X nails at home, such as bubbles, streaks, and uneven color. When I first started, I often got bubbles in my polish, which I learned was due to applying too much polish at once. I now apply thin layers and cure each one properly.
Smoother application and proper curing have helped me eliminate streaks and uneven color. I’ve found that using a high-quality gel polish and applying it in the right order makes a noticeable difference in the final result.
If I notice any issues with my manicure, I take a step back and reapply the affected layer. It’s important to be patient and careful throughout the process to ensure a flawless finish.
Understanding Gel X Nails vs. Traditional Gel Nails
Gel X nails are formulated with a different polymer blend that allows them to bend slightly, reducing the risk of chipping or breaking compared to traditional gel nails. This makes them ideal for people with active lifestyles or those who are new to gel manicures. Traditional gel nails tend to be more rigid and can crack under pressure, especially if the nails are not properly shaped or if the user engages in activities like typing or using tools. One key difference is the curing time — gel X nails typically require only 30 seconds under a UV lamp, whereas traditional gel nails often need 2 minutes. This shorter curing time is a major advantage for those looking to save time during the manicure process.
True
Gel X nails also have a thinner consistency, which allows for easier application and a more even coat. This can be particularly beneficial for beginners who may struggle with applying traditional gel polish evenly. Also, gel X nails are generally more affordable, with a 10-piece kit costing around $25 to $35, compared to traditional gel kits that can range from $40 to $60. The lower cost and ease of use make gel X nails an excellent option for those who are just starting out or want to experiment with different designs without a large investment. Another advantage of gel X nails is that they are less likely to cause lifting at the edges of the nail, which is a common issue with traditional gel manicures. This is due to their flexible nature and the way they bond to the natural nail.
True
🛡️ Sensitive Skin
If you have sensitive skin, choose a gel X kit with hypoallergenic ingredients and avoid harsh chemicals like acetone.
💰 Budget
Opt for a budget-friendly gel X kit with a few essential products, such as a UV lamp, base coat, color, and top coat.
🧽 Minimalist
If you prefer a minimalist approach, start with a single color and a simple design for a clean, elegant look.
🎯 Targeted
For a targeted look, focus on a specific nail shape or color and build a manicure around it.
🛠️ Maintenance
For maintenance, use a touch-up kit with a small amount of gel polish and top coat to refresh your manicure.
| The mistake | Why it happens | The fix |
|---|---|---|
| Applying too much polish at once | This can lead to bubbles, streaks, and an uneven finish. | Apply thin layers and cure each one properly under the UV lamp. |
| Skipping the base coat | This can cause the polish to peel off or lift prematurely. | Always apply a thin layer of base coat before the color to ensure proper adhesion. |
| Curing the polish for too short or too long a time | This can result in an uneven finish or peeling. | Follow the manufacturer’s instructions for the recommended curing time. |
| Using harsh chemicals like acetone | This can dry out the nails and make the removal process more difficult. | Use a gentle gel polish remover and avoid acetone whenever possible. |
How To Apply Gel X Nails At Home
Common Questions
What is the best way to remove gel X nails at home?
Can I apply gel X nails over regular nail polish?
How long does a gel X manicure last?
What is the best way to store gel X polish?
References
Cite this guide
Gel Nails for Beginners (2026). How To Apply Gel X Nails At Home. https://careandnail.com/how-to-apply-gel-x-nails-at-home/
Feel free to cite or share this guide.