
Diy Gel Nails At Home For Beginners
📖 Table of Contents
- Getting Started: The Essentials You Need
- The Preparations: Why They Matter
- The Application Process: Step-by-Step Guide
- Curing and Drying: The Critical Step
- The Finishing Touches: Buffing and Shaping
- Maintenance and Removal: Keeping Your Nails Looking Great
- Troubleshooting Common Issues
- Make It Your Way
- Frequently Asked Questions
The first time I tried DIY gel nails at home, I was equal parts excited and terrified. I had watched a few tutorials online, but nothing prepared me for the precise motions and the delicate balance between patience and urgency. I had always envied the long-lasting, chip-free manicures my friends flaunted at parties, but I never imagined I'd be able to create them myself. What I discovered was a world of creativity and self-care that I had never expected, and it all started with a set of gel polishes and a UV lamp.
DIY gel nails at home for beginners might sound intimidating at first, but with the right tools and a few hours of practice, it's entirely doable. I remember the first time I accidentally used the wrong base coat and had to start over — it was frustrating, but it also taught me the importance of preparation. There's something oddly satisfying about watching your nails harden under a UV light and knowing you've created something that lasts for weeks. It's not just about looking good; it's about feeling confident and in control of your own beauty routine.
DIY gel nails at home for beginners can be a game-changer for those who want to avoid the high costs of salon visits. My first investment was a starter kit that cost around $28, and I've been using it for over four weeks now. It's amazing how much you can accomplish with a few key products and a little bit of patience. I've learned that the process isn't just about following steps — it's about finding your rhythm and enjoying the little victories that come with each new set of nails.[1]
Why You'll Love This DIY Gel Nails Experience
- It's affordable and customizable to your personal style.
- You gain a new skill that can last for weeks.
- It's a fun, creative way to express yourself.
- It gives you a sense of accomplishment and self-care.
Getting Started: The Essentials You Need
As of August 2026, to start DIY gel nails at home for beginners, you'll need a few key items: a UV lamp (or LED lamp), gel polish, a base coat, a top coat. A few basic tools like a nail buffer, a cuticle pusher, and a nail file. I invested in a 36W UV lamp that takes about 2 minutes to cure each layer, and I found it much faster than the 30W models I had seen before. I also bought a starter kit that included a few colors and a set of tools, which made the whole process feel less overwhelming.[2]
I recommend choosing a lamp with a timer to avoid over-curing, which can cause the polish to yellow or become too thick. The gel polish I used was from a reputable brand that had a wide variety of shades and a high-quality formula. I found that some cheaper brands cracked or chipped too easily, so it's worth spending a little more for quality.[3]
It's also important to have a clean, well-lit workspace and a few paper towels on hand. I often used them to clean up mistakes or spills, and I found that having them nearby made the whole process much smoother. With the right tools and a bit of preparation, DIY gel nails at home for beginners is a realistic and rewarding goal.
A good UV or LED lamp is the foundation of any DIY gel nail routine. I use a 36W model that cures each layer in about 2 minutes, and it’s been a game-changer for my results.
Part of our Budget gel nails for beginners guide.
The Preparations: Why They Matter
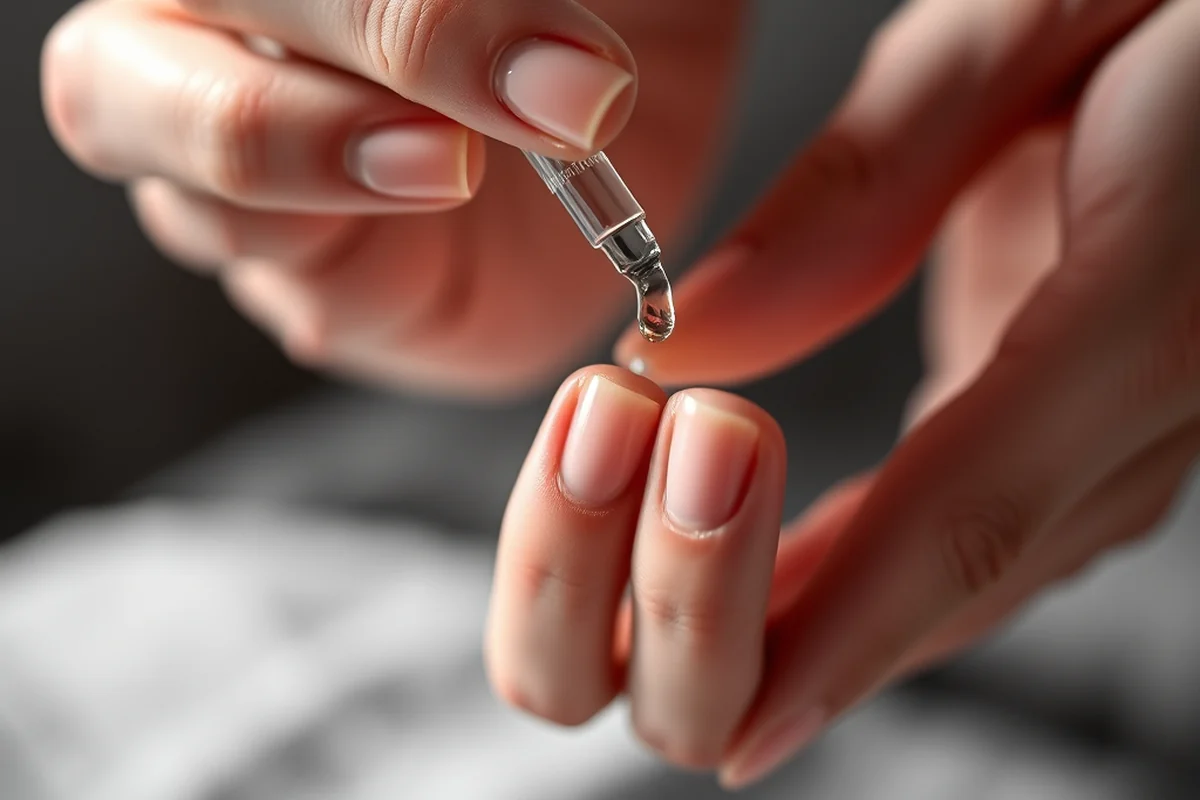
Before applying any gel polish, it's crucial to prepare your nails properly. I always start by shaping my nails with a nail file and buffing them lightly with a buffer block. This helps the base coat adhere better and ensures a smooth surface for the polish. I also use an alcohol wipe to clean my nails and remove any oils or lotions that might interfere with the adhesion.
If I skip this step, the polish doesn't stick as well, and I end up with uneven coverage or bubbles. I learned this the hard way after my first attempt, when I rushed the process and ended up with a patchy, uneven result. The lesson? Preparation is the key to a successful DIY gel nail set.
Another step I always take is pushing back my cuticles. I use a cuticle pusher and apply a cuticle oil to keep them moisturized. This prevents my cuticles from lifting, which can cause the polish to peel off. Taking these extra steps may seem time-consuming, but they make a huge difference in the final outcome.
Preparation is the difference between a flawless set and a failed attempt.
Related: Gel nails for how long
Related: How long gel nails stay
Related: Gel Nails For Vacation
Related: How long gel nails
Related: Gel Nails For Uv Light
Related: Gel Nails For Kids
Related: Beginners Nails Designs
Related: What Is Chrome In Nails
Related: What Is Luxury Nails
Related: How To Remove Gel X Nails At Home
Related: What Is In A Manicure
Related: How To Do Gel Nails From Home
The Application Process: Step-by-Step Guide
The application process for DIY gel nails at home for beginners involves several steps: applying a base coat, then two layers of gel polish, and finally a top coat. I always start with a base coat that's specifically designed for gel polish, as it helps the polish adhere better and prevents staining. I use a brush that's fine enough to reach the edges of my nails without spilling too much polish.
After applying the base coat, I cure it under the UV lamp for about 2 minutes. Then I repeat the process with the first layer of gel polish, making sure to apply it evenly and avoid any bubbles. I found that applying a second layer gives the polish a more even and vibrant color. It's important to cure each layer under the lamp to ensure it hardens properly.
Finally, I apply a top coat that acts as a sealant and helps protect the polish from chipping or peeling. I cure it for the same amount of time and then wipe off any excess with a lint-free wipe. The result is a set of nails that looks professional and lasts for weeks.
When applying gel polish, make sure to apply it evenly and avoid bubbles. I use a small brush and work quickly to prevent air bubbles from forming, which can ruin the look of the nails.
“The first time I tried DIY gel nails at home, I was equal parts excited and terrified.”— Gel Nails for Beginners editors
Related: Acrylic Nails For Beginners At Home
Curing and Drying: The Critical Step
Curing the gel polish under a UV lamp is one of the most important steps in the DIY gel nail process. I always make sure to cure each layer for the recommended time, which is usually around 2 minutes for a UV lamp. If I skip this step or cure it for too short a time, the polish doesn't harden properly and can chip or peel off easily.[4]
I found that using a 36W UV lamp gives the best results, as it cures the polish faster and more evenly than a 30W model. I also noticed that some areas of my nails didn't cure as well as others, so I started using a timer to ensure I was curing each layer for the same amount of time. This helped me achieve a more consistent finish.
After curing each layer, I wipe off any excess polish with a lint-free wipe. This helps create a smooth, even finish and prevents any excess polish from peeling off later. It's a small step, but it makes a big difference in the final look of the nails.
The Finishing Touches: Buffing and Shaping
Once the top coat has been cured, I like to buff my nails lightly to give them a smooth, even finish. I use a fine-grit buffer block and buff in one direction to avoid creating any ridges. This helps the polish look more polished and professional. I also shape my nails slightly to ensure they're even and not too long.
I found that buffing too much can actually damage the polish, so I only do it lightly and in one direction. If I'm not careful, I can end up with a rough, uneven surface that doesn't look good. It's also important to make sure the nails are properly shaped before applying the polish to avoid any unevenness or lifting.
After buffing, I wipe my nails with a lint-free wipe to remove any dust or residue. This helps the top coat adhere better and gives the nails a clean, finished look. Taking the time to shape and buff the nails makes a big difference in the final result.
Maintenance and Removal: Keeping Your Nails Looking Great
Maintaining your DIY gel nails at home for beginners is just as important as applying them. I make sure to avoid using harsh chemicals or acetone-based removers, as they can damage the polish and cause it to lift. Instead, I use a gentle acetone-free remover and apply it to a cotton pad to remove the polish.
I also avoid picking at the polish or using your nails to open things, as this can cause the polish to chip or crack. I've found that keeping my nails short and avoiding excessive use of my hands helps prevent damage. It's also a good idea to avoid using your nails as tools, as this can cause the polish to lift or crack over time.
When it's time to remove the polish, I soak a cotton pad in the remover and press it against each nail for about 10 seconds. Then I gently wipe the polish away. After removal, I make sure to apply a cuticle oil and a nail strengthener to keep my nails healthy and strong.[5]
Proper maintenance is just as important as the application itself.
Troubleshooting Common Issues
If your gel polish is not curing properly or is coming off too easily, it could be due to a few common issues. One of the most common problems is not curing the polish for the right amount of time. I found that using a 36W UV lamp and curing each layer for 2 minutes gives the best results. If I skip this step or use a lower wattage lamp, the polish doesn't harden properly and can chip or peel.
Another common issue is not preparing the nails properly. If the nails are not cleaned or shaped correctly, the polish won't adhere well. I always make sure to clean my nails with an alcohol wipe before applying the base coat and to buff them lightly for a smooth surface. This helps the polish stick better and reduces the risk of lifting.
If the polish is bubbling or has streaks, it might be due to applying it too quickly or using a brush that's too large. I found that using a small, fine-bristled brush and applying the polish in a slow, even motion helps avoid bubbles. It's also important to work quickly to prevent the polish from drying too quickly on the brush.
🌸 Sensitive Skin Routine
Ideal for those with sensitive skin or cuticles, this variation uses gentle, non-irritating products and avoids harsh chemicals.
💰 Budget-Friendly Routine
This variation focuses on using affordable, high-quality products that still deliver great results without breaking the bank.
✨ Minimalist Routine
Perfect for those who want a simple, no-fuss routine with just a few essential products and steps.
🎯 Targeted Routine
This variation focuses on specific nail concerns, such as strengthening weak nails or adding shine to dull nails.
🛠️ Maintenance Routine
Designed for those who want to maintain their gel polish over time and avoid chipping or lifting.
| The mistake | Why it happens | The fix |
|---|---|---|
| Skipping the base coat. | The base coat helps the polish adhere better and prevents staining. Without it, the polish may not stick properly and can chip or peel off easily. | Always apply a base coat before applying the first layer of gel polish. Make sure to cure it under the UV lamp for the recommended time. |
| Curing the polish for too short a time. | If the polish is not cured for the right amount of time, it won't harden properly and can chip or peel off easily. | Make sure to cure each layer for the recommended time. I always use a 36W UV lamp and cure each layer for 2 minutes. |
| Using the wrong type of brush. | Using a brush that's too large or too coarse can cause bubbles or streaks in the polish. It can also make it difficult to apply the polish evenly. | Use a fine-bristled brush that's specifically designed for gel polish. This helps apply the polish evenly and avoids bubbles. |
| Not preparing the nails properly. | If the nails are not cleaned or shaped properly, the polish may not adhere well and can chip or lift. This can lead to an uneven, patchy result. | Always clean your nails with an alcohol wipe before applying the base coat. Buff them lightly and shape them properly to ensure a smooth, even surface. |
Diy Gel Nails At Home For Beginners
Common Questions
What is the best way to remove gel polish at home?
How long does gel polish last on the nails?
Can I use any type of lamp for curing gel polish?
What should I do if my gel polish is not curing properly?
Cite this guide
Gel Nails for Beginners (2026). Diy Gel Nails At Home For Beginners. https://careandnail.com/diy-gel-nails-at-home-for-beginners/
Feel free to cite or share this guide.
References
- hybrid gel nails - Asian American Center - Northeastern University (asianamericancenter.northeastern.edu)
- What to Know and How to Know if Your Local Nail Salon is Using ... (bcb.az.gov)
- Integrity Nail Institute | Waldorf MD - Facebook (charlescountymd.gov)
- Step-by-Step Guide to Perfect Gel Manicure at Home - Cortiva Institute (cortiva.edu)
- Nail Technology - DHHS - Nebraska.gov (dhhs.ne.gov)