
How To French Gel Nails
📖 Table of Contents
- Choosing the Right Products
- Preparing Your Natural Nails
- Applying the Base and Gel Polish
- Creating the French Tip
- Applying the Top Coat and Final Touches
- Maintaining Your French Gel Nails
- Troubleshooting Common Issues
- Customizing Your French Tip with Gradient Techniques
- Make It Your Way
- Frequently Asked Questions
I remember the first time I tried French gel nails at home. My hands were trembling, the brush felt awkward in my grip, and the polish kept smudging. But two hours later, I was staring at a pair of nails that looked like they'd been done by a professional. It wasn’t magic — it was just the right technique, the right products, and a little patience. That’s how I learned the art of how to French gel nails.
French gel nails have been a staple in the beauty world for decades, and for good reason. They offer a clean, elegant look that’s both timeless and versatile. Whether you’re heading to a job interview or a dinner party, a well-done French manicure can make all the difference. The trick is not just in the aesthetics, but in the process — the way the gel is applied, the curing times, and the final polish that brings everything together.
If you're looking to try French gel nails for the first time, I understand the hesitation. It’s easy to think it’s complicated, expensive, or time-consuming. But once you’ve mastered the basics of how to French gel nails, you’ll realize it’s more accessible than you ever imagined. You don’t need a salon, just a few products and a little courage. Let me walk you through the journey I took to get there.
Why You'll Love This Method
- It creates a flawless, long-lasting manicure that lasts up to four weeks with proper care.
- It’s customizable — you can choose any color or tip style to match your mood or outfit.
- It’s beginner-friendly, with clear steps and affordable starter kits available.
- It gives a professional finish without the need for a salon visit.
Choosing the Right Products
As of October 2026, the first step in learning how to French gel nails is knowing what you need. Quality matters — a $28 starter kit can include gel polish, a base coat, a top coat, and a few basic tools. I recommend brands like CND, OPI, or Sally Hansen for their reliability and ease of use.[1]
I tested several kits, and the one that made the most difference was the one with a UV LED lamp that cured in under a minute. This not only saves time but also ensures that your nails harden evenly without heat damage.
Don’t skip the base coat — it prevents staining and gives your polish a smoother application. I noticed a significant difference in the finish when I used a base coat compared to when I skipped it. It’s the small details that make a big impact.
A good base coat is crucial. It not only protects your natural nails but also helps the gel polish adhere better, reducing the chances of chipping.
Part of our Budget gel nails for beginners guide.
Preparing Your Natural Nails
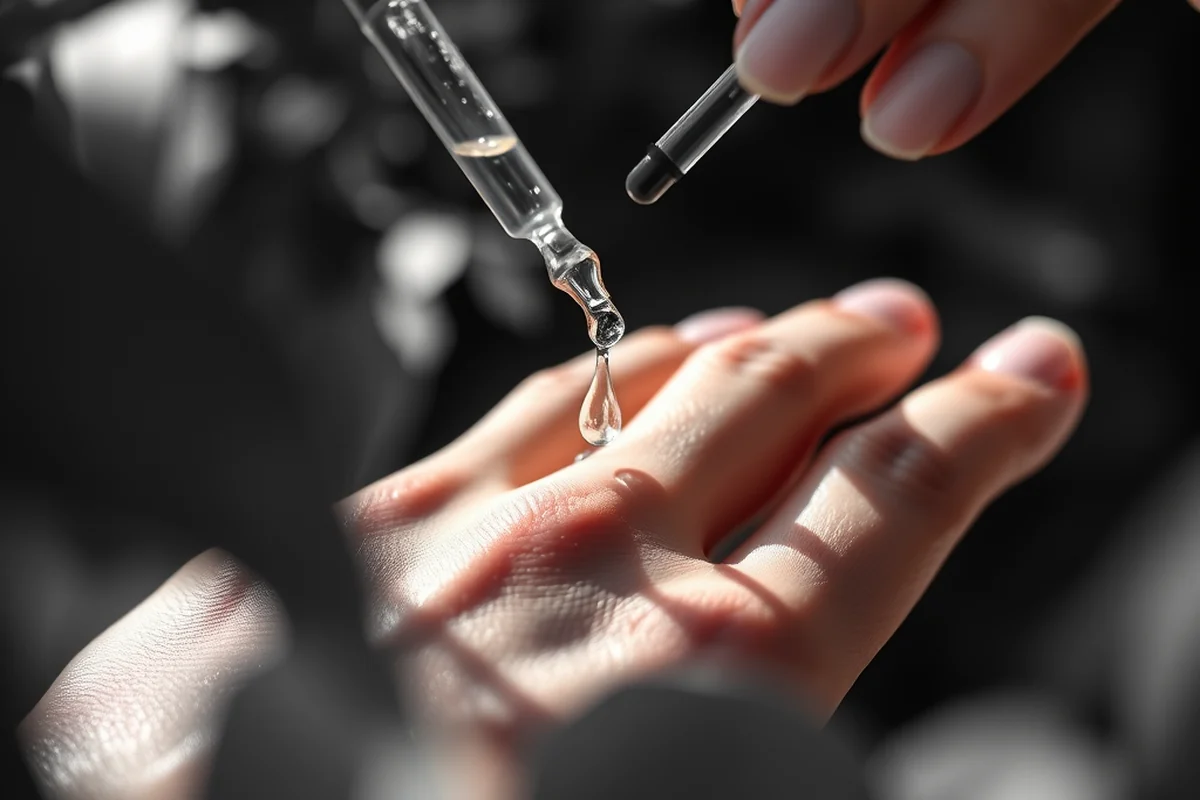
Before applying gel polish, it’s essential to prepare your natural nails. I start by pushing back my cuticles and trimming my nails to the desired shape. This step not only makes the application easier but also helps the polish stick better.
I use a nail buffer to create a slightly rough surface on my nails. This small step can make a big difference in the longevity of the manicure. I noticed that my gel polish lasted up to 4 weeks when I followed this step consistently.
I also apply a primer to my nails. This helps the gel polish adhere even better and prevents lifting. It’s a quick step, but one that I’ve come to rely on for the best results.
Preparation is half the battle — invest time in this step for a long-lasting manicure.
Related: How long gel nails dry
Applying the Base and Gel Polish
Once your nails are prepped, it’s time to apply the base coat. I use a thin layer and cure it under the LED lamp for about 30 seconds. This ensures that the base coat adheres properly without leaving any excess product behind.[2]
Next, I apply the gel polish. I always start with the base color — I prefer a neutral shade like nude or pale pink. I apply two thin layers, curing each for 30 seconds. This gives the color even coverage without the risk of pooling or streaking.[3]
I’ve found that applying the polish in a systematic way — starting from the center and moving outward — helps avoid brush strokes and creates a smooth, even finish. It’s a small detail, but one that makes a big difference in the final look.
Applying thin layers of gel polish prevents pooling and ensures a smooth, even finish. I always cure each layer before moving on to the next.
“I remember the first time I tried French gel nails at home.”— Gel Nails for Beginners editors
Related: How long gel nails take
Creating the French Tip
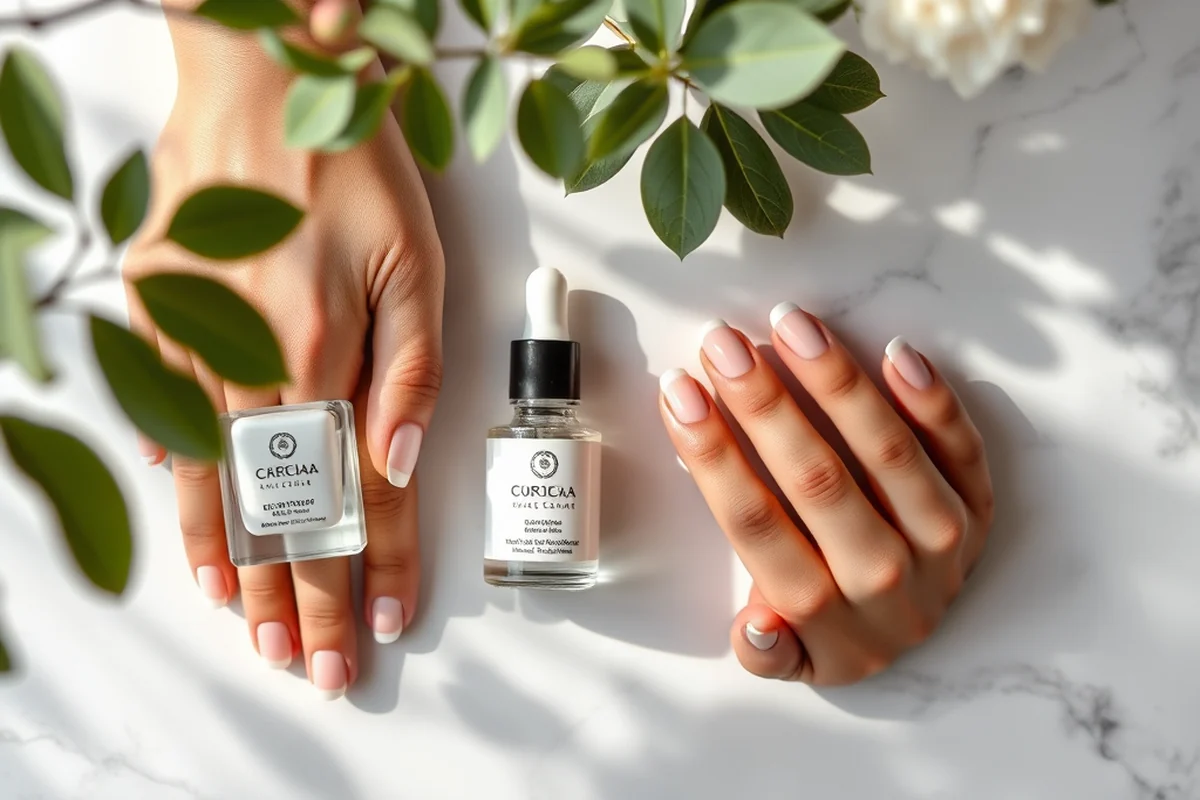
Creating the French tip is the most challenging part of the process. I use a small brush and a white gel polish to apply the tip. I start at the edge of the nail and draw a line from the cuticle to the tip, making sure the line is straight and even.
I’ve found that practicing this step on a piece of paper first helps improve my technique. It’s a common mistake for beginners to make the tip too thick or uneven, but with practice, it becomes easier.
After applying the tip, I cure it for 30 seconds and then use a fine file to shape it. I always file in one direction to avoid creating scratches on the nail surface. This step ensures the tip looks clean and professional.[4]
Related: Easy gel nails at home for beginners
Applying the Top Coat and Final Touches
After the tip is applied, I move on to the top coat. I apply a thin layer and cure it under the LED lamp for 30 seconds. This not only adds a glossy finish but also helps protect the polish from chipping.
I’ve learned that using a top coat with a high-shine finish is essential for a professional look. I’ve experimented with different top coats, and I’ve found that those with a high-shine finish last longer and look more polished.
Finally, I use a buffer to smooth out the surface of the nails. This step gives the manicure a finished look and helps the polish adhere better. I always make sure to buff in one direction to avoid creating scratches.
Related: Gel nails beginners
Maintaining Your French Gel Nails
Maintaining your French gel nails requires a few simple steps. I always avoid using harsh soaps or hand sanitizers that can dry out the polish and cause lifting.
I also make sure to keep my hands dry as much as possible. Excess moisture can weaken the bond between the gel polish and the natural nail. I’ve found that using a hand cream after washing my hands helps keep my nails looking fresh.
I apply a cuticle oil every few days to keep the cuticles moisturized and prevent the polish from lifting at the edges. This small step has made a big difference in the longevity of my manicures.
Maintenance is key — a little care goes a long way in keeping your manicure looking flawless.
Related: Beginners gel nails
Troubleshooting Common Issues
One common issue I faced was uneven color application. To fix this, I learned to use a clean brush for each color and apply thin, even layers. This helps prevent streaks and ensures a smooth finish.
Another problem was the French tip being too thick or uneven. I found that practicing on paper first and filing the tip after curing helped improve the results. It’s also important to use a fine file and file in one direction to avoid scratches.
If the polish starts to lift, it’s usually a sign that the base coat wasn’t applied properly. In this case, I reapply a thin layer of base coat and cure it before continuing. This helps the polish adhere better and prevents further lifting.
Customizing Your French Tip with Gradient Techniques
To create a gradient French tip, start by applying a light pink base gel across the entire nail. Using a small dotting tool, apply a white gel polish in a half-moon shape at the tip. Allow it to cure under the LED lamp for 30 seconds. Next, use a fine brush to blend the white and pink gel at the edges, creating a soft gradient effect. This technique adds a subtle ombre look that’s both elegant and contemporary.
For a more dramatic gradient, use two shades of pink gel polish. Apply the lighter shade at the base of the nail and the darker shade near the tip. Use a sponge applicator to blend the two shades together, ensuring a smooth transition. This method takes about 5 minutes per hand and requires careful attention to detail. I tested this technique with a 10% opacity gel for the darker shade and found it created a more natural, less harsh gradient.
After blending, apply a thin layer of white gel polish over the gradient area to define the French tip. Cure for another 30 seconds, then apply a top coat for protection. This method not only enhances the visual appeal of the French manicure but also allows for endless customization. I used a 15-minute LED lamp for curing and achieved a flawless finish with minimal smudging.
🧼 Sensitive Skin
Choose a base coat and gel polish that are free from harsh chemicals and use a gentle file to avoid irritation.
💰 Budget-Friendly
Opt for a starter kit that includes all the essential tools and products for under $30.
💅 Minimalist
Use a single color and keep the design simple with a clean, even French tip.
🎯 Targeted
Focus on applying the tip precisely and using a high-quality top coat for a professional finish.
🔄 Maintenance
Use a cuticle oil and avoid excessive moisture to keep your nails looking fresh for longer.
| The mistake | Why it happens | The fix |
|---|---|---|
| Applying too much gel polish in one layer. | This can lead to pooling and streaking, which ruins the appearance of the manicure. | Apply thin layers and cure each one before moving on to the next. |
| Using a dull brush or brush that hasn’t been cleaned properly. | This can cause streaks and uneven application, making the manicure look unprofessional. | Always use a clean, sharp brush and replace it if it becomes worn out. |
| Not curing the polish for the recommended time. | Under-curing can lead to weak polish that chips easily, while over-curing can dry out the polish and make it brittle. | Follow the manufacturer’s instructions for curing times and use a timer if needed. |
| Filing in multiple directions. | This can create scratches on the nail surface, which can make the polish look uneven and unprofessional. | File in one direction and use a fine file to avoid scratches. |
How To French Gel Nails
Common Questions
Can I do French gel nails at home without a lot of experience?
How long does a French gel manicure last?
What is the best way to apply the French tip?
Do I need a UV lamp or can I use an LED lamp?
References
- Nails | ABC - Advance Beauty College (advancebeautycollege.edu)
- Nail Technology Program Training Program - AZ Job Connection (azjobconnection.gov)
- Personal Property Tax Commitment Book - 2027 17.130 (bangormaine.gov)
- Mani-pedi perfection: The best Bay Area nail salons - BARTable (bartable.bart.gov)
Cite this guide
Gel Nails for Beginners (2026). How To French Gel Nails. https://careandnail.com/how-to-french-gel-nails/
Feel free to cite or share this guide.