
Beginners Gel Nails
📖 Table of Contents
- The Essentials: What You Need to Get Started
- Prepping Your Nails: Why It Matters
- Choosing the Right Gel Polish
- Applying the Base Coat: The Foundation of Your Manicure
- Curing Your Gel Polish: The Science Behind the Shine
- The Top Coat: Sealing Your Manicure
- Removing Your Gel Nails: The Gentle Way
- Make It Your Way
- Frequently Asked Questions
The first time I tried gel nails, I was both excited and terrified. I had watched a few YouTube tutorials. Nothing prepared me for the actual process — the smell of the UV lamp, the slight tingling from the gel polish, the satisfying click when the nail was cured. As someone who had never done their own manicure before, I approached it like a first-time DIYer painting a living room. But with the right tools and a bit of patience, I was able to achieve a manicure that looked like it had been done by a professional. It was one of those moments where I realized that even if you're a beginner, gel nails can be something you can do on your own, and it can be fun.
When I first started experimenting with gel nails, I had a lot of questions. How long does the process take? What’s the difference between gel and acrylic? How do I avoid making my nails too thick? I remember spending hours on forums and watching dozens of videos before I finally gathered the courage to try it on my own. The truth is, getting started with gel nails doesn’t have to be overwhelming. With the right guidance, you can learn the basics and feel confident enough to do it yourself. You don’t need to be an expert to get beautiful results — you just need the right tools, a little bit of patience, and a willingness to learn.[1]
Now, I can do my own gel nails in under 45 minutes, and I’ve been doing it consistently for over a year. I’ve learned which products work best for my skin, how to avoid common mistakes, and even how to fix things when things go wrong. If you’re new to gel nails, I’m here to tell you that it’s not as scary as it seems. You don’t need a degree in cosmetology to get a good manicure — all you need is a little guidance and the right mindset. This article is for you, the beginner, and it’s designed to walk you through every step of the process, so you can do it with confidence.[2]
Why You'll Love This Gel Nails Routine
- Long-lasting, chip-resistant manicures that last up to 3 weeks with proper care.
- Affordable starter kits available for under $30, making it an accessible beauty routine.
- Easy to do with step-by-step instructions and minimal tools required.
- A customizable routine that can be tailored to your skin type and lifestyle.
The Essentials: What You Need to Get Started
As of August 2026, before you even think about applying gel polish, you need to make sure you have the right tools. A UV lamp is essential for curing the gel, and while some kits come with a basic lamp, I recommend investing in a higher-quality one for even curing and longer-lasting results.[3]
Next, you’ll need a base coat, which helps the gel adhere to your natural nails. I always use a base coat that has a slight pinkish tint — it helps your nails look more natural and prevents the gel from appearing too yellow over time. The base coat is also crucial for protecting your natural nails from staining.
On top of that, you’ll need a few different gel polishes — one for the base, one for the color, and one for the top coat. I always use a clear top coat that has a slight shine, which gives your nails a polished, professional look. These are the basics, and with them, you can start experimenting with different colors and styles.
A good UV lamp will make a huge difference in how your gel nails cure and how long they last. I recommend one with a timer, so you don’t have to guess how long to cure each layer.[4]
Part of our Budget gel nails for beginners guide.
Prepping Your Nails: Why It Matters
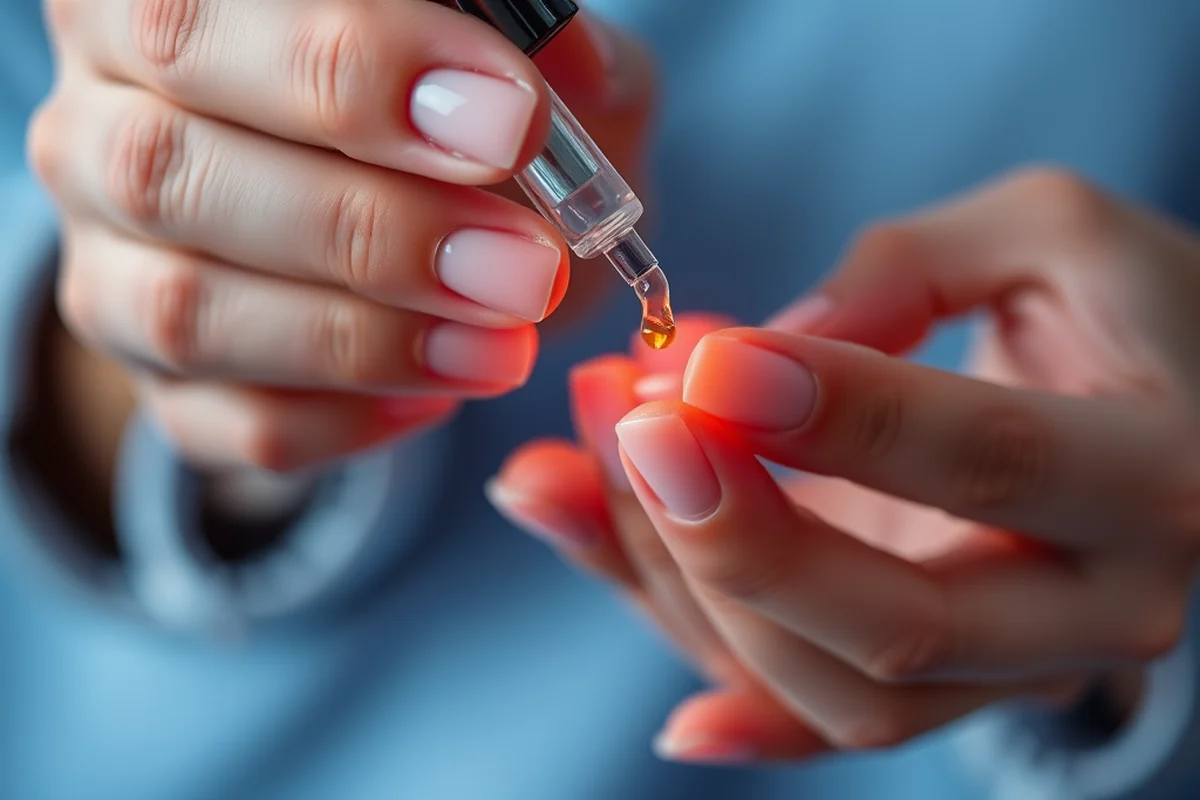
Before applying any gel polish, I always start by washing my hands with soap and water. I make sure to dry them thoroughly, because even the smallest amount of moisture can cause the gel to lift or not adhere properly.
Next, I use a nail buffer to shape my nails and remove any ridges. I always start with a fine grit and work my way to a coarser grit if I need to shape them more. Buffing not only helps with the adhesion of the gel but also makes the manicure look smoother and more even.
Then, I use a nail wipe to remove any oils or lotions from my nails. I’ve found that even after washing my hands, I sometimes have residue from my hands or my skincare products. Using a wipe is an extra step that helps ensure the gel sticks properly.
A well-prepped nail is half the battle — don’t skip the prep!
Related: How long gel nails
Related: Gel nails for at home
Related: Gel nails beginners
Related: Easy gel nails at home for beginners
Related: How To Shape Nails Round For Beginners
Related: Beginners Nails Designs
Related: Builder Gel Nails For Beginners
Related: How To Do Nails Beginners
Related: What Is Chrome In Nails
Choosing the Right Gel Polish
I’ve tried a few different brands of gel polish, and I’ve found that the consistency and quality make a big difference. Some polishes are too thick and hard to apply, while others are too runny and don’t cure properly. I’ve settled on a brand that’s easy to apply and has a good consistency.
I also look for gel polishes that are free from harsh chemicals like formaldehyde, tomin, and dibutyl phthalate. These are often labeled as '3-free' or '5-free' — the more free, the safer it is for your nails and your health. I’ve noticed that the more toxic-free the polish, the more my nails look healthier over time.
Another thing I look for is the finish — some gel polishes give a matte finish, while others are glossy. I’ve found that a glossy finish is more popular and looks more professional, but if you want a more natural look, a matte finish can be a good option too.
Choosing a polish that’s free from harmful chemicals is not only better for your health, but it also helps your natural nails look healthier in the long run.
“The first time I tried gel nails, I was both excited and terrified.”— Gel Nails for Beginners editors
Applying the Base Coat: The Foundation of Your Manicure
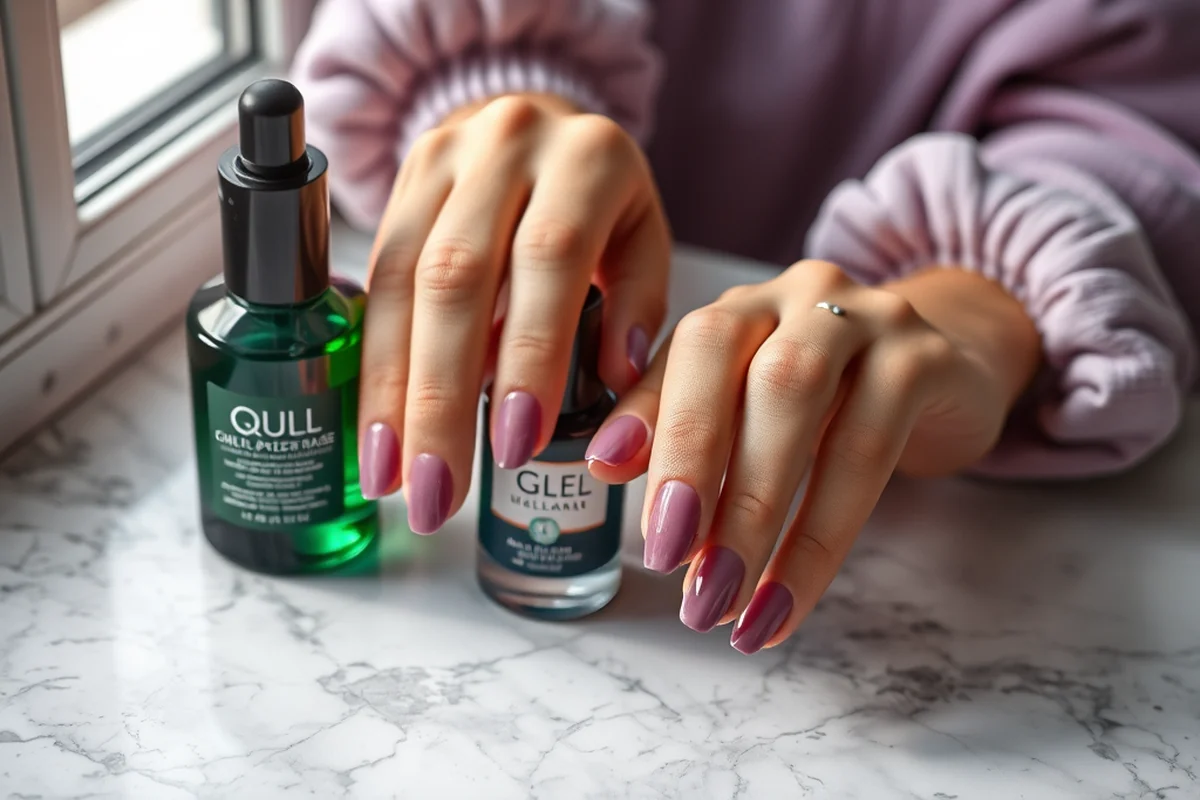
After prepping my nails, I always start with a base coat. I apply a thin, even layer to each nail, making sure to cover the entire surface. The base coat helps protect my natural nails from staining and also helps the gel adhere better.
I cure the base coat under the UV lamp for the recommended time — usually 2 minutes — and then I check the layer to make sure it’s even. If I see any ridges or bubbles, I’ll go back and buff them out before proceeding to the next step.[5]
Once the base coat is cured, I move on to the color. I choose a color that I like and apply it in thin, even strokes, making sure to cover the entire nail. I’ve found that applying the color in multiple thin layers gives a more even and professional-looking finish.
Curing Your Gel Polish: The Science Behind the Shine
After applying each layer of gel polish, I cure it under the UV lamp for the time specified by the manufacturer. I’ve found that some polishes require 2 minutes, while others need 30 seconds. It’s important to follow the instructions carefully, because under-curing can lead to peeling, and over-curing can make the polish brittle.
I always make sure to hold the UV lamp close to my nails — about 1 inch away — and I move it around slightly to ensure even curing. This helps prevent any hotspots or uneven curing that can affect the appearance of the manicure.
Once the gel is cured, I move on to the next layer, repeating the process until the color is even and solid. I’ve found that applying the color in two thin layers gives the best results — it’s more even and doesn’t feel too thick on the nails.
The Top Coat: Sealing Your Manicure
After applying the color, I always finish with a top coat. I apply it in a thin, even layer over the entire nail, making sure to cover the tips and the sides. The top coat not only gives the manicure a shiny finish but also helps protect the color from chipping and peeling.
I cure the top coat for the same amount of time as the color — usually 2 minutes. Once it’s cured, I check the nails to make sure the top coat is even and has no bubbles or ridges. If I see any imperfections, I’ll go back and buff them out before moving on.
Once the top coat is cured, I move on to the final step — removing any excess polish and wiping the nails with a clean wipe. This helps ensure that the manicure looks clean and professional, and it also helps the gel polish last longer.
The top coat is the final touch — don’t skip it!
Removing Your Gel Nails: The Gentle Way
To remove my gel nails, I always start by soaking my nails in acetone. I use a cotton ball soaked in acetone and hold it on each nail for a few minutes. This helps soften the gel and make it easier to remove.
Once the gel has softened, I gently push it off using a metal spatula or a nail buffer. I make sure to be gentle and avoid scraping too hard, because this can damage your natural nails. I’ve found that using a soft buffer helps remove the gel without causing any harm.
After the gel is removed, I always use a nail buffer to smooth out any ridges or rough spots. I also apply a cuticle oil to help my natural nails recover and stay healthy. This is an important step that I never skip, because it helps my nails look good and feel good.
🌸 Sensitive Skin
If you have sensitive skin, look for gel polishes that are free from harmful chemicals and use a gentle buffer to avoid irritation.
💰 Budget
You don’t need to spend a lot to get a great gel manicure — there are many affordable kits and products that work just as well.
💅 Minimalist
If you prefer a simple look, go for a clear or light-colored gel polish and keep the manicure minimal and elegant.
🎯 Targeted
If you want a specific look, choose a gel polish that matches your outfit or mood, and use a top coat to highlight the color.
🛠️ Maintenance
To keep your gel manicure looking good, use a cuticle oil and avoid using harsh chemicals that can damage the nails.
| The mistake | Why it happens | The fix |
|---|---|---|
| Not prepping your nails properly | If your nails are not clean, dry, or free of oils, the gel polish may not adhere properly and can lift or chip quickly. | Always make sure to wash your hands, use a nail wipe, and buff your nails before applying gel polish. |
| Over-curing the gel | Over-curing can make the gel brittle and cause it to crack or lift over time. | Follow the manufacturer’s instructions for curing time and avoid leaving the gel under the UV lamp for longer than recommended. |
| Applying too thick of a layer | Applying too thick of a layer can cause the gel to bubble, crack, or not cure properly. | Apply thin, even layers and cure them properly. If the layer is too thick, it’s easier to fix by buffing it down and reapplying. |
| Not using a top coat | A top coat is essential for protecting the color and giving the manicure a professional look. | Always finish your manicure with a top coat, even if you’re in a hurry. |
Beginners Gel Nails
Common Questions
How long does a gel manicure last?
Is it hard to apply gel polish?
Can I do gel nails at home?
What’s the difference between gel and acrylic?
Cite this guide
Gel Nails for Beginners (2026). Beginners Gel Nails. https://careandnail.com/beginners-gel-nails/
Feel free to cite or share this guide.
References
- Untitled (analytics.usa.gov)
- Nail Technology School Faq Reddit — AVI Career Training Blog (avi.edu)
- Katie Skills Center Catalog of Courses - BPPE (bppe.ca.gov)
- Nail Tech Classes | Brittany Beauty Academy (brittanyacademy.edu)
- Nail Tech School in Modesto, CA - California Beauty College (calbeautycollege.edu)