
Nail Art Designs
📖 Table of Contents
The first time I tried nail art, I was both thrilled and terrified. I had never held a nail polish brush before, let alone attempted to create something as intricate as a floral pattern. But after watching a few tutorials and gathering my supplies, I found myself hooked on the idea of nail art designs — the way a single stroke could transform a plain nail into an elegant masterpiece. It wasn’t just about aesthetics; it was about self-expression, creativity, and the quiet satisfaction of making something beautiful with my own hands.
Over the past few years, I've explored a wide range of nail art designs, from minimalistic geometric patterns to full-blown French manicures with hand-painted details. I’ve learned that the key to nail art isn’t just about having the right tools or the most expensive products — it’s about knowing your own style, experimenting with different techniques, and, most importantly, having fun with the process. Nail art isn’t just for special occasions anymore; it’s become a daily ritual for many of us, a way to brighten our mood and add a touch of personality to our look.[1]
Whether you're a beginner or an experienced nail artist, there's always something new to discover in the world of nail art designs. I've tried everything from freehand painting to using nail stickers and even 3D nail art. Each method has its own charm and challenges, but the result is always rewarding. If you're looking to get started or take your skills to the next level, this article will guide you through the basics, advanced techniques, and everything in between.
Why You'll Love This Article on Nail Art Designs
- Discover 7 unique styles and techniques you can try at home.
- Get inspired with real-life examples and expert tips.
- Find out how to choose the right tools and products for your skill level.
- Avoid common mistakes and improve your nail art skills with clear guidance.
Minimalist Nail Art: Less is More
As of October 2026, Minimalist nail art is perfect for those who want a subtle yet elegant look. This style often features monochromatic tones with thin lines, dots, or tiny geometric shapes. I’ve found that a simple white line across the nail or a small dot in the center can elevate a basic manicure instantly.
One of the best things about minimalist designs is their versatility. They can be worn to both casual and formal events, and they complement almost any outfit. I’ve used this style for work and even paired it with bold jewelry for a night out — it always works.
To achieve this look, I recommend using a fine-tipped brush and high-quality nail polish. A small dot or line can make a big impact, so it's important to be precise. I've also found that using a white or nude polish as the base color helps to highlight the minimal details.[2]
A fine-tipped brush is essential for creating clean, precise lines in minimalist nail art. I recommend using a brush with soft bristles for better control and a smoother application.
French Manicures: Timeless Elegance
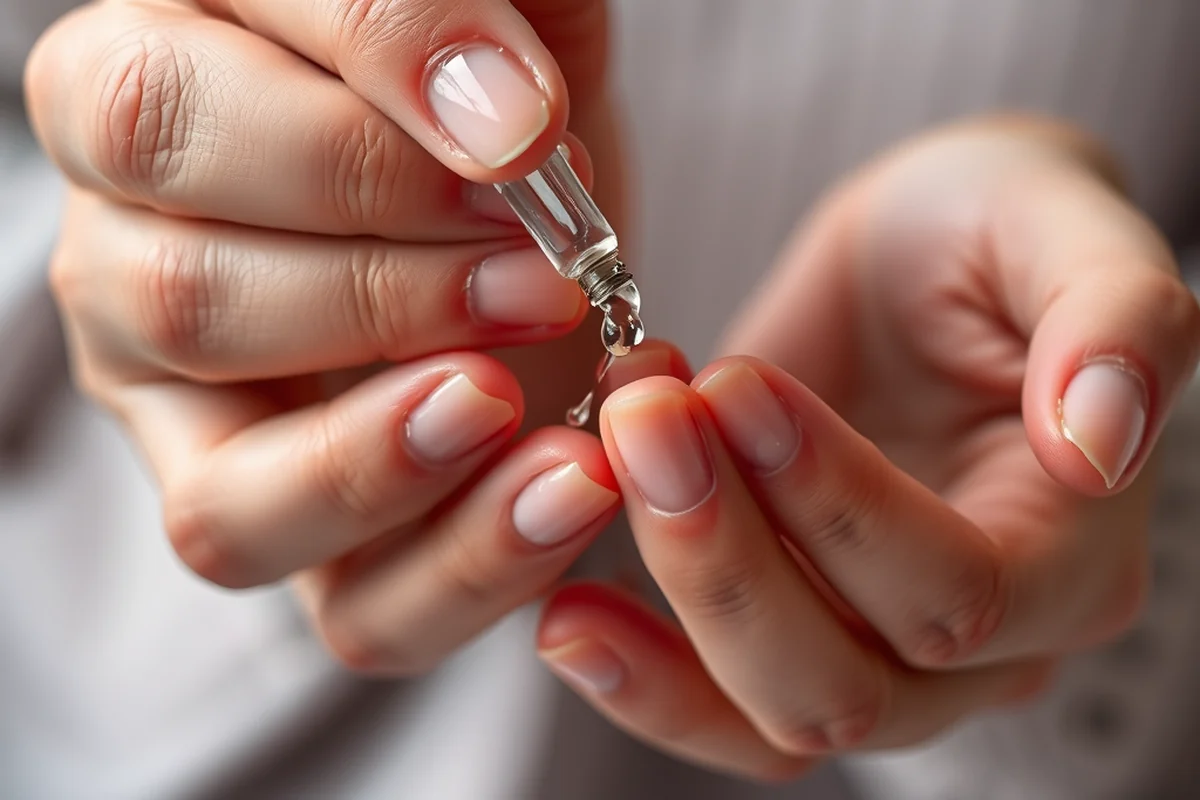
French manicures are one of the most iconic nail art designs, and for good reason. The combination of a soft pink base with a white tip creates a look that's both sophisticated and feminine. I’ve tried this design multiple times and always receive compliments on it.
One of the challenges with French manicures is achieving the perfect white tip. I’ve found that using a small, pointed brush and a white nail polish works best. It’s important to apply the tip in thin, even strokes to avoid clumping or uneven edges.
For a modern twist, I’ve experimented with different shades of pink and even added subtle patterns to the tips. This keeps the design fresh and prevents it from feeling outdated.
French manicures are a timeless classic — perfect for any occasion.
Related: Beginner nail art
Geometric Patterns: Bold and Beautiful
Geometric patterns are a great way to add a bold, artistic flair to your nails. This style often includes triangles, hexagons, or even abstract shapes. I’ve used geometric patterns to create a look that’s both eye-catching and fashionable.
Creating geometric patterns requires a steady hand and a good understanding of symmetry. I’ve found that using a ruler or a template helps to ensure that each shape is perfectly aligned. This is especially important when working with multiple nails.
To make the design stand out, I often use contrasting colors. For example, pairing a deep navy base with bright yellow shapes creates a striking visual effect. This technique has become one of my favorites for special occasions.
Using a template can help you achieve consistent, symmetrical geometric patterns on all your nails. I’ve used both paper and silicone templates and found that they both work well for this purpose.
“The first time I tried nail art, I was both thrilled and terrified.”— Gel Nails for Beginners editors
Related: Beginner nail art kit
Floral Designs: Delicate and Elegant
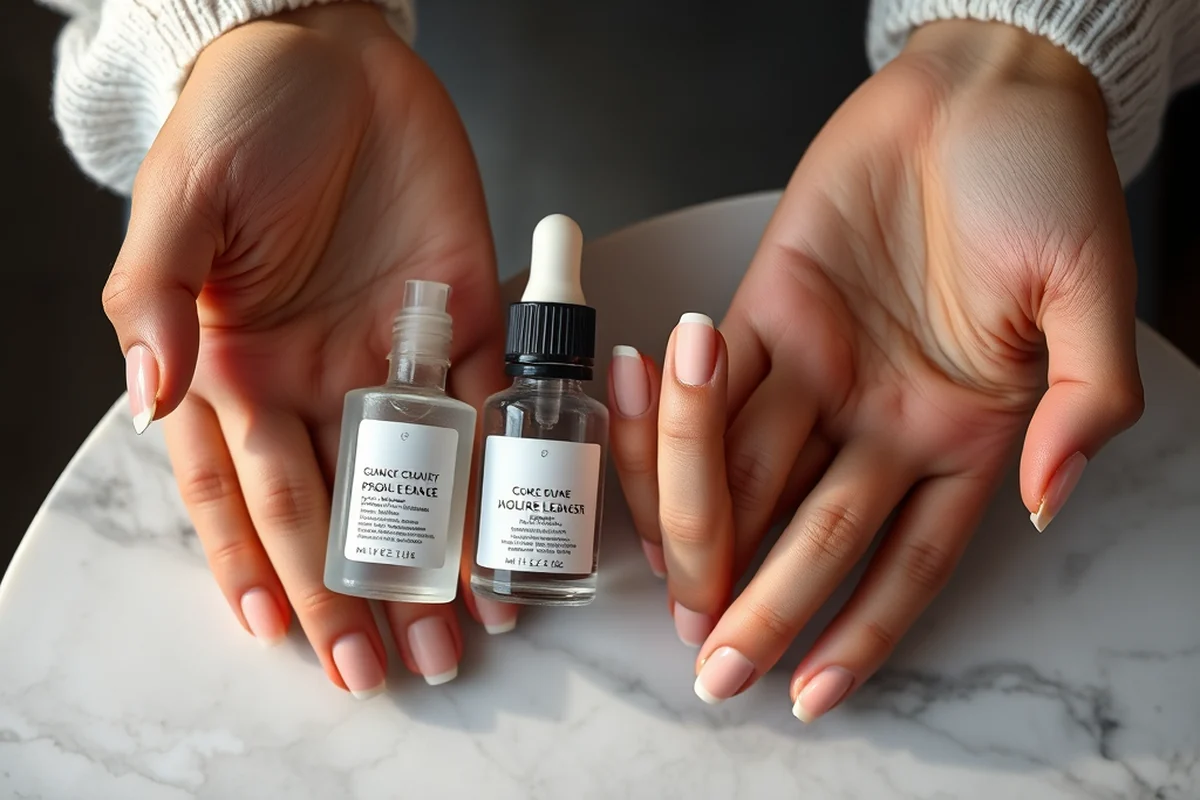
Floral nail art is a popular choice for those who want to add a touch of femininity and elegance to their look. This design often features tiny flowers, leaves, or even intricate vines. I’ve tried using this design for weddings and special events, and it always receives praise.
Creating floral designs requires a steady hand and a good understanding of color coordination. I’ve found that using a thin brush and a fine-tipped brush is essential for drawing detailed flowers. It’s also important to use a light hand to avoid overworking the paint.
To make the design more dramatic, I’ve experimented with adding metallic accents or using a clear top coat for a glossy finish. This adds a touch of luxury and makes the flowers stand out even more.
Related: Nail supply list for beginners
Abstract Art: Express Your Personality
Abstract nail art allows you to break the rules and create a design that’s entirely your own. This style often includes splatters, scribbles, and freehand strokes. I’ve used this design to create a look that’s both playful and artistic.
One of the best things about abstract art is that it’s completely customizable. You can use any colors, shapes, or even add glitter for extra flair. I’ve found that using a sponge or a toothpick can help create unique textures and patterns.
To make the design look intentional, I always start with a base color and then build on top of it. This helps to create a cohesive look even if the design seems chaotic at first.
Related: Nail beginner classes
Stripes and Lines: A Classic Twist
Stripes and lines are a timeless design that can be adapted to suit any style. This design often includes vertical, horizontal, or diagonal lines. I’ve used this design for both casual and formal events and it always looks great.
To make the design more dynamic, I’ve experimented with using different colors and widths for the lines. This adds a pop of color and makes the design more eye-catching.
Stripes and lines are a simple yet effective way to add style to your nails.
Related: Beginner diy nails
Ombre Nails: A Gradient of Color
Ombre nails are a popular choice for those who want a subtle yet stylish look. This design involves blending two or more colors together to create a smooth gradient. I’ve used this technique for both casual and formal events, and it always looks elegant.
Creating an ombre effect requires a steady hand and a good understanding of color blending. I’ve found that using a sponge or a brush is essential for achieving a smooth transition between colors. It’s also important to work quickly to avoid the colors from drying too fast.
To make the design more dramatic, I’ve experimented with using bold color combinations, such as red to purple or black to silver. This adds a touch of luxury and makes the ombre effect stand out even more.
💅 Minimalist Manicure
Clean, simple lines and subtle details for a refined look.
💰 Budget-Friendly Art
Create beautiful designs without breaking the bank.
📐 Geometric Statement
Bold, symmetrical shapes for a modern, eye-catching design.
🌸 Floral Elegance
Delicate flowers and vines for a romantic, elegant look.
🎨 Ombre Gradient
Smooth color transitions for a stylish, modern effect.
| The mistake | Why it happens | The fix |
|---|---|---|
| Overworking the nail polish | Overworking the polish can cause it to dry too quickly and result in a streaky or uneven finish. | Apply thin, even layers and allow each layer to dry before applying the next one. |
| Using too many colors | Using too many colors can make the design look cluttered and unbalanced. | Stick to a simple color palette and use contrasting colors sparingly to create a cohesive look. |
| Not preparing the nails properly | Failing to prep the nails can result in chipped or peeling polish. | Always start with a clean, dry nail and apply a base coat to protect the nail and help the polish adhere better. |
| Not using the right tools | Using the wrong tools can make it difficult to create precise, clean lines and shapes. | Invest in quality tools like fine-tipped brushes and sponges to help achieve a professional-looking finish. |
Nail Art Designs
Common Questions
What are the best tools for nail art beginners?
How long does it take to learn nail art?
Can I use nail art for daily wear?
How do I avoid smudging my nail art?
References
- Topics | The Administration for Children and Families (acf.gov)
- Form F-1 - SEC.gov (sec.gov)
Cite this guide
Gel Nails for Beginners (2026). Nail Art Designs. https://careandnail.com/nail-art-designs/
Feel free to cite or share this guide.