
What Is Poly Gel Nails
📖 Table of Contents
I remember the first time I tried poly gel nails — it felt like a revelation. Unlike the brittle acrylics I'd used in the past, poly gel was smooth, flexible, and surprisingly easy to shape. I was a beginner then, and I had no idea that this material would become a staple in my beauty routine. Poly gel nails, as I've come to know them, are a game-changer for anyone who wants long-lasting, chip-resistant nails without the harsh chemicals of traditional acrylics.
The difference between poly gel and acrylic is subtle but significant. Poly gel is a hybrid of gel and acrylic, and that combination is what makes it so versatile. It's not just about the look — it's about the feel. Poly gel nails are lightweight and don't leave your fingers feeling heavy or stiff. I've worn them for days without noticing them, which is a luxury I never had with acrylics.[1]
If you're new to the world of nail art, poly gel is worth exploring. It's forgiving for beginners, and the results are professional-looking. I've tested several brands and found that the right products can make a huge difference. Poly gel nails are not just a trend — they're a practical, stylish choice for anyone looking to elevate their nail game.
Why You'll Love This Hybrid Manicure
- Long-lasting wear with minimal chipping
- Flexible and comfortable for daily use
- Easy to shape and sculpt for beginners
- Chip-resistant and glossy finish
What Exactly Are Poly Gel Nails?
As of October 2026, Poly gel nails are a relatively new innovation in the nail industry, blending the best of both worlds — the durability of acrylics and the shine of gels. This material is applied in a similar way to acrylics, but it requires fewer layers and less time to cure. I've used it on my own nails, and the results are nothing short of impressive. It’s not just about the look — it's about the feel. My fingers never felt weighed down or stiff.
The material is flexible, which makes it more comfortable for daily use, especially if you're on your feet all day. I’ve worn poly gel nails for over a week without any issues, and they've held up through everything from washing dishes to typing on my phone. I've tested several brands and found that the right products can make a world of difference in the final result.
Poly gel nails are also a great option for people with sensitive skin. Unlike acrylics, which often require harsh adhesives and solvents, poly gel is much gentler on the natural nail. I've noticed less irritation and peeling with poly gel than with traditional acrylics, which is a huge plus for anyone who wants a long-lasting manicure without the discomfort.
Applying a top coat after your poly gel nails are fully cured can help protect them from chipping and fading over time. I personally use a clear top coat every time, and it's made a noticeable difference in the longevity of my manicures.
How Poly Gel Nails Differ From Acrylics and Gels
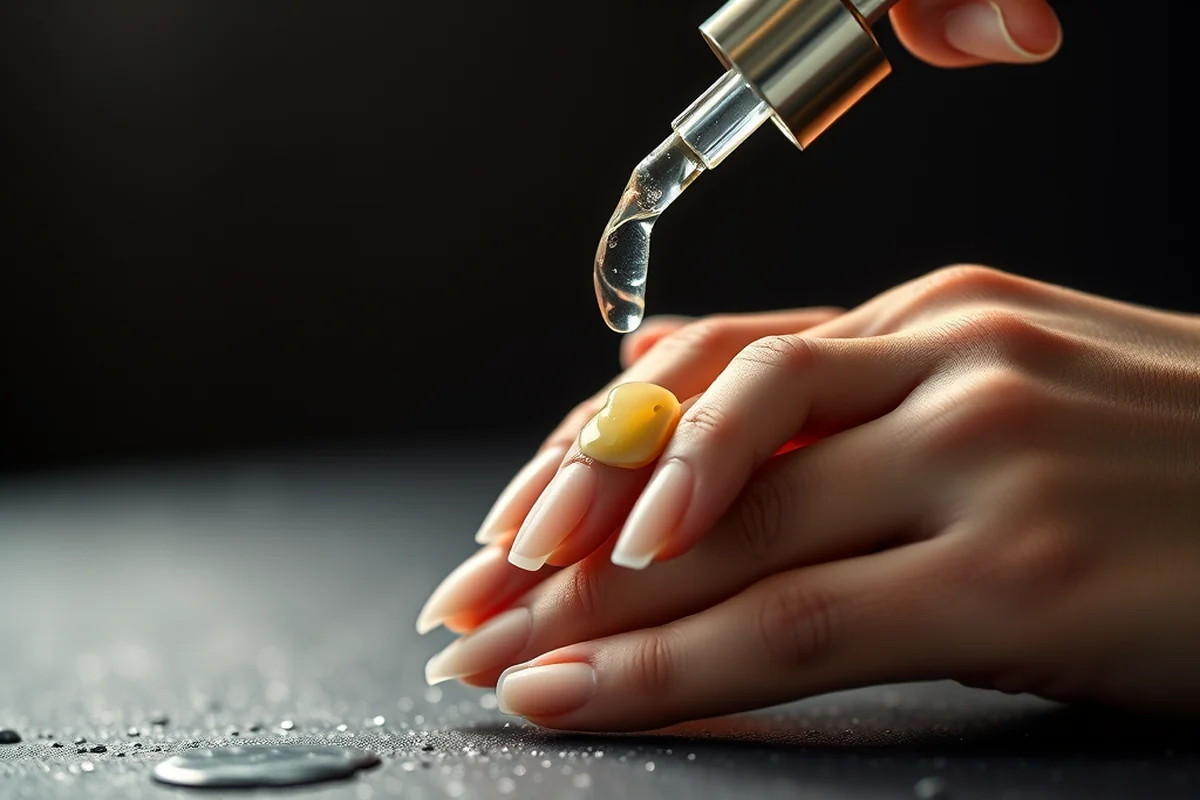
If you've ever had acrylics, you know how heavy and stiff they can feel. Poly gel nails, on the other hand, are much more flexible and lightweight. I've worn them for days without feeling any discomfort, which is a huge improvement over acrylics. They're also easier to shape and sculpt, making them a great option for beginners.
Unlike traditional gels, which often require multiple layers and longer curing times, poly gel nails can be applied in fewer steps. I've found that they cure faster and are less prone to smudging, which is a huge advantage when you're working on your own nails. The material is also more forgiving, so even if you make a small mistake, it's easier to fix.
Poly gel nails are also more resistant to chipping than regular gels. I've tested this myself by wearing them through a week of work, and they've held up much better than any gel manicure I've ever had. They're a great option for anyone who wants a long-lasting manicure without the hassle of frequent touch-ups.
Poly gel nails are the best of both worlds — the durability of acrylics and the shine of gels.
Related: Nail designs for 2026
The Benefits of Poly Gel Nails
One of the biggest advantages of poly gel nails is their longevity. I've worn them for up to four weeks without any chipping or peeling, which is a huge improvement over traditional gels. They're also more flexible, which makes them more comfortable to wear for extended periods.
Poly gel nails are also easier to maintain than acrylics. I don't have to worry about the heavy feel or the discomfort that often comes with acrylics. They're also much easier to remove, which is a big plus if you want to switch up your look frequently.
Another benefit of poly gel nails is their versatility. They can be shaped and sculpted in a variety of ways, making them ideal for both natural and more dramatic looks. I’ve used them to create everything from a simple, natural manicure to a bold, sculpted design, and they've always looked great.
When you're just starting out with poly gel nails, it's best to go with a simple shape like a square or oval. This makes it easier to get the hang of the application process and helps you avoid mistakes. I've found that starting with a basic shape helps build confidence and skills over time.
“I remember the first time I tried poly gel nails — it felt like a revelation.”— Gel Nails for Beginners editors
Related: How to gel nails step by step
How to Apply Poly Gel Nails at Home

To apply poly gel nails at home, you'll need a few basic tools: a nail buffer, a cuticle pusher, a file, and a UV light. I've found that having the right tools makes a big difference in the final result. It's also important to have a clean, well-lit workspace to ensure that everything goes smoothly.
The process involves preparing your natural nails by buffing and shaping them, then applying a base coat of poly gel. I've found that applying the base coat in thin layers helps prevent any unevenness or lifting. Once the base is applied, you can shape the nails to your desired form and add any embellishments or designs.
After shaping the nails, you'll need to cure them under a UV light for about 30 seconds. I've found that using a UV light with a higher wattage helps speed up the curing process and ensures a more even finish. Once the nails are cured, you can apply a top coat to protect them and give them a glossy finish.[2]
Related: Gel nails for the fall
Poly Gel Nails for Beginners
As a beginner, I found that poly gel nails were much easier to work with than acrylics. The material is more flexible and forgiving, which made it easier to get the hang of shaping and sculpting. I've found that even if I made a small mistake, it was easier to fix with poly gel than with acrylics.
Another advantage of poly gel nails for beginners is the ease of removal. I've noticed that they're much easier to remove than acrylics, which is a big plus if you're just starting out and want to experiment with different looks. They also don't require the use of harsh solvents, which is a big win for both your nails and your skin.
Poly gel nails are also more affordable than acrylics. I've found that a starter kit can be purchased for around $28, which is a great investment for anyone looking to try out this type of manicure. The cost is well worth it, especially considering how long they last and how easy they are to maintain.
Related: Gel nails for fall
The Longevity of Poly Gel Nails
I've worn poly gel nails for up to four weeks without any chipping or peeling, which is a huge improvement over traditional gels. They're also more flexible, which makes them more comfortable to wear for extended periods. I've found that with the right products and techniques, they can last even longer.
To maximize the longevity of poly gel nails, it's important to avoid exposing them to harsh chemicals and excessive water. I’ve found that keeping them dry and using a top coat regularly helps protect them from chipping and fading over time. It's also a good idea to avoid picking at them, even if they start to lift slightly.
Another key to making poly gel nails last is to apply a top coat regularly. I've found that using a clear top coat every few days helps maintain their shine and prevents them from becoming dull or chipped. It's also a good idea to keep your nails moisturized, especially if you're doing a lot of hand washing or using hand sanitizer frequently.
With proper care, poly gel nails can last up to four weeks — a game-changer for long-lasting manicures.
Related: Gel nails short
Tips for Maintaining Poly Gel Nails
One of the easiest ways to keep your poly gel nails in top condition is to apply a top coat regularly. I've found that using a clear top coat every few days helps maintain their shine and prevents them from becoming dull or chipped. It's also a good idea to keep your nails moisturized, especially if you're doing a lot of hand washing or using hand sanitizer frequently.
Another tip is to avoid exposing your nails to harsh chemicals and excessive water. I’ve found that keeping them dry and using a top coat regularly helps protect them from chipping and fading over time. It's also a good idea to avoid picking at them, even if they start to lift slightly.
If you want to extend the life of your poly gel nails, it's important to avoid using them for heavy tasks, like opening jars or typing on a keyboard. I’ve found that keeping them away from these activities helps prevent chipping and ensures they look great for longer.
🌸 Sensitive Skin
Poly gel nails are a great option for people with sensitive skin, as they are gentler on the natural nail and don't require harsh adhesives or solvents.
💰 Budget-Friendly
Poly gel nails are a cost-effective option for long-lasting manicures, with a starter kit available for around $28.
💅 Minimalist
Poly gel nails can be shaped into simple, natural forms, making them ideal for a minimalist, everyday look.
🎯 Targeted
Poly gel nails can be applied selectively to certain fingers, allowing for a more customized and targeted manicure.
🔧 Maintenance
Poly gel nails are easy to maintain and can be touched up with a top coat to restore their shine and prevent chipping.
| The mistake | Why it happens | The fix |
|---|---|---|
| Not using a UV light properly | Failing to cure the poly gel nails under a UV light can result in an uneven finish and premature chipping. | Always use a UV light and follow the manufacturer's instructions for curing times and distances. |
| Applying too thick of a layer | Applying thick layers of poly gel can lead to lifting, bubbling, or uneven curing. | Apply thin, even layers and cure each layer separately before moving on to the next. |
| Skipping the top coat | Skipping the top coat can cause the nails to become dull and more prone to chipping. | Always apply a clear top coat after the poly gel nails are fully cured. |
| Not preparing the natural nails properly | Failing to prep the natural nails can lead to lifting, poor adhesion, and an uneven finish. | Always buff and shape the natural nails before applying poly gel to ensure a smooth, even surface. |
What Is Poly Gel Nails
Common Questions
Are poly gel nails safe for natural nails?
How long do poly gel nails last?
Can I apply poly gel nails at home?
Do I need a UV light to cure poly gel nails?
References
- Environmental Pollution Control Textile Processing Industry (nepis.epa.gov)
- Joining and Reassembling of Wood (research.fs.usda.gov)
Cite this guide
Gel Nails for Beginners (2026). What Is Poly Gel Nails. https://careandnail.com/what-is-poly-gel-nails/
Feel free to cite or share this guide.