
Beginner Diy Nails
📖 Table of Contents
- The Essential Tools for a Beginner’s DIY Nails Kit
- How to Prep Your Nails for a DIY Gel Manicure
- Applying the Base Coat and Gel Color
- The Importance of the Top Coat and Curing
- Removing Gel Nails at Home
- Common DIY Nails Mistakes and How to Fix Them
- Staying Consistent with DIY Gel Nails
- Make It Your Way
- Frequently Asked Questions
The first time I applied a DIY gel manicure, I was both excited and terrified. I had watched a dozen tutorials, read a few reviews, and even purchased the most expensive starter kit I could afford. But when I sat down with the tools, I realized that all the videos and reviews didn’t capture the full, messy, and sometimes frustrating reality of doing it yourself. What I hadn’t anticipated was how much I’d learn about patience, precision, and the small joys of watching a design take shape under my own hands. For anyone who’s ever wondered if they could do it, I’m here to tell you: beginner DIY nails are more than just a trend — they’re a gateway to self-expression and a craft that can be mastered with time and practice.
I was a total beginner when I first tried gel nails — my hands were shaky, my tools were too big, and I had no idea where to start. I had read that gel manicures were a pain to remove, that they needed UV light, and that you had to be careful not to use too much product. But none of that prepared me for the reality of the first few times I tried. I messed up the base coat, got the gel on my skin, and ended up with a chipped, uneven manicure that looked more like a failed experiment than a polished set of nails. But here’s the thing: every beginner makes mistakes, and those mistakes are part of the learning curve.
Eventually, after a few more attempts, I found my rhythm. I learned how to file correctly, how to avoid getting gel on my skin, and how to use the UV light with confidence. What had started as a stressful experience turned into a satisfying ritual — one that I now look forward to every week. If you’re a beginner looking to try DIY gel nails, I promise you that it’s not as daunting as it seems. With the right tools, a bit of patience, and the willingness to learn from your mistakes, you can create beautiful, long-lasting manicures at home.
Why You'll Love This Beginner DIY Nails Experience
- Cost-effective compared to salon visits, with long-term savings.
- Customizable to your style, with endless design options.
- Empowering and confidence-boosting, as you create your own look.
- A fun and relaxing activity, perfect for self-care sessions.
The Essential Tools for a Beginner’s DIY Nails Kit
As of August 2026, the first thing I did when I started was invest in a basic starter kit. It came with everything I needed to get started, including a UV lamp, which I found to be the most important tool. I had no idea how crucial it was to cure the gel properly — the first time I forgot to use it, the gel didn’t harden. I ended up with a mess that I had to start over.
Next, I added a nail buffer to my kit. This small, rough pad helps smooth out any bumps or ridges after filing. I used it after shaping my nails, and it made a world of difference in the final look. Without it, my manicures looked uneven and rough.
I also purchased a cuticle pusher and a set of nail files. The cuticle pusher is a small tool that helps lift and push back the cuticles, keeping them neat and tidy. The nail files are used to shape the nails and smooth the edges. I had to use the file a lot in the beginning, but over time, I found the right technique to make the process faster and more efficient.
A good UV lamp can make or break your DIY gel manicure. I recommend getting one that’s at least 36 watts to ensure even curing. I tried a cheaper version and ended up with uneven results. A quality lamp is worth the investment.[1]
Part of our Easy nail ideas for beginners guide.
How to Prep Your Nails for a DIY Gel Manicure
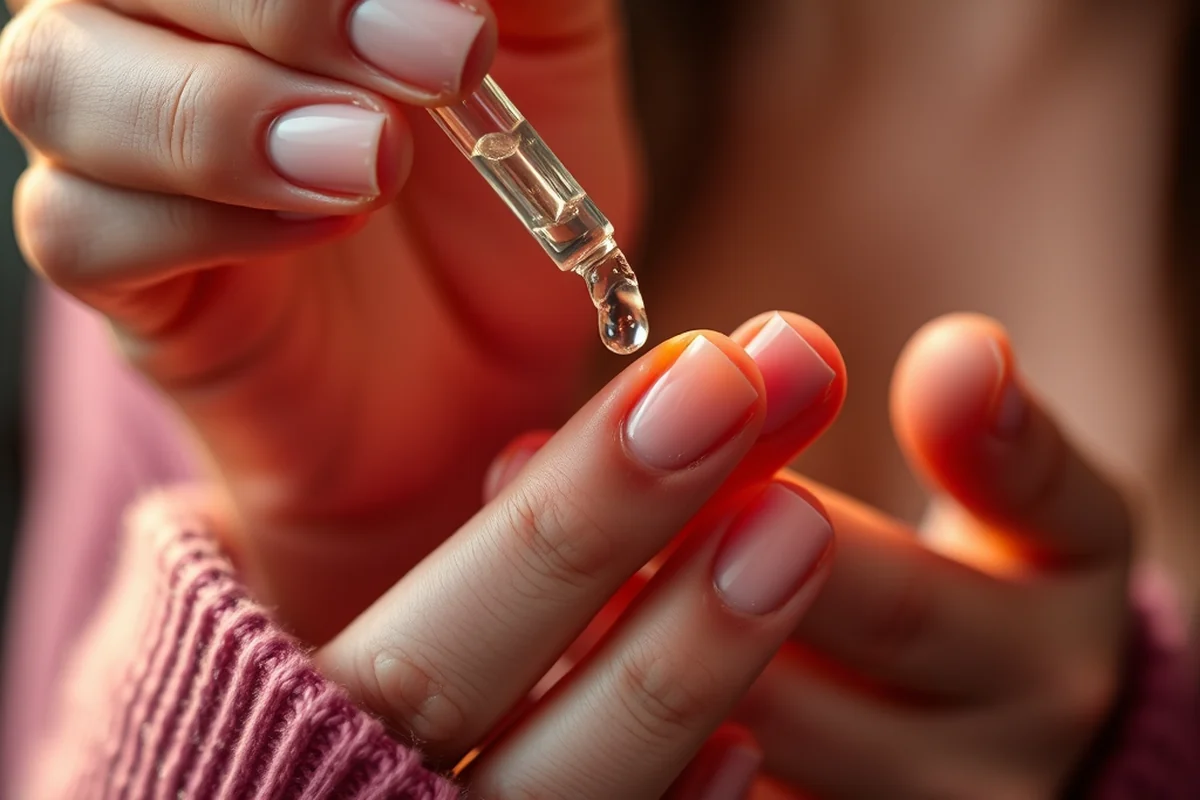
Before applying any gel, I always start by cleaning my nails thoroughly with a nail cleaner. This removes any oils or residue that might prevent the gel from adhering properly. I used a cotton pad soaked in the cleaner and wiped each nail from the base to the tip.
Next, I used a cuticle pusher to gently push back the cuticles. This keeps them out of the way and prevents them from peeling later. I found that if I didn’t do this step, the cuticles would lift after a few days, making the manicure look messy.
After pushing back the cuticles, I used a nail file to shape my nails. I filed them into a slight oval shape, which is the most common and easiest to work with. I made sure to file in one direction to avoid creating ridges. This step took some time, but it’s essential for the final result.
Never skip the prep — it’s the most important part of the process.
Related: Nails for a 10 year old
Related: Nail beginner classes
Related: Beginner nail art kit
Related: Beginner nail art
Related: Nail beginner ideas
Related: What Is In A Manicure
Related: What Is The Perfect Nails
Applying the Base Coat and Gel Color
After shaping my nails, I applied a thin layer of base coat. I used a small brush and painted each nail from the cuticle to the tip, making sure to cover the entire nail surface. I let it cure under the UV lamp for the recommended time — usually 30 seconds per coat.[2]
Once the base coat was cured, I moved on to the gel color. I used a brush to apply the color in thin, even strokes, making sure not to get any on the surrounding skin. I applied two thin coats, curing each one for 30 seconds. This helped build up the color without creating a thick, uneven finish.[3]
I found that applying thin layers was the key to a successful manicure. If I applied too much at once, the gel would sag or create bubbles. I also made sure to cure each coat properly, which helped the color harden and stay in place.
Thin, even layers are essential to avoid bubbles and uneven color. I learned this the hard way — my first few manicures had bubbles because I applied too much gel at once. Now, I always apply thin layers and cure them properly.
“The first time I applied a DIY gel manicure, I was both excited and terrified.”— Gel Nails for Beginners editors
The Importance of the Top Coat and Curing
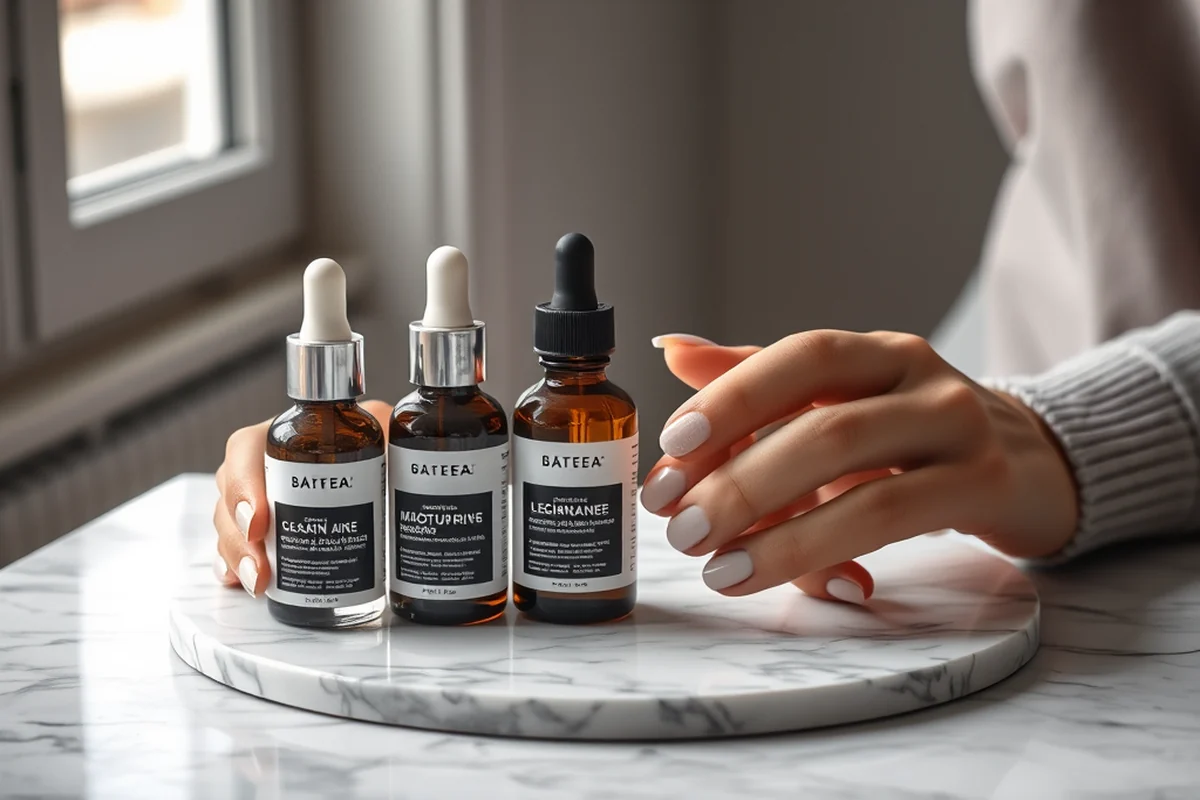
After applying the gel color, I always used a top coat to seal the manicure. This helps protect the color from chipping and adds a glossy finish. I applied a thin layer of top coat and cured it under the UV lamp for 30 seconds, just like the base coat.
I found that the top coat made a noticeable difference in the final look of the manicure. Without it, the color would fade quickly, and the nails would look dull. The top coat also helped the manicure last longer — I noticed that my manicures lasted up to two weeks with the proper top coat.
Proper curing is just as important as the top coat itself. I made sure to cure each coat for the recommended time, which helped the gel harden properly. If I skipped this step, the manicure would not last and would start peeling within a day or two.[4]
Removing Gel Nails at Home
When it’s time to remove my gel manicure, I always use a nail remover. I applied it to each nail and waited for a few minutes to let it soften the gel. Then, I gently pushed back the cuticles and used a cuticle pusher to lift the gel from the base of the nail.
I found that using a nail remover is much easier than trying to scrape the gel off, which can damage the natural nail. I always made sure to be gentle when lifting the gel to avoid tearing it. If I was too rough, I would end up with a torn nail that took weeks to grow back.
After lifting the gel, I used a buffer to smooth the surface of the nail. This helped remove any residue and left the nail looking natural. I also made sure to moisturize my hands after the removal process, as the remover can be drying.
Common DIY Nails Mistakes and How to Fix Them
One of the most common mistakes I made early on was applying too much gel at once. This caused the gel to sag and create bubbles. I learned that applying thin layers and curing each coat properly was the solution to this problem.
Another mistake I made was skipping the base coat. Without it, the gel didn’t adhere properly, and the color started peeling within a day or two. Now, I always make sure to apply a base coat before adding the color.
I also made the mistake of not curing the gel properly. This caused the manicure to not harden correctly, and the color started to chip within hours. Now, I always follow the curing time instructions to the letter.
Learn from your mistakes — they’re the best teachers.
Staying Consistent with DIY Gel Nails
The more I practiced, the better I became at applying the gel and shaping my nails. I found that consistency in technique and tools made a noticeable difference in the final result. I started practicing once a week, and over time, I noticed that my manicures were more even and longer-lasting.
Using the right tools is also important. I made sure to always use a good quality UV lamp and a set of nail files that worked well for my nail shape. I found that using the same tools each time helped me develop muscle memory and improve my technique.
Maintaining good habits is another key factor. This includes cleaning my nails properly before each session, using the right amount of gel, and curing each coat properly. These habits helped me create consistently beautiful manicures at home.
🌸 Sensitive Skin Routine
Perfect for those with sensitive skin, this routine uses hypoallergenic tools and avoids harsh chemicals to ensure comfort and safety.
💰 Budget-Friendly Routine
This variation uses affordable products and tools to create a beautiful manicure without breaking the bank.
💅 Minimalist Routine
Ideal for those who prefer a simple, no-frills look with minimal steps and tools required.
🎯 Targeted Routine
This routine is designed for those who want to focus on specific nail shapes or colors for a more personalized look.
🛠️ Maintenance Routine
Great for keeping your manicure looking fresh between full applications with quick touch-ups and repairs.
| The mistake | Why it happens | The fix |
|---|---|---|
| Applying too much gel at once. | Applying too much gel can cause the manicure to sag, create bubbles, or become uneven. | Apply thin layers and cure each coat properly to avoid these issues. |
| Skipping the base coat. | Without a base coat, the gel won’t adhere properly, and the color may start peeling within a day or two. | Always apply a base coat before adding the gel color to ensure proper adhesion. |
| Not curing the gel properly. | Not curing the gel properly can lead to a weak manicure that doesn’t harden correctly and may start chipping within hours. | Follow the curing time instructions for each coat to ensure the gel hardens properly. |
| Using the wrong UV lamp. | Using a low-quality or improperly powered UV lamp can result in uneven curing, which affects the longevity and appearance of the manicure. | Invest in a high-quality UV lamp that is at least 36 watts to ensure even curing. |
Beginner Diy Nails
Common Questions
Can I do DIY gel nails if I have naturally short or weak nails?
How long does a DIY gel manicure last?
What should I do if the gel starts to lift or chip?
How do I choose the right UV lamp for my DIY gel manicure?
References
- Product-Chemical Profile for Nail Products Containing Methyl ... (dtsc.ca.gov)
- Guidelines for Detection, Analysis, and Treatment of Materials ... (highways.dot.gov)
- You Guessed Right: Gel Nail Polish Is Bad for Your Nails (health.clevelandclinic.org)
- Color Additive Analysis in Foods and Cosmetics using UPLC ... - FDA (fda.gov)
Cite this guide
Gel Nails for Beginners (2026). Beginner Diy Nails. https://careandnail.com/beginner-diy-nails/
Feel free to cite or share this guide.