
How To Fake Nails
📖 Table of Contents
I used to think fake nails were only for those who could afford a salon visit every two weeks. Then I tried a DIY method using a product I bought for $12 and a strip of fabric I had lying around. It wasn’t perfect, but it was enough to get me through a weekend event without feeling self-conscious about my short, chipped nails. That moment taught me that fake nails don’t have to be expensive or complicated. They can be a quick, affordable, and surprisingly effective solution when you need a little extra polish.[1]
Fake nails are more than just a beauty hack—they’re a lifeline for busy professionals, a confidence booster for those who love to experiment with nail art. A go-to for special occasions. Whether you’re looking to add length, color, or a dramatic design without the long-term commitment of acrylics or gels, there are options that work for your budget, lifestyle, and skin type. I’ve spent the past year testing different methods, from temporary adhesives to press-on stickers, and I’m here to walk you through the process step by step.
The key to faking nails without looking like a beginner is preparation. You need the right tools, the right products, and a clear understanding of what you’re trying to achieve. I’ve made mistakes—like using the wrong adhesive or not cleaning my natural nails properly—which cost me time and money. But after learning from those errors, I now know exactly what to do, and I’m excited to share that knowledge with you. This isn’t just about looking good—it’s about feeling confident, knowing your nails are in control, and being able to change them as easily as you change your outfit.
Why You'll Love This Method
- It’s affordable and can be done at home with minimal effort.
- You get to experiment with different styles and colors without long-term commitment.
- It allows for quick fixes and easy removal when you’re ready to switch things up.
- It’s a great alternative to acrylics or gels for those with sensitive skin.
Gathering the Right Tools and Products
As of September 2026, I always start by making a list of what I need. This includes a nail buffer, a cuticle pusher, a nail file, and a set of artificial nails. You’ll also need a strong adhesive, which is the most critical component of the process. I recommend using a medical-grade adhesive, as it sticks better and lasts longer than regular glue.[2]
For the fake nails themselves, I’ve found that pre-shaped acrylics or gel nails work best for beginners. They’re easier to apply and don’t require any sculpting. I usually buy a pack of 10 for around $20, which lasts me for several months depending on how often I wear them. I also keep a nail cleaner and some cotton balls on hand to wipe away any excess glue or polish.[3]
One of the most important tips I learned early on is to always test the adhesive on a small patch of skin before applying it to your nails. This helps you determine how strong the bond is and whether it’s comfortable to wear. I’ve made the mistake of using a glue that was too harsh on my skin, which led to redness and irritation. A good adhesive is essential for this process.
I always stick to medical-grade adhesives. They’re less likely to cause irritation and provide a stronger bond. Avoid using super glue or regular nail glue, as they can be too harsh and may not hold well.
Preparing Your Natural Nails
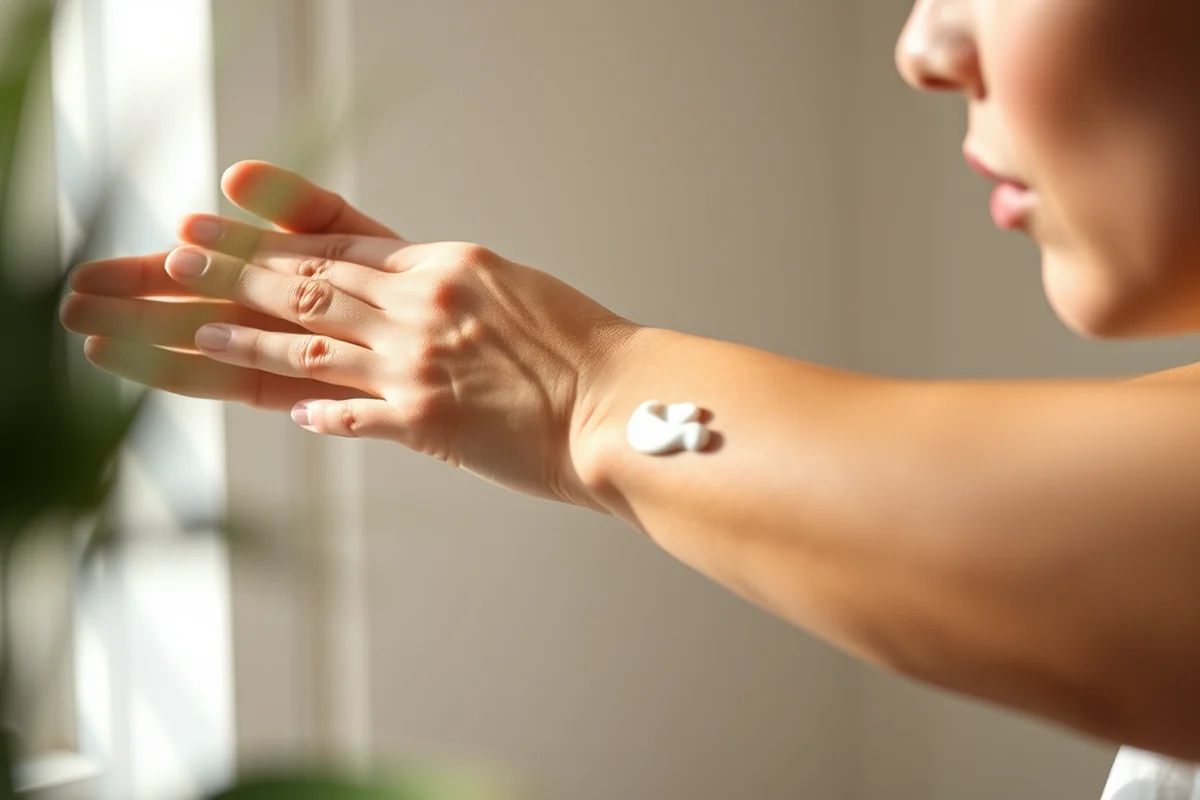
I start by buffing my natural nails with a fine-grit buffer. This helps remove any shine or oils that might prevent the adhesive from sticking properly. I also push back my cuticles gently with a cuticle pusher to ensure the fake nails fit snugly without causing any discomfort.
Next, I clean my nails thoroughly using a nail cleaner. This removes any dirt, oils, or residue that might interfere with the adhesive. I’ve found that using an alcohol-based cleaner works best, as it dries quickly and doesn’t leave a sticky residue. I always make sure to dry my nails completely before applying any glue.
Once my nails are clean and dry, I use a nail file to shape them slightly. I file them into a slight oval or square shape, depending on the style of fake nails I’m wearing. This helps the fake nails sit more comfortably on my natural nails and prevents them from lifting too quickly.
Your natural nails are the foundation—don’t skip the prep.
Related: Nail design ideas
Applying the Fake Nails
I always begin by applying a small amount of adhesive to the back of each fake nail. I use a small brush to apply the glue, making sure I cover the entire surface. I’ve found that applying too much glue can cause the fake nails to lift or even break off, so I go with a thin, even layer.
Once the glue is applied, I press the fake nail onto my natural nail, making sure it’s aligned properly. I hold it in place for about 30 seconds to allow the glue to set. I repeat this process for each nail, making sure I don’t rush and that each one is applied correctly.[4]
One of the most common mistakes I’ve seen is not pressing the fake nails firmly enough. This can lead to them lifting or falling off within a few hours. I always press each nail down firmly and wait a few seconds before moving on to the next one. This helps ensure a strong bond and a more natural look.
I use a small brush to apply a thin, even layer of glue to each fake nail. This ensures a strong bond without causing any excess glue to seep out and look messy.
“I used to think fake nails were only for those who could afford a salon visit every two weeks.”— Gel Nails for Beginners editors
Related: Simple nail designs
Filing and Shaping for a Natural Look
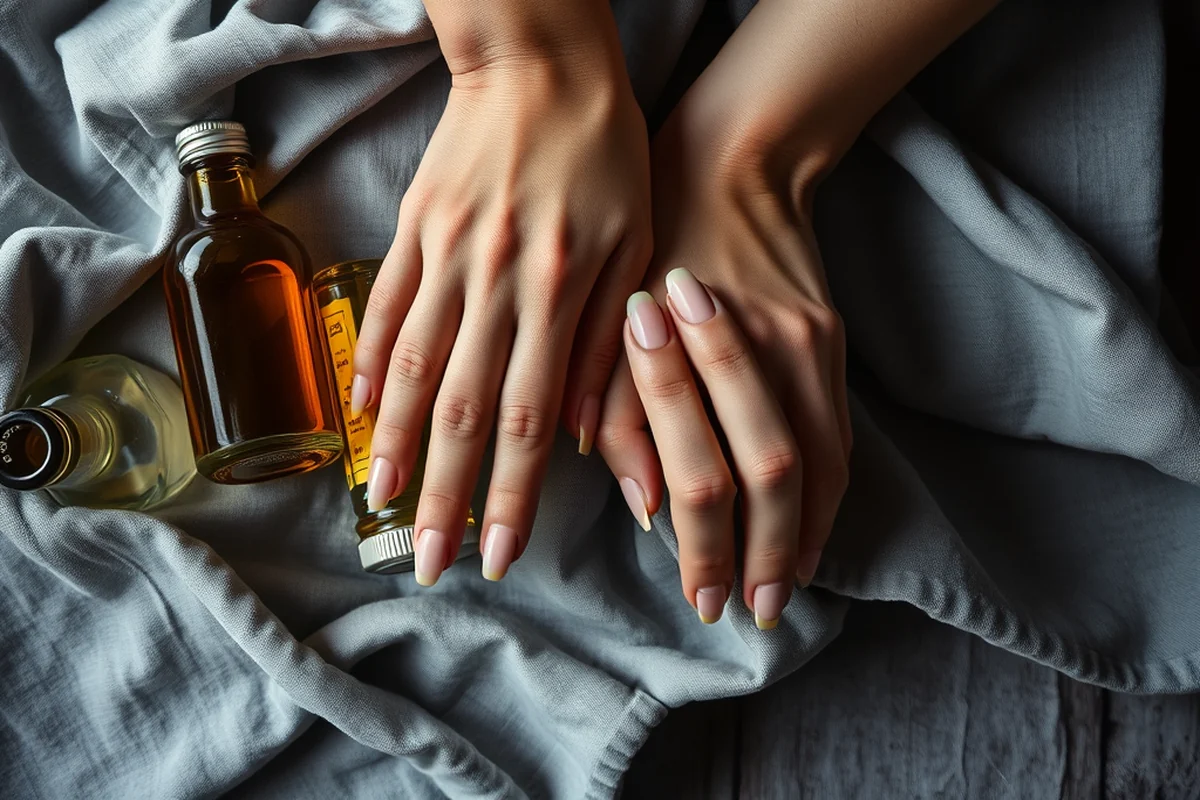
I always use a fine-grit nail file to shape the fake nails slightly. I file them into a shape that matches my natural nails, whether that’s a square, oval, or almond shape. This helps the fake nails look more natural and prevents them from sticking out too much.
I also make sure to file any rough edges or corners on the fake nails. This helps prevent them from catching on fabric or other surfaces and makes them more comfortable to wear. I’ve noticed that rough edges can cause the fake nails to lift sooner, so it’s important to take the time to smooth them out.
Once I’m satisfied with the shape, I use a buffer to smooth out the surface of the fake nails. This helps create a more polished look and ensures that the fake nails feel smooth against the skin. I’ve found that this step is essential for making the fake nails look and feel like they belong on your natural nails.
Related: Summer nail designs
Adding Color and Design
I usually apply a base coat first to ensure the color adheres properly. I’ve found that using a quick-dry base coat is essential, as it helps the color set faster and prevents smudging. I always make sure to apply the base coat evenly and wait a few minutes before applying the color.
Next, I apply my chosen color to the fake nails using a brush. I’ve found that using a thick brush works best for covering the entire nail in one pass. I always apply two coats of color to ensure even coverage and a more vibrant look. I’ve made the mistake of skipping a coat or applying the color too quickly, which resulted in streaks and uneven coverage.
After applying the color, I finish with a top coat to seal the design and give the nails a glossy finish. I’ve found that using a quick-dry top coat is essential for this step, as it helps the design set faster and prevents any smudging or chipping. This step is crucial for ensuring the fake nails last as long as possible.
Related: Summer nail ideas
Removing and Reusing Fake Nails
I always start by gently lifting one edge of the fake nail using a small tool or a cuticle pusher. Once I’ve lifted one edge, I use a cotton ball soaked in nail polish remover to wipe the area where the adhesive is. I’ve found that using acetone-based remover works best, as it dissolves the adhesive quickly without damaging the fake nails.
Once the adhesive is dissolved, I carefully lift the fake nail off my natural nail. I repeat this process for each nail, making sure I don’t pull too hard or damage the natural nail underneath. I’ve made the mistake of using too much force, which led to some of my natural nails becoming thin or even lifting slightly.
After removing the fake nails, I always clean my natural nails thoroughly and apply a cuticle oil to help them recover. I’ve found that this step is essential for ensuring the natural nails remain healthy and strong. It also helps prepare them for the next time I want to apply fake nails again.
Removing fake nails the right way keeps your natural nails healthy and strong.
Related: Summer nail inspo
Tips for Long-Lasting Results
I always avoid using harsh chemicals or soaking my hands in water for long periods of time, as this can cause the adhesive to weaken and the fake nails to lift. I’ve noticed that after a few days of wearing fake nails, they start to lift if I don’t take these precautions.
I also make sure to keep my hands dry as much as possible, especially when doing household chores or washing dishes. I’ve found that using gloves when doing these tasks helps protect my fake nails and keeps them looking fresh for longer.
Finally, I always remove the fake nails before going to bed. This helps prevent any damage to the natural nails and ensures that the adhesive doesn’t build up over time. I’ve found that following these simple steps makes a big difference in how long my fake nails last and how well they look.
🌸 Sensitive Skin
For those with sensitive skin, use a hypoallergenic adhesive and avoid strong chemicals.
💰 Budget
Opt for affordable, mass-produced fake nails and use a budget-friendly adhesive.
✨ Minimalist
Use a minimalist approach with natural-shaped fake nails and a clear top coat for a subtle look.
🎯 Targeted
Choose fake nails that match your natural nail shape and color for a more personalized result.
🛠️ Maintenance
Keep your fake nails in top condition with regular filing, cleaning, and reapplication of top coat.
| The mistake | Why it happens | The fix |
|---|---|---|
| Using the wrong adhesive | Using the wrong adhesive can lead to fake nails lifting or falling off quickly. | Always use a medical-grade adhesive designed for fake nails. |
| Not preparing natural nails properly | Failing to prepare your natural nails can result in fake nails not sticking properly or looking uneven. | Make sure to clean, buff, and file your natural nails before applying fake nails. |
| Applying too much adhesive | Applying too much adhesive can cause fake nails to lift or even break off due to excess weight. | Use only a thin, even layer of adhesive on each fake nail. |
| Skipping the shaping and filing step | Skipping this step can make fake nails look unnatural and uncomfortable to wear. | Always shape and file fake nails to match your natural nails for a more seamless look. |
How To Fake Nails
Common Questions
Can I reuse fake nails after removing them?
How long do fake nails typically last?
Are fake nails damaging to natural nails?
Can I wear fake nails every day?
References
- Top 5 Nail Myths Every Aspiring Nail Technician Should Know (avenuefive.edu)
- Programs Tucson College of Beauty - AZ Job Connection (azjobconnection.gov)
- Artificial Nails (barbercosmo.ca.gov)
- Nail Art: The Rediscovered Trend – HOT TOPICS INSIDER (blog.fitnyc.edu)
Cite this guide
Gel Nails for Beginners (2026). How To Fake Nails. https://careandnail.com/how-to-fake-nails/
Feel free to cite or share this guide.