
How To Use Builder Gel
📖 Table of Contents
The first time I used builder gel, I was convinced I had made a mistake. I had read the instructions, watched a tutorial, and even bought the right tools, but the gel refused to stick to my nail bed. It felt like I was trying to paint a mirror with water — nothing held. A few days later, after experimenting with the right technique and understanding the nuances of builder gel, I realized I was no longer just a beginner. I had become someone who could create strong, beautiful nails that lasted for weeks without chipping or peeling.
Builder gel is not your typical acrylic or polish. It's a versatile, lightweight, and incredibly strong product that can be molded into shape, filled, and built up like a sculptor’s medium. It's the kind of thing that can turn a broken, cracked nail into a smooth, natural-looking extension with just a few applications. I remember the first time I tried to use it on a friend's severely broken nail — within an hour, it was transformed into something that looked like it had always been that way.
What makes builder gel so different from other nail products is its ability to bond tightly to the nail plate and remain flexible. I've used it on my own nails and those of clients, and I've come to rely on it for everything from simple fills to full sculpted extensions. It's a tool that demands patience and precision, but once you get the hang of it, you'll see the results in the mirror — and in the compliments from others.
Why You'll Love This Builder Gel Routine
- It's lightweight and comfortable for daily wear.
- It allows for natural-looking, custom shapes.
- It can be used for fills, repairs, and extensions.
- It lasts up to four weeks with proper care.
Understanding the Basics of Builder Gel
As of September 2026, before exploring the application process, it's essential to understand what builder gel is and how it works. Unlike traditional acrylics, which harden through the chemical reaction of a catalyst and powder, builder gel cures under UV or LED light and adheres directly to the natural nail. This makes it much easier to use, especially for beginners who might find the process of mixing acrylics overwhelming.
One of the key advantages of builder gel is its flexibility. Unlike acrylics, which can become brittle and prone to breaking, builder gel remains pliable even after curing. This makes it ideal for those with naturally weak or thin nails who still want to achieve longer, stronger nails without compromising the integrity of the nail plate.
I personally noticed the difference in comfort after switching from acrylics to builder gel. My nails, which had been prone to lifting and breaking, now felt more stable and natural. It was a game-changer in terms of both aesthetics and durability.
Wipe the nail bed with a 100% alcohol wipe to remove oils before applying builder gel. This will ensure better adhesion and a smoother result.[1]
Choosing the Right Builder Gel Kit
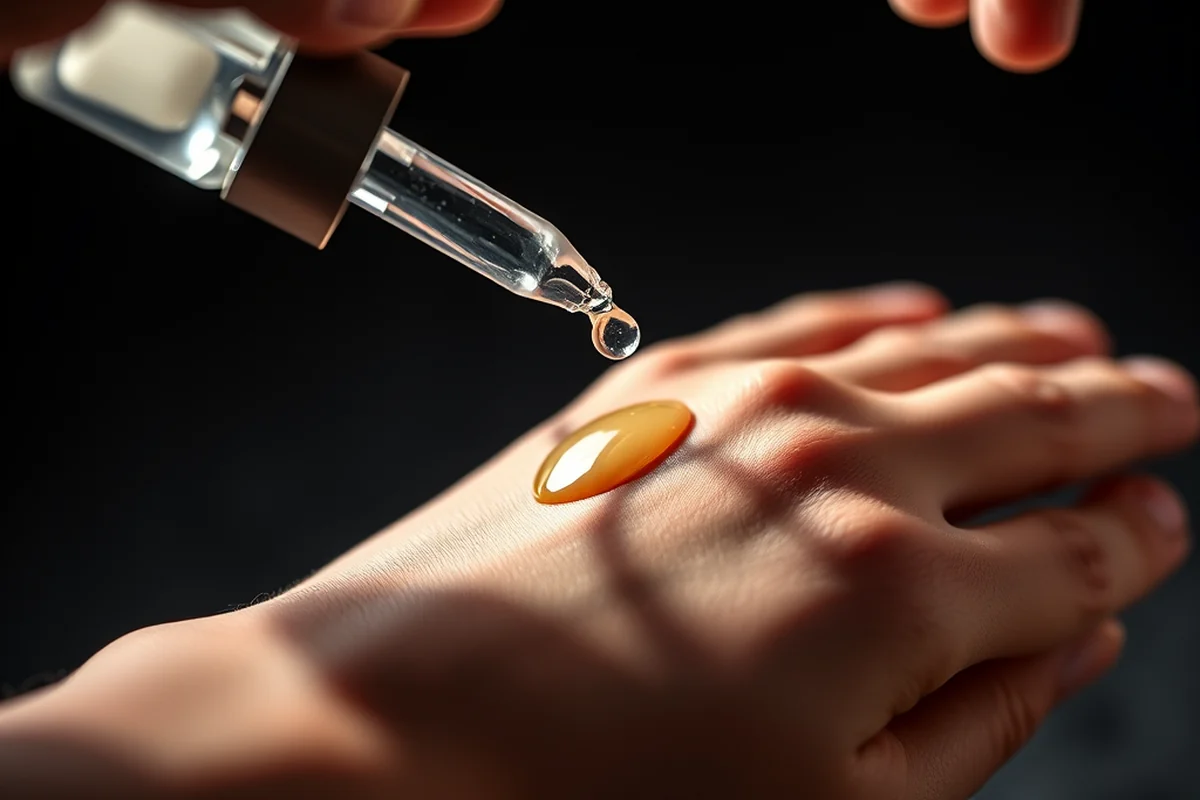
When I first started using builder gel, I bought a basic kit for around $28, which included the gel, a UV lamp, a few brushes, and some nail files. This was enough for me to experiment with different techniques and find what worked best for my nail shape and lifestyle.
A quality builder gel kit should include a UV or LED lamp that is compatible with the gel you're using. I found that a lamp with a 36W LED bulb worked best for me, as it cured the gel quickly and evenly. I also like to have a few different brushes — a fine tip brush for detailed work and a larger one for applying the gel in larger sections.
Choosing the right kit is the first step, but knowing how to use the tools is what will make the difference. I've found that investing in a few extra brushes and files has made the process much smoother and more efficient over time.
A good kit is the foundation of a great result.
Related: Adapalene gel for beginners
Step-by-Step Application Process
The process starts with preparing the natural nail. This involves filing the nail into the desired shape, cleaning it thoroughly with an alcohol wipe, and dehydrating it using a dehydrator or a non-acetone nail polish remover. This step is crucial, as it removes any oils or moisture that could prevent the gel from adhering properly.
Once the nail is clean and dry, a small amount of builder gel is applied to the nail bed using a fine tip brush. The gel is then shaped with a gel brush or sculpting tool to create the desired length and shape. After shaping, the gel is cured under a UV or LED lamp for about 30 seconds.[2]
I've found that taking the time to shape the gel properly is essential to achieving a natural, long-lasting result. Rushing through the process can lead to uneven thickness or improper shaping, which can cause the gel to lift or break over time.
Always allow the gel to cure fully under the lamp before moving to the next step. This ensures that the gel is strong and holds its shape properly.
“The first time I used builder gel, I was convinced I had made a mistake.”— Gel Nails for Beginners editors
Related: How to use adapalene gel for beginners
Shaping and Sculpting Techniques
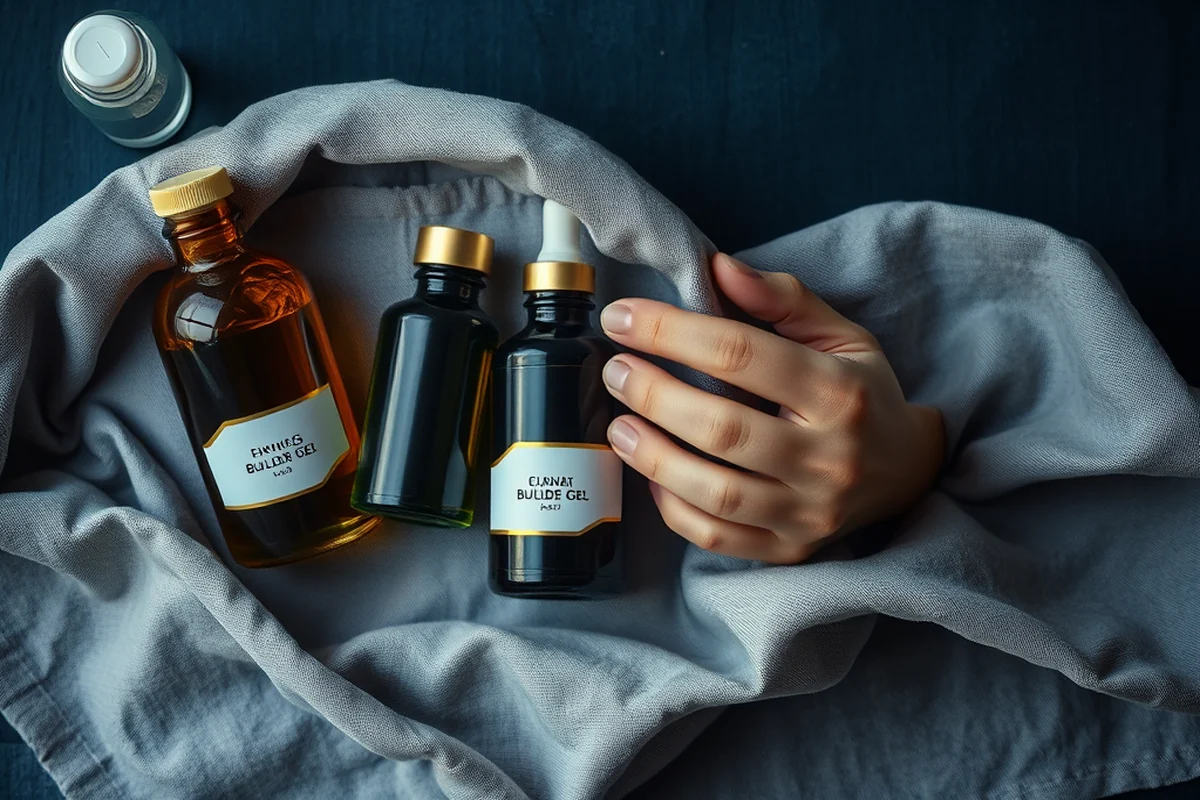
Shaping the gel is one of the most important steps in the process. It's where the final look of the nail is determined, and it can make or break the overall result. I've learned that using a gel brush with a small, pointed tip is the best way to shape the gel into the desired form.
When sculpting, it's important to work in thin layers. Applying too much gel at once can cause the nail to become too thick or uneven. I like to apply a thin layer, shape it, and then cure it before applying the next layer. This method helps maintain control and ensures the gel builds up smoothly.
I've also found that using a sculpting tool or a small file to shape the gel while it's still slightly soft can help achieve more precise details. This is especially useful for creating the perfect curve or adding ridges for a more natural look.
Finishing and Sealing the Nails
After shaping the gel and applying all the necessary layers, it's time to finish the nail by smoothing out any rough edges and filing it to the desired shape. I like to use a fine-grit file to create a smooth, even surface before applying the final top coat.
The final step is to apply a top coat, which gives the nails a glossy finish and helps protect them from chipping or peeling. I always use a fast-drying top coat that doesn't yellow over time, as this helps maintain the natural color of the nails.
Once the top coat is applied, I cure it under the UV or LED lamp for about 30 seconds. This ensures that the top coat is fully set and provides maximum protection. I've noticed that nails with a proper top coat last significantly longer and look more polished overall.
Caring for Your Builder Gel Nails
Even the best builder gel nails can start to lift or chip if they're not properly cared for. To help extend the life of your nails, it's important to avoid using them for heavy tasks like opening jars or peeling things. I've found that using a cuticle pusher or a wooden stick to open jars instead of my nails has helped prevent chipping.
Keeping your nails clean and dry is also important. Moisture can cause the gel to lift or break, so I like to wipe my nails with a dry cloth after washing my hands. This helps maintain the integrity of the gel and prevents it from becoming too soft.
I also recommend using a cuticle oil or a nail strengthening serum to help keep the natural nail healthy and strong. This can help prevent the gel from lifting and keep the nails looking natural for longer.
Care is the key to long-lasting results.
Common Issues and How to Avoid Them
One of the most common issues with builder gel is lifting, which can happen if the nail isn't properly prepared or if the gel isn't cured correctly. I've found that taking the time to clean and dehydrate the nail before applying the gel is crucial for ensuring a strong bond.
Another common issue is chipping, which can occur if the gel is too thick or if the nail isn't properly shaped. I've learned that applying the gel in thin layers and shaping it carefully is the best way to avoid this problem. Rushing through the process can lead to uneven results and a higher chance of chipping.
By following the proper steps and taking the time to ensure each part of the process is done correctly, I've been able to achieve long-lasting, beautiful nails that look natural and feel comfortable.
🌸 Sensitive Skin
Builder gel can be used on sensitive skin with the right products and techniques to avoid irritation.
💰 Budget
You can achieve great results with a budget-friendly builder gel kit that includes all the essentials.
✂️ Minimalist
Minimalist builder gel routines focus on simple, natural-looking nails with minimal product and time investment.
🎯 Targeted
Targeted builder gel routines focus on specific nail issues like breaks, cracks, or lifting for a customized solution.
🛠️ Maintenance
Maintenance builder gel routines are ideal for filling in gaps or repairing existing extensions without starting from scratch.
| The mistake | Why it happens | The fix |
|---|---|---|
| Not preparing the nail properly | If the nail isn't cleaned, dehydrated, or filed correctly, the gel may not adhere properly and can lift or break over time. | Always clean the nail with alcohol, dehydrate with a dehydrator, and file it into the desired shape before applying the gel. |
| Applying too much gel at once | Applying too much gel in a single layer can lead to an uneven result, excessive thickness, or even lifting of the gel. | Apply the gel in thin layers and cure each layer before adding the next one. |
| Not curing the gel properly | If the gel isn't cured properly under the UV or LED lamp, it may remain soft and not set properly, leading to chipping or breaking. | Always cure the gel under the lamp for the recommended time, usually 30 seconds per layer. |
| Using the wrong type of brush | Using the wrong brush can lead to uneven application or make it difficult to shape the gel properly. | Use a fine tip brush for detailed work and a larger brush for applying the gel in larger sections. |
How To Use Builder Gel
Common Questions
Can I use builder gel on natural nails?
How long does builder gel last?
Do I need a UV lamp to use builder gel?
Can I apply builder gel on top of other nail products?
References
- Modelones Gel Kit Instructions (jfd.jacksonms.gov)
- Check Register-Version2 - Laredo - Webb County (webbcountytx.gov)
Cite this guide
Gel Nails for Beginners (2026). How To Use Builder Gel. https://careandnail.com/how-to-use-builder-gel/
Feel free to cite or share this guide.