
How To Remove Acrylic Nails At Home
📖 Table of Contents
The day I tried to remove my acrylic nails at home, I felt like I was walking into a minefield. I had read a few tutorials online, but nothing prepared me for the reality of peeling back layers of polish and gel that had fused with my natural nails. I had always assumed that acrylics were something you could only remove at a salon. After my second set started lifting at the edges, I realized that I needed to confront this head-on. If you're like me, feeling unsure and a bit panicked when faced with the task of removing acrylic nails at home, you're not alone — and the good news is that it's entirely doable with the right tools and approach.[4]
I had a few bad experiences with acrylics — my first set was a disaster, and I ended up tearing my nails and leaving my cuticles raw. That was painful and expensive, and I learned that the key to a good experience is in the removal process. It’s not just about getting rid of the acrylics; it’s about protecting your natural nails, your skin, and your overall peace of mind. The right method can make all the difference, and I want to walk you through exactly how to do it without spending a fortune or risking damage to your nails.[5]
There are a few common myths I want to debunk right away. One is that you can simply soak off acrylic nails at home with acetone, and another is that you need a full toolkit of expensive products to do it right. The truth is that the process is simple, and with the right tools and a little patience, you can safely remove acrylics from the comfort of your own home. What I discovered through trial and error was that the most important factors were using the right products, following the correct steps. Being gentle — and I’ll share exactly how I did it below.
Why You'll Love This Removal Method
- Safe and gentle on natural nails when done correctly
- Cost-effective compared to salon removal
- Quick and easy with the right tools
- Reduces the risk of damaging your cuticles
Gather Your Tools Before You Start
As of October 2026, to remove acrylic nails at home, you need a few key items: acetone (which is the main solvent used for dissolving acrylics), a nail buffer (to gently remove any remaining residue or shine), a cuticle pusher (to help lift the acrylics). A bowl or container to hold the acetone. I usually use a shallow ceramic bowl because it holds the acetone well and doesn’t get too hot from the acetone vapors.
I also keep a small towel or paper towel nearby to wipe up any excess acetone, and I have a pair of nail clippers in case the acrylics are too thick or sharp. It might seem like a lot to have on hand, but I’ve found that having everything ready makes the process much smoother and more efficient. Once you have the tools, you can move on to the actual steps of the removal.
It’s important to note that acetone is a strong chemical, so I always make sure to work in a well-ventilated area. I also avoid using acetone near open flames or heat sources, as it’s highly flammable. Taking these safety precautions helps protect both your nails and your health during the removal process.
Always have a clean towel or paper towel nearby to wipe up any excess acetone — it helps prevent the chemical from lingering on your skin or nails, which can cause dryness.
Part of our Acrylic nails guide.
Soak, Soak, Soak — But How Long?
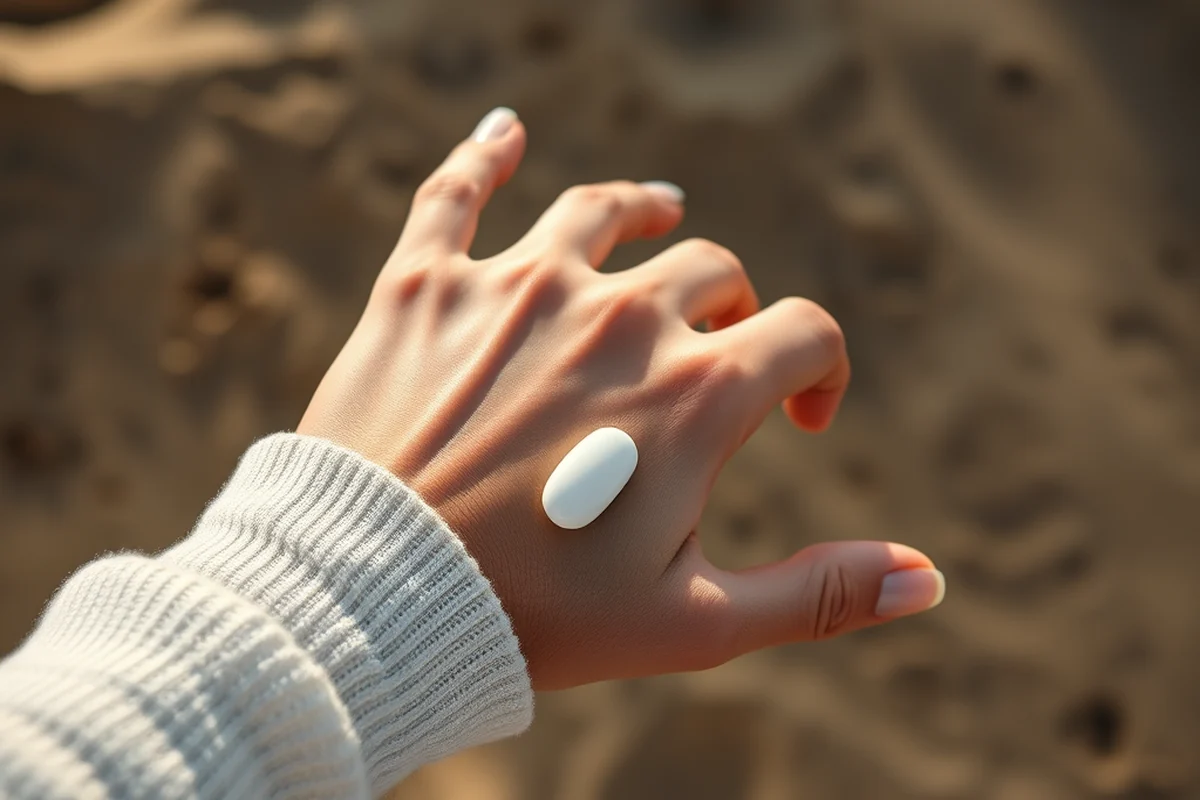
Soaking your nails in acetone is the most effective way to remove acrylics at home, but the timing is crucial. I’ve found that soaking my nails for 15 to 20 minutes is usually sufficient to soften the acrylics and make them easier to lift. If the acrylics are particularly thick or old, I might extend the soaking time by a few minutes. I never let it go past 30 minutes — any longer and I risk drying out my natural nails.[1]
During this time, I like to use a soft towel or napkin to wrap my fingers, which helps keep the acetone from evaporating too quickly and keeps the nails submerged. This also helps the acetone work more effectively. I’ve noticed that if I skip the wrapping step, the acetone evaporates faster, and I have to repeat the process, which is both time-consuming and less effective.
One thing I’ve learned is that it’s better to do this in short sessions rather than one long soak. If I’m really busy, I’ll do the first 10 minutes and then come back later for another 5 to 10 minutes. It gives my nails a chance to breathe and prevents excessive dryness, which is especially important if I have sensitive skin or a history of nail damage.[2]
A little patience goes a long way — and so does a well-timed soak.
Related: What is shellac nails
Lifting the Acrylics: Gentle is Key
After soaking your nails for the recommended time, it’s time to lift the acrylics off. I use a cuticle pusher or an orangewood stick to gently pry the acrylics away from my natural nails. I start at the edges and work my way toward the center, being careful not to dig into my natural nail or damage my cuticles.[3]
I’ve found that applying a little bit of pressure and then lifting slowly is more effective than trying to pull the acrylics off all at once. Rushing this step can cause the acrylics to break or crack, which is not only messy but also risks damaging my natural nails. It’s important to be patient and methodical in this process.
I also use a nail buffer to help smooth out any remaining acrylic residue or rough spots after lifting. This helps keep my natural nails smooth and prevents any leftover acrylic from causing irritation. It’s a small but important step that I’ve noticed makes a big difference in the overall result.
Never pull the acrylics off forcefully — this can cause damage to your natural nails and cuticles. Instead, gently lift them using a cuticle pusher or orangewood stick.
“The day I tried to remove my acrylic nails at home, I felt like I was walking into a minefield.”— Gel Nails for Beginners editors
Related: What is white chrome nails
Cleaning Up After the Removal
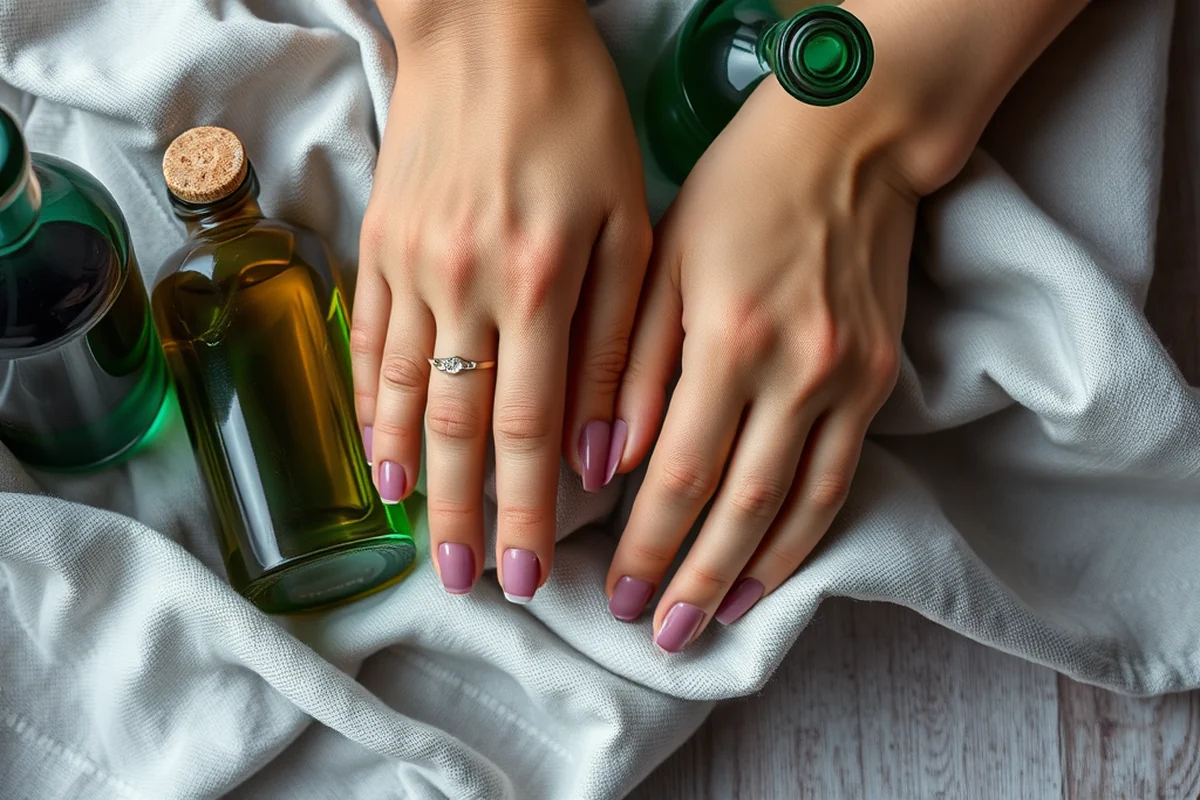
After the acrylics have been removed, I make sure to clean my nails thoroughly. I use a damp paper towel or a nail wipe to remove any remaining acetone and residue. It’s important to get rid of all the acetone because it can dry out my natural nails and cause irritation if left on for too long.
I also like to use a nail buffer to smooth out any rough edges or bumps on my natural nails. This helps prepare them for any new nail treatments I might want to do, such as applying a new set of acrylics or a gel manicure. Buffing also helps create a smooth surface, which makes the next step easier and more comfortable.
After cleaning and buffing, I apply a cuticle oil to my nails and cuticles to help restore moisture and prevent dryness. This step is especially important if I’ve had a long soak or if I have naturally dry or sensitive skin. It helps keep my nails healthy and my cuticles protected from irritation.
Related: Gel x vs acrylic
How to Handle Any Residue or Tough Spots
Sometimes, even after soaking and lifting, there might be some stubborn residue or tough spots left behind. If this happens, I use a nail buffer to gently buff away the remaining acrylic. I work in a circular motion and avoid pressing too hard to prevent damaging my natural nail.
In some cases, I might need to use a small amount of acetone on a cotton pad and gently wipe the affected area. This helps dissolve any leftover acrylic and makes it easier to remove. I’ve found that this is most effective on small spots rather than the entire nail surface.
Another trick I’ve learned is to apply a thin layer of cuticle oil or hand cream to my nails after removing the acrylics. This helps keep them moisturized and prevents any dryness or cracking that can occur after the removal process. It’s a small but important step that helps maintain the health of my natural nails.
Related: French tip acrylic nails
Post-Removal Care: Nourishing Your Nails
After removing acrylics, my natural nails can be a bit dry and brittle, especially if I’ve had them on for a long time. To help them recover, I always apply a rich cuticle oil or hand cream right after the removal process. This helps restore moisture and prevents the nails from becoming too dry or cracked.
I also avoid using any harsh chemicals or nail polish for a few days after removing my acrylics. This gives my nails a chance to breathe and recover. I’ve found that this is a crucial step, as it helps prevent any further damage and keeps my nails looking healthy.
If I’m planning to get a new set of acrylics or a gel manicure, I like to wait at least a few days before applying anything new. This gives my nails time to settle and ensures that the new application will adhere properly without causing any damage.
Nourish your nails after removal — they’ll thank you later.
Related: What is acrylic nails designs
When to Seek Professional Help
While removing acrylics at home is possible, there are certain situations where it’s better to leave it to a professional. If your acrylics are particularly thick or difficult to remove, or if you’re not confident in your ability to do it safely, it’s a good idea to consult a nail technician. They have the right tools and experience to remove acrylics without damaging your natural nails.
I’ve learned that if I have any cuts, infections, or severe nail damage, it’s best to avoid trying to remove acrylics on my own. These conditions can make the process more complicated and increase the risk of further damage. In these cases, a professional can provide the right care and help you avoid any additional problems.
Another time when it’s better to seek professional help is if you have a history of nail damage or if you’re unsure about the right steps to take. A professional can guide you through the process and ensure that your nails are removed safely and effectively. It’s always better to be safe than sorry with your natural nails.
🧴 Sensitive Skin Removal
For those with sensitive skin or a history of allergic reactions, this variation uses a lower concentration of acetone and includes a soothing cuticle oil to minimize irritation.
💰 Budget-Friendly Removal
This method uses affordable household products like rubbing alcohol and a nail buffer to achieve effective removal without spending extra.
✂️ Minimalist Removal
A no-frills approach that uses only the essentials — acetone and a cuticle pusher — to remove acrylics quickly and efficiently.
🎯 Targeted Removal
Ideal for those with only a few damaged or lifted nails — this method focuses on removing just the affected areas without touching the rest.
🔄 Maintenance Removal
A routine for those who wear acrylics regularly and want to maintain their nails without causing long-term damage.
| The mistake | Why it happens | The fix |
|---|---|---|
| Using too much acetone at once | This can cause severe dryness and damage to your natural nails. | Use acetone sparingly and only apply it to the affected areas. Wrap your fingers in a towel to help the acetone work more effectively without overexposure. |
| Trying to remove acrylics without soaking them first | This makes the process much harder and increases the risk of damaging your natural nails. | Always start by soaking your nails in acetone for at least 15 minutes before attempting to lift the acrylics. |
| Forcing the acrylics off with your fingers | This can cause the acrylics to break or crack, leading to uneven removal and potential damage to your natural nails. | Use a cuticle pusher or orangewood stick to gently lift the acrylics instead of trying to pull them off with your fingers. |
| Skipping the post-removal care steps | This can lead to dry, brittle nails and increase the risk of infection. | Always apply cuticle oil or hand cream after removing your acrylics to keep your nails healthy and prevent dryness. |
How To Remove Acrylic Nails At Home
Common Questions
How long does it take to remove acrylic nails at home?
Can I use rubbing alcohol instead of acetone?
Is it safe to remove acrylic nails if I have a cuticle infection?
Can I use a nail file to remove acrylics?
References
- What to Know and How to Know if Your Local Nail Salon is Using ... (bcb.az.gov)
- Nail Technology - Bellasa (bellasa.edu)
- Nailing Down a Career - Bentley University (bentley.edu)
- Step-by-Step Guide to Perfect Gel Manicure at Home - Cortiva Institute (cortiva.edu)
- NAIL COSMETICS - Deep Blue Repositories (deepblue.lib.umich.edu)
Cite this guide
Gel Nails for Beginners (2026). How To Remove Acrylic Nails At Home. https://careandnail.com/how-to-remove-acrylic-nails-at-home/
Feel free to cite or share this guide.