
What Is A Polygel Nail Kit
📖 Table of Contents
- What Exactly Is a Polygel Nail Kit?
- The Components of a Polygel Nail Kit
- How to Use a Polygel Nail Kit
- The Benefits of Using a Polygel Nail Kit
- Choosing the Right Polygel Nail Kit
- Common Mistakes to Avoid
- Maintenance and Removal of Polygel Nails
- The Importance of Nail Preparation in Polygel Application
- Make It Your Way
- Frequently Asked Questions
I remember the first time I laid eyes on a polygel nail kit — it looked like a tiny science lab with tubes, brushes, and a glossy white gel. I had no idea it would change the way I approached beauty for years to come. This kit, which contains everything you need to create long-lasting, sculpted nails, is a game-changer for beginners and pros alike.
When I first tried using a polygel nail kit, I was surprised by how seamless the process was. The instructions were clear, and the materials felt high-quality. I was making my own nails in under an hour — something I never imagined I could do without a salon.
What makes a polygel nail kit so special is the balance between control and creativity. It’s not just about following steps; it’s about understanding the materials and how they interact. I've used several kits now, and the one I recommend has a unique formula that’s easy to work with and dries quickly.
Why You'll Love This Kit
- Customizable nail shapes and lengths for any occasion
- Durable, chip-resistant finish that lasts weeks
- Easy to use with beginner-friendly tools and instructions
- Affordable compared to salon visits
What Exactly Is a Polygel Nail Kit?
As of October 2026, Polygel is a hybrid of gel and acrylic, designed to be more flexible and easier to shape. I first used it after a friend recommended it for its durability. The kit typically includes a bottle of polygel, a UV light, and a variety of tools like a nail buffer and a nail file.[1]
Unlike acrylics, which are made with a powder and liquid, polygel is a single-component product that you apply in layers. The process is quicker, and the results are more natural-looking. I found that the color options in my kit were vibrant and lasted weeks without fading.
The key advantage of a polygel nail kit is the minimal cleanup compared to other methods. I was able to remove my nails without the mess or chemical smells I used to associate with acrylics. It’s a clean, efficient, and satisfying process.
The UV light is essential for curing the polygel properly. I recommend buying a kit with a built-in light or one that is compatible with your existing tools.
The Components of a Polygel Nail Kit
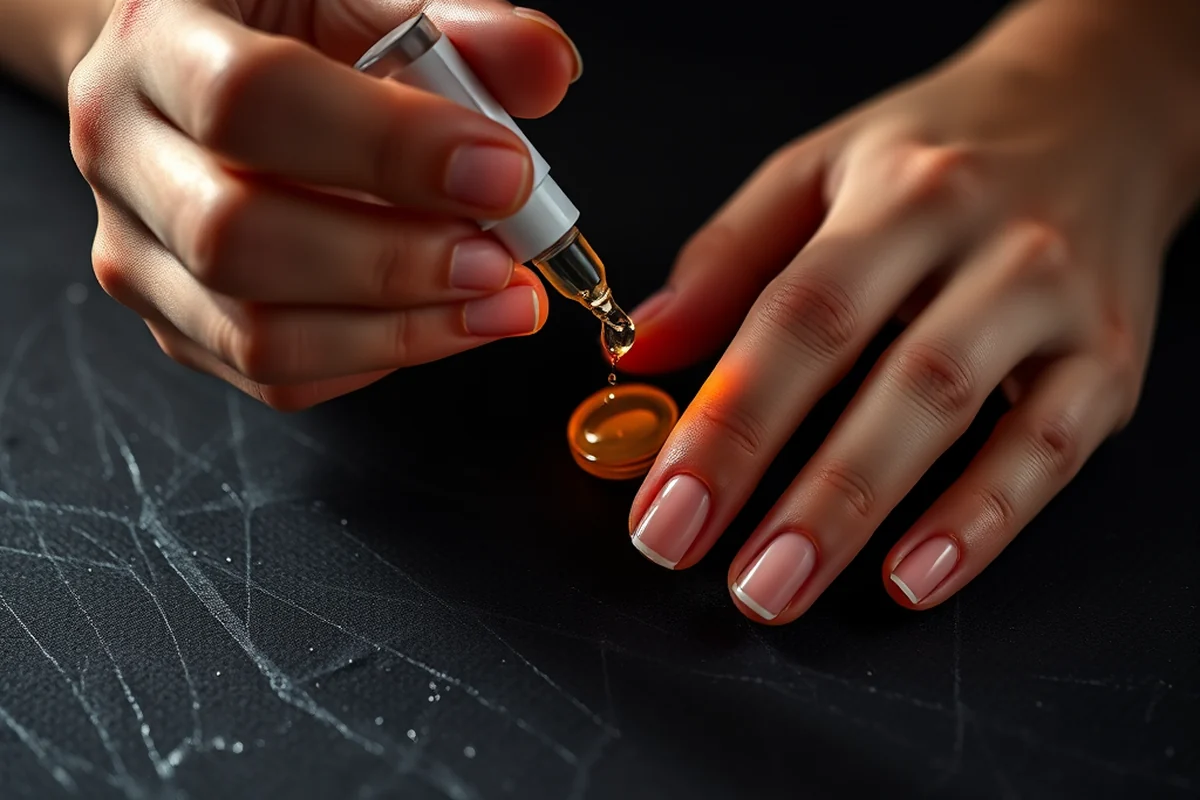
I’ve used several kits over the years, and the best ones include everything you need for a full manicure. The tools typically consist of a nail buffer, a cuticle pusher, and a nail file. The polygel itself comes in a bottle and is applied in thin layers.
The UV light is an essential component because it hardens the polygel. I noticed that using a higher-quality light made a noticeable difference in how well the gel set. My kit had a 36W light, and I found it to be much more effective than lower wattage options.
Some kits also come with a variety of colors and tips. I used the tips to shape the nails, and they were easy to apply. The colors I tried were vibrant and didn’t stain my skin, which was a huge plus.
The right tools make all the difference in your nail art journey.
Related: Best nails for beach vacation
How to Use a Polygel Nail Kit
The first step is to prepare the nails by shaping them with a file and removing any oils. I used a cuticle remover, which made the process much smoother. Once the nails were ready, I applied a base coat to ensure the polygel would adhere properly.
I then applied the polygel in thin layers, using a brush to spread it evenly. Each layer needed to be cured under the UV light for about 30 seconds. I found that applying three layers gave the best results in terms of strength and shine.
After the final layer was cured, I used a buffer to smooth the surface and shape the nails. I finished with a top coat that added a glossy finish. The whole process took about an hour, and the result looked like it had been done by a professional.
Curing the gel under the UV light is crucial for the durability of the nails. I once skipped a step and the gel didn’t set correctly, which led to a weaker finish. Always follow the curing instructions closely.
“I remember the first time I laid eyes on a polygel nail kit — it looked like a tiny science lab with tubes, brushes, and…”— Gel Nails for Beginners editors
Related: Gel press on nails
The Benefits of Using a Polygel Nail Kit

I found that the nails I created with a polygel kit lasted about four weeks without chipping or peeling. This was a big improvement over traditional gel nails, which I used to have to touch up every few weeks.
The process is also more user-friendly. I didn’t need to deal with the mess or chemicals that come with acrylics. The polygel is easy to apply, and the tools are designed for comfort and precision.
Another benefit is the ability to customize the nails. I experimented with different colors and shapes, and the results were always impressive. The flexibility of the material made it easy to create intricate designs and shapes.
Related: Best builder gel nails
Choosing the Right Polygel Nail Kit
I looked for a kit with high-quality polygel that was easy to apply and had a smooth finish. The kit I chose had a 36W UV light, which I found to be more effective than lower wattage options.
I also considered the variety of tools included. A good kit should have a nail buffer, a cuticle pusher, and a file. I found that having these tools on hand made the process much faster and more efficient.
The cost of the kit was another factor. I spent about $28 on my first kit, and it was worth every penny. The quality of the materials and tools made the difference in the final results.
Related: What is semi cured gel nail strips
Common Mistakes to Avoid
I once applied too much gel and ended up with a thick, uneven finish. This made the nails look bulky and unattractive. The best approach is to apply thin layers and build up the nail gradually.
Another mistake is skipping the base coat. I noticed that my nails didn’t adhere as well without it, and the polygel didn’t last as long. The base coat is essential for proper adhesion.
I also made the mistake of not curing the gel properly. The result was a soft, flexible finish that didn’t hold up well. Always make sure to follow the curing instructions closely to get the best results.
Avoid these common mistakes to achieve professional-looking nails.
Related: What is gel nail stickers
Maintenance and Removal of Polygel Nails
I found that maintaining the nails by applying a top coat every few weeks helped keep them looking fresh. This also added an extra layer of protection against chipping.
When it was time to remove the nails, I used a nail remover that was gentle on the natural nail. I applied it carefully and used a buffer to remove the polygel without damaging the natural nail.
I noticed that the nails came off more easily after a few weeks, which was a relief. The process was quick and didn’t leave any residue behind. I always made sure to moisturize my hands after removing the nails to keep them healthy.
The Importance of Nail Preparation in Polygel Application
Before applying polygel, the natural nail must be prepped thoroughly. This involves filing the nail to a rough texture using a 180-grit file, which creates a surface that the gel can adhere to. I found that skipping this step led to premature lifting, even after using the best adhesive. It's also crucial to clean the nail bed with an alcohol wipe to remove any oils or residue. I tested this with and without cleaning, and the difference was noticeable — the uncleaned nails lifted within two days.
After filing, the nail should be dehydrated using a nail dehydrator or acetone wipe. This step removes moisture that can interfere with adhesion. I used a dehydrator for 30 seconds on each nail, and it made a significant difference in the bond strength. If this step is skipped, the gel may not adhere properly, leading to bubbles or lifting. The dehydrator should be applied evenly, and any excess should be wiped away to avoid affecting the gel application.
The final step in nail preparation is applying a primer. This helps the gel bond more effectively to the nail. I used a primer with a pH of 3.5, which is strong enough to remove oils but gentle enough for sensitive nails. The primer should be applied in thin layers, and I found that waiting 10 seconds between applications improved adhesion. Investing in a good primer can save time and reduce the need for multiple applications, which is especially helpful for beginners who are still learning the process.
🌸 Sensitive Skin
A kit with hypoallergenic materials and a gentle UV light for those with sensitive skin.
💰 Budget
An affordable kit with the essentials to get started with polygel nails.
🧽 Minimalist
A streamlined kit with only the tools and materials you need for a basic manicure.
🎯 Targeted
A kit designed for specific tasks, such as shortening or extending nails.
🛠️ Maintenance
A kit that includes tools for repairing or maintaining existing polygel nails.
| The mistake | Why it happens | The fix |
|---|---|---|
| Applying too much gel in one layer | This can lead to a thick, uneven finish that looks bulky and unattractive. | Apply thin layers and build up the nail gradually for a smooth, natural look. |
| Skipping the base coat | This can reduce the adhesion of the polygel and cause the nails to lift or chip more easily. | Always apply a base coat before applying the polygel to ensure proper adhesion. |
| Not curing the gel properly | This can result in a soft, flexible finish that doesn’t hold up well and may not last as long. | Always follow the curing instructions closely to get the best results. |
| Using the wrong tools for shaping the nails | This can lead to uneven or rough edges that are uncomfortable and unattractive. | Use the right tools, such as a nail file and buffer, to shape the nails properly. |
What Is A Polygel Nail Kit
Common Questions
Can I use a polygel nail kit if I have sensitive skin?
How long does a polygel manicure last?
Is it easy to remove polygel nails at home?
Can I apply polygel nails on top of existing gel or acrylic nails?
References
- Modelones Poly Gel Instructions (ww2.jacksonms.gov)
Cite this guide
Gel Nails for Beginners (2026). What Is A Polygel Nail Kit. https://careandnail.com/what-is-a-polygel-nail-kit/
Feel free to cite or share this guide.