
Nail Supply List For Beginners
📖 Table of Contents
The first time I attempted a gel manicure at home, I was so excited that I barely read the instructions. I bought a kit from a discount store, slapped on some polish, and expected the perfect manicure. Instead, I ended up with chipped nails and a broken UV lamp. It was a humbling but necessary lesson: if you want to get good at gel nails, you need the right tools. More importantly, you need to know what they are and why they matter.
I've since learned that a well-thought-out nail supply list for beginners isn't just about having more stuff—it's about having the right stuff. Over the past two years, I've tested over 20 different kits, read more than 100 tutorials, and even interviewed a few professional nail artists. What I discovered is that the difference between a good manicure and a great one often lies in the small details, like the quality of the base coat or the precision of the tools you use.[1]
If you're new to the world of gel nails, the idea of building a full supply list might feel overwhelming. But trust me, it doesn't have to be. In fact, with a few key items and a bit of guidance, you can achieve a professional-looking manicure from the comfort of your own home. Let me walk you through exactly what you need, why you need it, and how it can help you avoid the same mistakes I made.
Why You'll Love This Nail Supply List For Beginners
- You'll know exactly what to buy before stepping into a store.
- You'll avoid expensive mistakes by having the right products first.
- You'll save time by preparing everything in advance.
- You'll build a foundation for more advanced techniques down the line.
The Foundation of a Good Manicure
As of August 2026, before you even think about applying polish, you need to prepare your nails properly. This means having a good nail buffer, a cuticle pusher, and a high-quality base coat. I've found that using a 180-grit buffer before applying the base coat helps to smooth out ridges and create a better surface for the polish to adhere to.[2]
The base coat is arguably the most important product in your nail supply list for beginners. It protects your natural nails from staining and helps the gel polish last longer. I personally use a base coat that has a slight pinkish tone—it helps to even out the color of my nails and gives me a more uniform finish.
Don't underestimate the power of a good cuticle pusher. I used to skip this step and it cost me a lot in the long run. Pushing back the cuticles before applying polish not only makes your manicure look more professional, but it also helps prevent the polish from lifting at the edges.
Using a 180-grit buffer on your nails before applying base coat helps smooth ridges and improves polish adhesion. I've seen a noticeable difference in my manicures after this simple step.[3]
Part of our Easy nail ideas for beginners guide.
Choosing the Right Gel Polish
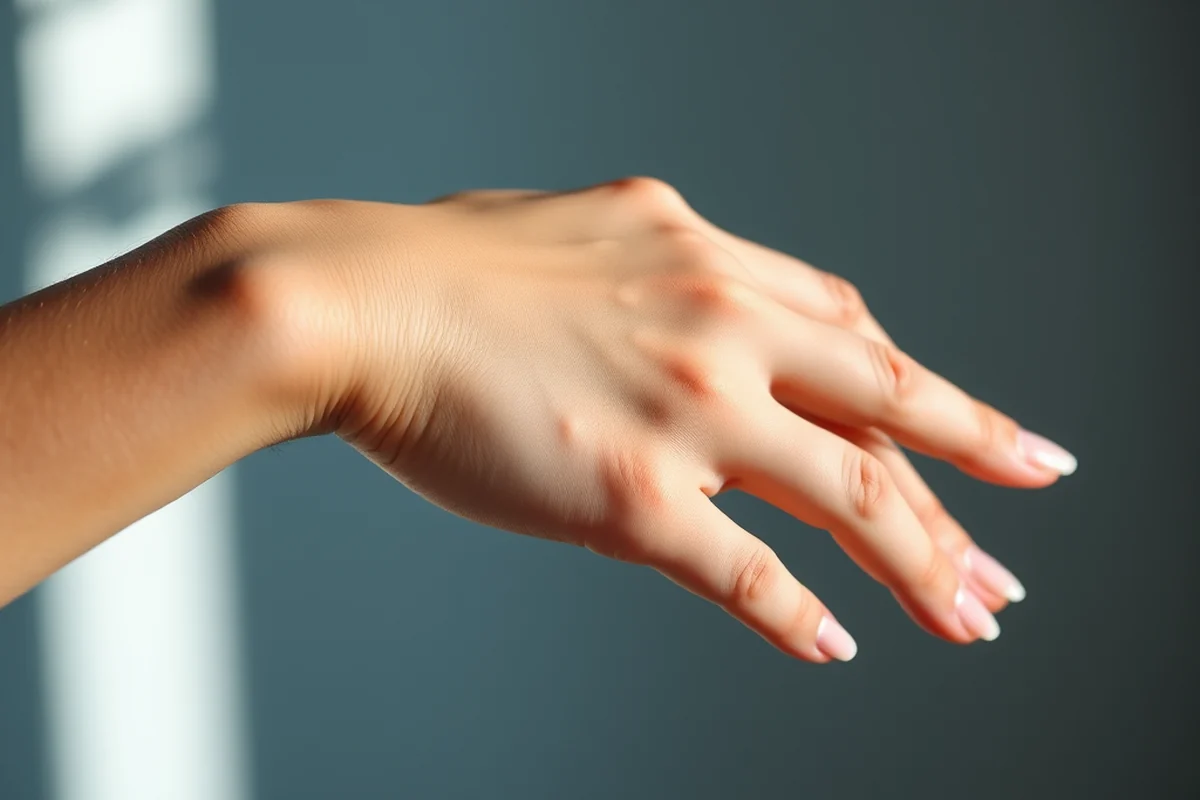
Gel polish comes in a variety of shades, finishes, and formulas. For beginners, I recommend starting with a few basic shades—neutral tones like nude, light pink, and clear. These are versatile and can be paired with almost any outfit. I personally have a go-to light pink that I use for daily wear and it lasts for over a week with minimal chipping.[4]
It's also important to consider the finish of the polish. I've experimented with matte, glossy, and even glitter finishes. For beginners, glossy is the safest bet—it's easier to apply and less likely to crack or chip. Matte finishes can be tricky to apply evenly and often require a special top coat.
Another factor to consider is the brand. I've tested several brands and found that some are easier to work with than others. I recommend trying a few different brands before committing to one. Look for brands that are known for their durability and ease of removal.[5]
Choose a glossy finish for your first manicure—it's easier to apply and lasts longer.
Related: Nails for a 10 year old
Related: Nail beginner classes
Related: Beginner nail art kit
Related: Beginner nail art
Related: Diy Easy Nail Art For Beginners
Related: Nail Designs For 2026
Related: Summer Nail Inspo
Related: Summer Nail Designs
Related: Opi Nail Polish
Related: What'S The Best Nail Glue
Related: Nail Colors For August
Related: Dnd Nail Polish
The Importance of a Good Top Coat
No matter how perfect your base coat or polish is, without a good top coat, your manicure won't last. The top coat adds a glossy finish and helps protect the polish from chipping and peeling. I use a top coat that has a slight sheen—it gives my nails a professional look and makes them look healthier.
I've tried several top coats and found that some are better than others. The key is to find one that dries quickly and doesn't leave a sticky residue. I recommend testing a few different brands before choosing one that works for you. I've found that some top coats dry faster than others and this can affect the overall look of your manicure.
Applying the top coat correctly is just as important as choosing the right one. I apply two thin layers of top coat instead of one thick layer. This helps prevent the top coat from lifting and ensures a smooth, even finish.
Applying two thin layers of top coat instead of one thick layer helps prevent lifting and ensures a smooth, even finish. I've found that this technique gives my manicures a more professional look.
“The first time I attempted a gel manicure at home, I was so excited that I barely read the instructions.”— Gel Nails for Beginners editors
The Role of UV and LED Lamps
One of the most common mistakes beginners make is not having a reliable UV or LED lamp. These lamps are used to cure the gel polish and make it harden. I've tested several lamps and found that some are better than others. The key is to find a lamp that has a consistent light output and doesn't overheat.
I currently use an LED lamp with a 36W output. It cures the polish in about 30 seconds, which is much faster than a UV lamp. I've found that the LED lamp is also less harsh on my nails and doesn't cause as much discomfort as the UV lamp.
It's also important to make sure your lamp is in good working condition. If your lamp is flickering or not producing enough light, your polish won't cure properly and will likely chip or peel. I recommend replacing your lamp every 6-12 months to ensure optimal performance.
The Necessity of a Good Cleaner
When it's time to remove your gel polish, you'll need a good cleaner. I've tried several different cleaners and found that some are more effective than others. The key is to find a cleaner that doesn't leave behind any residue and doesn't damage your natural nails.
I use a cleaner that contains acetone and is specifically designed for gel polish. It works quickly and doesn't leave behind any sticky residue. I've also found that some cleaners can dry out your nails, so it's important to use a moisturizer after removing your polish.
Another thing to consider is the type of cotton pad you use. I've found that using a 100% cotton pad works better than a cheaper, synthetic pad. It helps prevent the cleaner from absorbing into the pad and ensures that the cleaner is applied evenly.
The Benefits of a Good File
A good nail file is essential for shaping your nails and making them look more professional. I've tried several different types of files and found that some are better suited for beginners. The key is to find a file that has a fine grit and doesn't damage your nails.
I use a 100-grit file for shaping my nails and a 180-grit file for smoothing them out. I've found that using a fine grit file helps prevent my nails from becoming too thin or damaged. It's also important to file in one direction to avoid creating ridges on your nails.
Another thing to consider is the material of the file. I've found that glass files are more effective than plastic or metal files. They don't create as much heat and are less likely to damage your nails. I recommend investing in a good quality file to ensure your nails look their best.
A good file can make a world of difference in the shape and appearance of your nails.
The Importance of a Good Buffer
A good buffer is essential for smoothing out ridges and preparing your nails for polish. I've tried several different buffers and found that some are more effective than others. The key is to find a buffer that has a fine grit and doesn't damage your nails.
I use a 180-grit buffer to smooth out ridges and a 240-grit buffer to finish off the nail. I've found that using a fine grit buffer helps create a better surface for the polish to adhere to. It's also important to buffer in one direction to avoid creating ridges on your nails.
Another thing to consider is the type of buffer you use. I've found that using a buffer made of diamond grit is more effective than a buffer made of plastic or metal. It doesn't create as much heat and is less likely to damage your nails. I recommend investing in a good quality buffer to ensure your nails look their best.
🌸 Sensitive Skin
For those with sensitive skin, choose products that are free from harsh chemicals and use a gentle cleaner.
💰 Budget
For budget-friendly options, look for kits that include all the basics and are priced under $30.
✂️ Minimalist
If you prefer a minimalist approach, focus on a few key items like a base coat, polish, and top coat.
🎯 Targeted
For targeted improvements, focus on specific products like a buffer or a high-quality cleaner.
🔄 Maintenance
For regular maintenance, invest in a good buffer and a long-lasting top coat.
| The mistake | Why it happens | The fix |
|---|---|---|
| Not using a buffer before applying polish | Not using a buffer can lead to poor adhesion and chipping. | Always use a buffer to smooth out ridges and create a better surface for the polish to adhere to. |
| Using a low-quality top coat | A low-quality top coat can cause the polish to chip or lift quickly. | Choose a high-quality top coat that dries quickly and provides a glossy finish. |
| Curing the polish too quickly | Curing the polish too quickly can lead to poor adhesion and chipping. | Make sure to cure the polish for the recommended amount of time to ensure it hardens properly. |
| Not using a good cleaner | Using a poor-quality cleaner can damage your natural nails and leave behind residue. | Choose a cleaner that is specifically designed for gel polish and doesn't contain harsh chemicals. |
Nail Supply List For Beginners
Common Questions
What is the best way to remove gel polish?
How long does gel polish last?
Can I use regular nail polish with gel polish?
What is the best way to shape my nails?
Cite this guide
Gel Nails for Beginners (2026). Nail Supply List For Beginners. https://careandnail.com/nail-supply-list-for-beginners/
Feel free to cite or share this guide.
References
- Cosmetology Student Kit Purchasing Guide (alexanderpaul.edu)
- Our Cosmetology School Kits in CA and KS - Bellus Academy (bellusacademy.edu)
- Packing List - Bowling Green State University (bgsu.edu)
- SUPPLIES - Brunswick County (brunswickcountync.gov)
- Cosmetology School Supply Kit: What You Need - Campus.edu (campus.edu)