
How To Builder Gel Manicure
📖 Table of Contents
I remember the first time I tried building a gel manicure. I had spent hours watching tutorials, reading reviews, and still felt overwhelmed by the sheer number of products and steps involved. What I didn’t realize was that the process was more about patience and precision than any kind of magic or wizardry. Today, I’m a self-proclaimed gel manicure enthusiast, and I’ve built more than 200 sets for myself and friends. It’s not just about the final look, but the control, creativity, and confidence that come from shaping your own hands.[1]
Building a gel manicure is different from a traditional polish application. It requires a specific set of tools, a certain mindset, and a willingness to embrace the little details that make the difference between a good manicure and a great one. I’ve learned that using the right products, applying the correct pressure, and giving each coat enough time to cure are all essential steps that I couldn’t skip. Over time, I noticed my nails looking better, lasting longer, and feeling stronger than ever before.[2]
If you’ve ever thought that gel manicures are only for professionals or expensive salons, think again. With the right knowledge and tools, anyone can learn how to build a gel manicure from scratch. It’s a process that’s both empowering and rewarding, and I’m here to guide you through every step, from prepping the nails to applying the final top coat. Whether you're a complete beginner or just looking to refine your skills, this guide is tailored for you.
Why You'll Love This Gel Manicure Routine
- Long-lasting results that withstand daily wear and tear
- Customizable look tailored to your personal style
- Nail-strengthening benefits from the right products
- Savings from doing it yourself instead of going to a salon
Gathering the Essentials
As of October 2026, the first step in building a gel manicure is assembling your kit. You’ll need a base gel, a builder gel, a top gel, and a few other essentials like a LED light, nail buffer, and cuticle pusher. I personally use a set from a well-known brand, and I’ve found that the quality of the products can make a big difference in the final outcome. I’ve spent hours testing different brands and found that some gels cure faster than others, which is a huge time-saver.
It's also important to have a well-lit workspace. I use a desk lamp with a daylight bulb because it helps me see the color and texture of the gel more clearly. I’ve noticed that working in a dimly lit room can lead to mistakes, especially when applying thin layers of gel. Another thing I always have on hand is a small container of acetone, just in case I need to remove any excess gel or correct an error.
I’ve learned that investing in quality products is worth it in the long run. A good base gel provides a smooth canvas, while the builder gel adds shape and structure. I’ve tried a few different brands and found that some gels are easier to work with than others. It's all about finding what works best for your hands and your budget.
Wipe down your table and tools with alcohol before each session to avoid contamination.
Part of our Budget gel nails for beginners guide.
Prepping the Nails
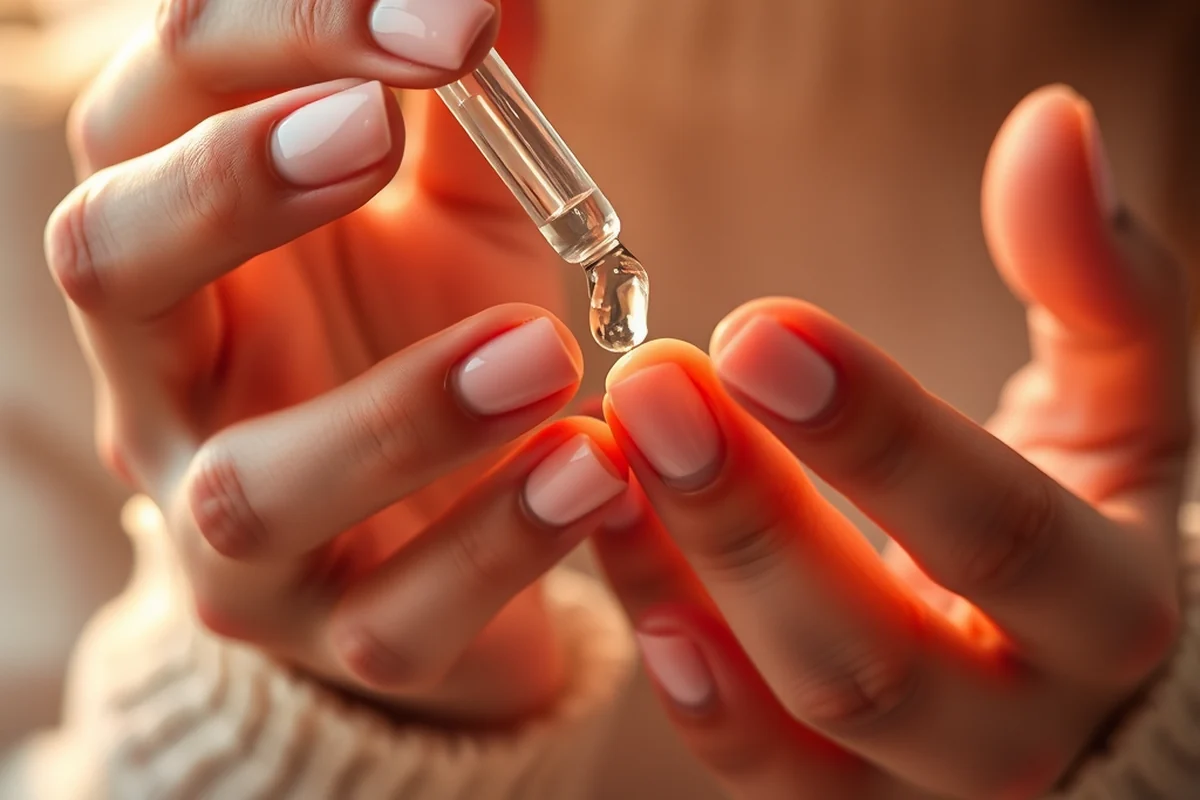
Before applying any gel, I make sure my nails are completely clean and dry. I use a nail buffer to smooth the surface of my nails and remove any ridges or rough spots. This step is crucial because if the surface isn't smooth, the gel won’t adhere properly, and it could chip or lift later on. I’ve made this mistake before and ended up with a manicure that looked good initially but fell apart after a few days.
I also take the time to push back my cuticles and remove any dead skin around the nail bed. I use a cuticle pusher and a little bit of cuticle oil to make the process smoother and less painful. I’ve found that taking this step helps the gel apply more evenly and prevents any lifting or peeling at the edges of the nails.
After prepping, I use a base gel to create a smooth, even surface for the builder gel. I apply it in thin layers and cure it under the LED light for the recommended time. I’ve found that if I apply too much base gel, it can make the nails look thick or unnatural, so I always go slow and build up the layers gradually.
A manicure is only as good as its foundation.
Related: Gel nails for how long
Building the Shape
Once the base is set, it’s time to build the shape of the nail. I use the builder gel to create the desired shape, whether it’s a square, round, or almond. I’ve found that using a nail form or template helps me maintain consistency, especially when working on multiple nails at once. I apply the builder gel in thin layers, making sure to cover the entire nail bed and the sides.
I use a gel brush with a fine tip to apply the gel precisely. I’ve noticed that the pressure I use when applying the gel can affect the outcome—too much pressure can cause the gel to crack, while too little might leave it uneven. I’ve learned to apply the gel in slow, even strokes and cure it under the LED light as directed.
After each layer, I check the shape and make any necessary adjustments. I’ve found that building the shape gradually and curing each layer properly helps the gel bond better and last longer. I’ve also experimented with different thicknesses and found that a slightly thicker application can give the nails more durability and strength.
Each layer of builder gel should be thin and even to ensure a smooth, professional finish.
“I remember the first time I tried building a gel manicure.”— Gel Nails for Beginners editors
Related: How to do gel nails from home
Creating the Design
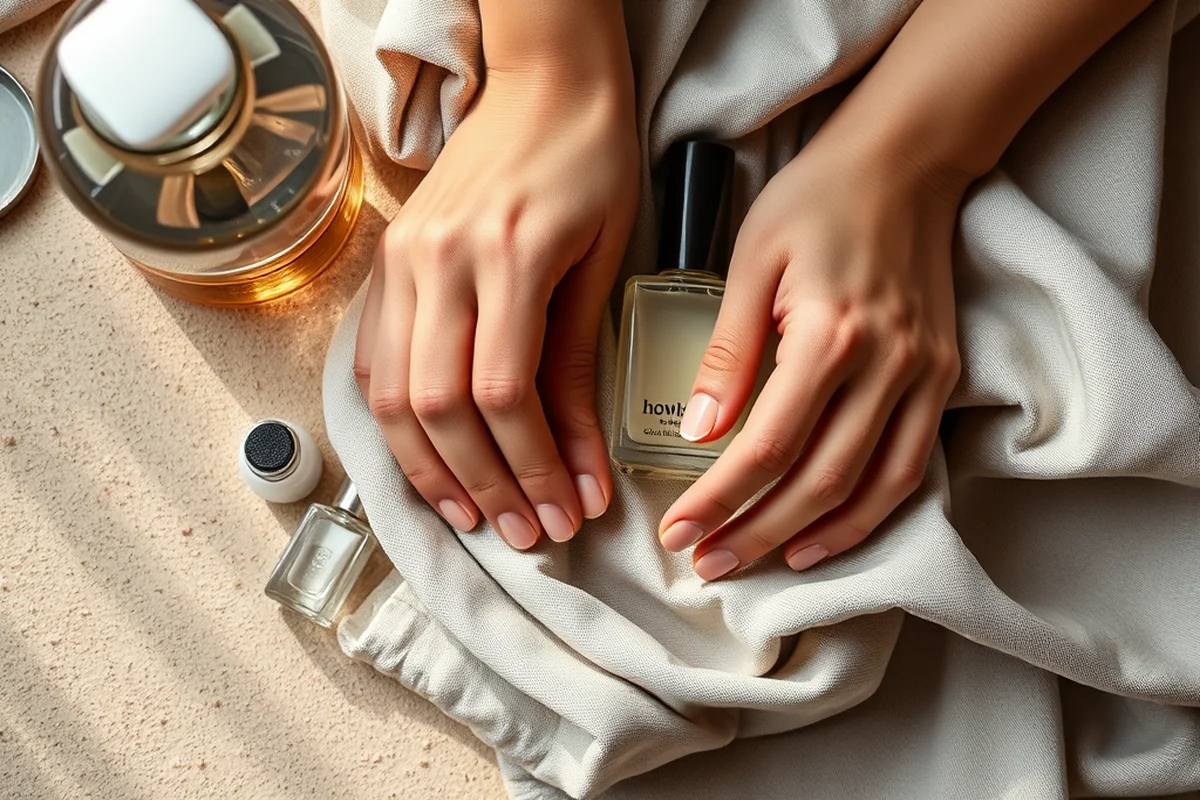
Once the structure is built, I move on to creating the design. This is where I get creative with colors, patterns, and embellishments. I’ve found that using a small brush with a fine tip helps me apply the color precisely and avoid any smudges or streaks. I apply the color in thin layers and cure it under the LED light before moving on to the next step.
I often use a design gel or a decorative gel to add details like dots, lines, or French tips. These gels are usually thicker and more textured, so they need to be applied carefully to avoid clumping or uneven coverage. I’ve found that using a small amount of design gel and curing it properly gives the best results.
After applying the design, I use a top gel to seal everything in place and add a glossy finish. The top gel is applied in thin layers and cured under the LED light. I’ve noticed that using a high-quality top gel makes a big difference in the overall look and longevity of the manicure.
Related: How to gel nail strips
Curing the Gel
Curing is one of the most important steps in the gel manicure process. I always follow the manufacturer’s instructions for the recommended curing time and distance from the LED light. I’ve found that curing the gel for too short a time can result in a soft or sticky finish, while curing for too long can cause the gel to become brittle or crack.
I use a high-quality LED light that has a built-in timer to ensure that each layer is cured properly. I’ve tested several different lights and found that some cure faster than others, which can be a huge time-saver. I also make sure to keep the nails a consistent distance from the light to avoid any uneven curing.
After curing each layer, I check the finish and make sure it’s smooth and even. If I notice any imperfections, I use a fine buffer or a small amount of top gel to fix them before moving on to the next step. I’ve found that taking the time to cure each layer properly ensures a longer-lasting, more professional-looking manicure.
Related: Gel nail kit for beginners with everything
Finishing Touches
Once all the layers are cured and the design is complete, I move on to the finishing touches. I use a fine buffer to smooth out any rough edges and create a smooth, even surface. I’ve found that buffing helps the top gel adhere better and gives the manicure a more polished look.
I also use a small amount of top gel to add a final layer of protection and shine. I apply it in thin layers and cure it under the LED light. I’ve noticed that using a high-quality top gel not only enhances the shine but also helps the manicure last longer. I’ve tested several different top gels and found that some provide a better finish than others.
After the top gel is cured, I use a lint-free wipe to remove any excess gel or residue from the nails. I’ve found that this step helps the manicure look clean and professional. I also use a small amount of cuticle oil to moisturize the skin around the nails and keep them looking healthy.
The final touches are what set your manicure apart from the rest.
Related: How to do gel nails at home for beginners
Maintaining Your Gel Manicure
After your gel manicure is complete, it's important to take care of it properly to ensure it lasts as long as possible. I always avoid using harsh chemicals or abrasive products on my nails, as they can cause the gel to lift or chip. I’ve found that using a gentle hand soap and avoiding acetone-based nail polish removers helps preserve the manicure.
I also make sure to keep my nails dry and avoid getting them wet for the first 24 hours after the manicure. I’ve noticed that getting the nails wet too soon can cause the gel to lift or become discolored. I’ve tried several different methods to keep my nails dry, and the best one I’ve found is using a water-resistant nail polish or a quick-dry gel.
I also use a cuticle oil every few days to keep the skin around the nails healthy and moisturized. I’ve found that keeping the cuticles well-moisturized helps prevent the gel from lifting or peeling. I’ve also experimented with different types of oils and found that some work better than others for my skin type.
🌸 Sensitive Skin
Use hypoallergenic gels and avoid harsh chemicals to protect your skin.
💰 Budget-Friendly
Start with affordable, beginner-friendly kits and gradually upgrade as you gain experience.
💅 Minimalist
Keep it simple with a single color and no embellishments for a clean, natural look.
🎯 Targeted
Focus on a specific nail or two for a more personalized look.
🔄 Maintenance
Use a top gel to extend the life of your manicure and keep it looking fresh.
| The mistake | Why it happens | The fix |
|---|---|---|
| Not curing the gel properly | If the gel isn’t cured for the recommended time, it can remain soft and not set properly, leading to a weak or chipped manicure. | Always follow the manufacturer’s instructions for curing time and distance from the LED light. |
| Applying too much gel at once | Applying too much gel can cause the manicure to look thick or unnatural and may increase the risk of cracking or lifting. | Apply the gel in thin layers and cure each layer before adding the next one. |
| Using the wrong type of gel | Using the wrong type of gel can lead to poor adhesion, uneven curing, or an overall unsatisfactory result. | Always use the type of gel recommended for the specific step in the process, such as base gel, builder gel, or top gel. |
| Skipping the base gel | Skipping the base gel can lead to a rough or uneven surface, which can make the manicure look unprofessional and may cause the gel to lift sooner. |
How To Builder Gel Manicure
Common Questions
Can I build a gel manicure at home without any prior experience?
How long does a gel manicure typically last?
What should I do if my gel manicure starts to lift?
Is it possible to remove a gel manicure without damaging my nails?
References
- Oak Ridge Construction Workers Needs Assessment (energy.gov)
- final appendix iv-a | aqmd (aqmd.gov)
Cite this guide
Gel Nails for Beginners (2026). How To Builder Gel Manicure. https://careandnail.com/how-to-builder-gel-manicure/
Feel free to cite or share this guide.