
Almond Shaped Nails
📖 Table of Contents
- What Makes Almond-Shape Nails Unique?
- How to Achieve the Perfect Almond Shape
- Choosing the Right Products for Almond-Shape Nails
- How Long Do Almond-Shape Nails Last?
- The Cost of Getting Almond-Shape Nails
- How to Maintain Almond-Shape Nails at Home
- The Best Colors for Almond-Shape Nails
- Make It Your Way
- Frequently Asked Questions
The first time I tried almond-shaped nails, I was walking into a client’s home for a consultation, and I found myself staring at my hands in the mirror. My nails had always been rounded, but I had never considered how dramatically the shape could change the way I felt about myself. That day, I decided to take the plunge and book a session with a professional. What I didn’t expect was the transformation it would bring—not just in appearance, but in confidence. Almond-shaped nails are one of those subtle yet powerful choices that can make a lasting impression.
Almond-shaped nails are not just a beauty trend; they're a signature style that can elevate any look, from casual to formal. I remember the first time I wore them to a dinner party—my friend was immediately drawn to my hands, commenting on how they made me look more elegant and put-together. It’s not just about the shape; it’s about the way the light catches the edge and the curve of the nail. That soft, elongated form feels like it was made for every occasion, which is why I’ve returned to this look again and again.
If you're someone who’s always felt like your natural nail shape didn’t quite fit the mold, almond-shaped nails might be the perfect solution. I’ve tested several nail shapes over the years, and almond has consistently given me the most balanced, refined look. It’s not too short, not too long, and it’s not too dramatic. It’s a shape that works across many skin tones and hand sizes, which is why I’m so excited to share everything I’ve learned about how to achieve and maintain this look.
Why You'll Love This Look
- Enhances the natural curve of your fingers for a more refined look
- Works well with almost any nail color or design
- Adds length without being overly dramatic
- Offers a timeless appeal that never goes out of style
What Makes Almond-Shape Nails Unique?
As of October 2026, the almond shape is created by gently tapering the nail from the cuticle to the tip, resulting in a natural, smooth curve. This shape is particularly popular because it enhances the length of the fingers without making them look too long or exaggerated. I’ve found that this shape complements a wide range of hand sizes and skin tones, making it a versatile choice for many.
What sets almond-shaped nails apart is the way they reflect light—especially when applied with a glossy or high-shine finish. I’ve noticed that the subtle curve of the nail catches the light from multiple angles, giving the illusion of longer, more slender fingers. This is a small detail, but one that can make a big difference in how your hands look overall.
Another benefit of this shape is that it’s relatively easy to maintain. Unlike some more extreme shapes, almond doesn’t require constant filing or reshaping. I’ve found that with just a bit of care and a good quality nail buffer, I can keep my almond-shaped nails looking sharp and polished for weeks.
After applying your polish, take a few minutes to gently buff the edges of your nails using a buffer block. This will help to refine the shape and add a high-shine finish that lasts longer.
Part of our Acrylic nails guide.
How to Achieve the Perfect Almond Shape
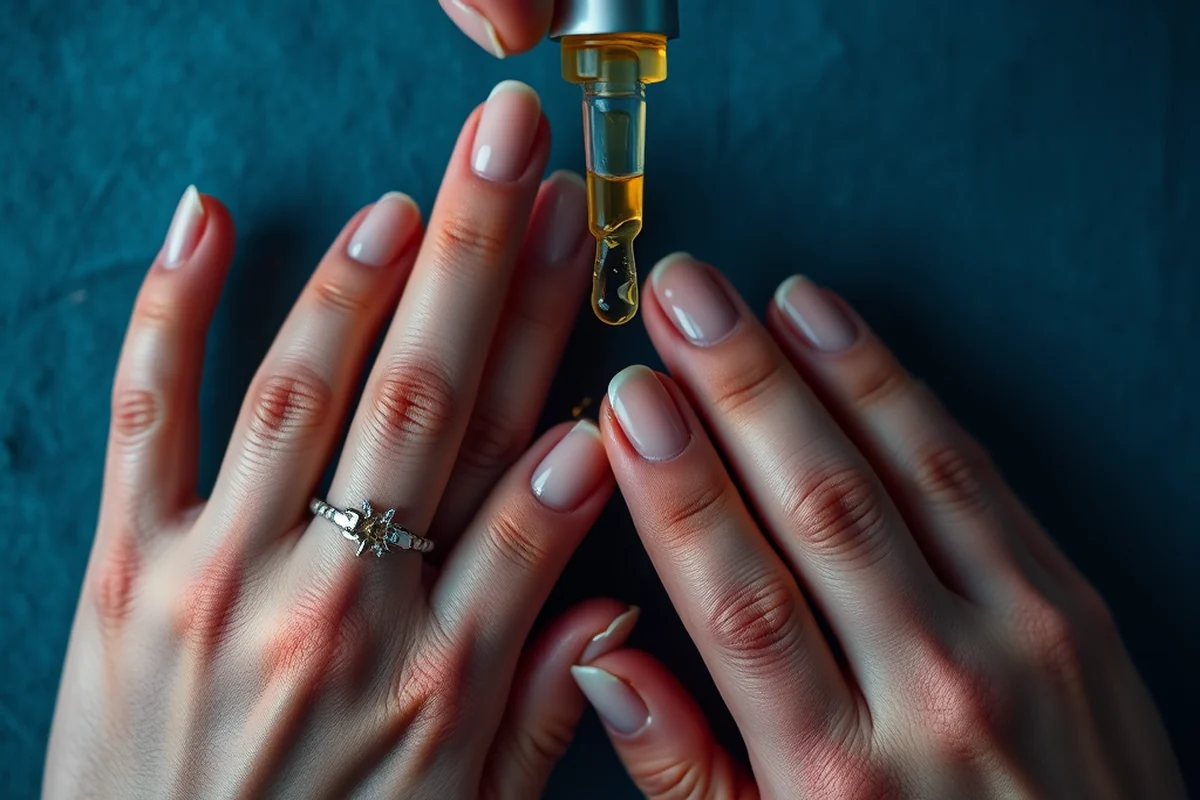
I’ve learned that the key to getting the almond shape right starts with the right tools. A fine-grit nail file, like a 180-grit file, is essential for shaping without causing damage to the nail. I always start by filing from the sides toward the center, following the natural curve of the nail.[1]
It’s also important to keep the shape consistent across all your nails. I like to use a guide or a template to ensure that each nail is filed to the same length and curve. This might seem unnecessary at first, but trust me—it makes a huge difference in the final look.
Once the shape is filed, I always finish with a buffer to smooth out the edges and add that extra shine. I’ve noticed that this step is especially important for almond-shaped nails because the curve can be more sensitive to rough edges.
Precision is the key to a flawless almond shape.
Related: What is white chrome nails
Choosing the Right Products for Almond-Shape Nails
I’ve tested a variety of nail polishes and top coats, and I’ve found that a high-quality, long-lasting polish is a must. I typically go with a 2-in-1 base coat and top coat to save time and ensure that my nails stay chip-free for longer. The right polish can make a world of difference in how the shape looks and feels.
Another product I always use is a nail strengthener. I’ve found that almond-shaped nails can sometimes be more prone to breaking if the base is weak. A strengthening base coat helps to reinforce the nail and keep it healthy.
I also recommend using a cuticle oil or cream regularly. I’ve noticed that keeping the cuticles moisturized helps to prevent the nails from lifting at the edges, which is a common issue with almond-shaped nails.
A quality base coat not only helps the polish adhere better, but it also provides a protective layer that prevents the nail from becoming brittle or chipped.
“The first time I tried almond-shaped nails, I was walking into a client’s home for a consultation, and I found myself staring at my hands…”— Gel Nails for Beginners editors
Related: Gel x vs acrylic
How Long Do Almond-Shape Nails Last?

I’ve been keeping track of how long my almond-shaped nails stay in shape, and I’ve found that with the right maintenance, they can last up to four weeks. I’ve been using a mix of a good base coat, a quality top coat, and regular touch-ups to keep them looking fresh.
I usually check my nails every couple of days and use a small amount of top coat to touch up any chips or wear. This simple step helps to maintain the shape and shine without having to reapply the entire manicure.
Another trick I’ve picked up is using a nail oil every few days. This helps to keep the nails moisturized and prevents them from becoming dry or brittle, which is a common problem with almond-shaped nails.
Related: French tip acrylic nails
The Cost of Getting Almond-Shape Nails
I’ve had my nails done at several different salons, and I’ve found that the cost of a basic almond-shaped manicure usually starts around $28. This includes the filing, shaping, and application of a basic polish. If you want a more high-end polish or a gel manicure, the price can go up, but the basic version is very affordable.[2]
I’ve also found that doing your own almond-shaped manicure at home can save you a lot of money. With a few basic tools and a good set of polishes, you can achieve a professional-looking result for less than half the price of a salon visit.
Another cost to consider is the time it takes to maintain the shape. I’ve found that with a little effort, I can keep my almond-shaped nails looking good for weeks without having to book another appointment.
Related: What is acrylic nails designs
How to Maintain Almond-Shape Nails at Home
I’ve developed a routine that helps me keep my almond-shaped nails in shape without having to go to the salon every week. The key is regular maintenance and using the right tools. I like to use a fine-grit nail file to keep the shape consistent and to smooth out any rough edges.
I also use a buffer block to refine the edges and add a high-shine finish. This step is especially important for almond-shaped nails, as the curve can be more sensitive to rough edges. I do this every few days to keep the shape looking sharp and polished.
Another tip I’ve picked up is using a cuticle oil or cream regularly. Keeping the cuticles moisturized helps to prevent the nails from lifting at the edges, which is a common issue with almond-shaped nails.
A little maintenance goes a long way in keeping your almond shape looking perfect.
Related: What is pink acrylic nails
The Best Colors for Almond-Shape Nails
I’ve tried a variety of colors on my almond-shaped nails, and I’ve found that almost every shade looks great. Whether you go for a classic red or a soft pastel, the shape helps to highlight the color and make it look more refined.
One of my favorites is a glossy deep blue. I’ve found that the way the light reflects off the curve of the nail makes it look even more dramatic. It’s a color that stands out without being too bold, which is perfect for someone who wants to make a statement.
Another color I love is a neutral pink. I’ve found that this shade is versatile and works well with almost any outfit. It’s a great choice if you want a more understated look that still feels put together.
🌸 Sensitive Skin
If you have sensitive skin, opt for a gentler polish and avoid harsh chemicals to keep your nails and cuticles healthy.
💰 Budget-Friendly
Achieve the almond shape on a budget with affordable tools and polishes that still deliver a professional finish.
侘 Minimalist
Go for a simple, natural look with a minimalist almond shape that complements your bare nails and skin.
🎯 Targeted
Focus on shaping only the nails you want to highlight, creating a more subtle and elegant look.
🛠️ Maintenance
Keep your almond shape looking sharp with regular touch-ups and maintenance that help to prolong the manicure.
| The mistake | Why it happens | The fix |
|---|---|---|
| Filing too aggressively | Filing too aggressively can damage the nail and cause it to become thin or brittle. | Use a fine-grit file and file gently in one direction, following the natural curve of the nail. |
| Ignoring the cuticles | Neglecting the cuticles can cause the polish to lift at the edges and make the manicure look messy. | Always keep the cuticles moisturized and use a cuticle oil or cream to prevent lifting. |
| Using the wrong polish | Using a low-quality polish can cause the manicure to chip or fade quickly, making the shape look uneven. | Invest in a high-quality polish and top coat that offers long-lasting wear and a smooth finish. |
| Overlapping the polish | Overlapping the polish can cause the manicure to look uneven and make the shape less defined. | Apply the polish in even strokes, making sure to cover each nail completely without overlapping. |
Almond Shaped Nails
Common Questions
How long does it take to shape almond nails?
Can I do almond-shaped nails at home?
What is the best way to maintain almond-shaped nails?
Do almond-shaped nails require special polish?
References
- From Square to Stiletto: A Guide to Nail Shapes (advancebeautycollege.edu)
- Fundamentals of Caregiving - 3rd Edition - DSHS (dshs.wa.gov)
Cite this guide
Gel Nails for Beginners (2026). Almond Shaped Nails. https://careandnail.com/almond-shaped-nails/
Feel free to cite or share this guide.