
Diy Gel Nails For Beginners
📖 Table of Contents
I remember the first time I tried gel nails at home — my hands were shaking, the UV lamp felt too bright, and I was convinced I’d ruin my nails for good. But after three attempts, I finally got it right. DIY gel nails for beginners can feel intimidating, but they’re actually a fun and rewarding way to improve your look, especially when you follow the right steps. I’ve walked through the entire process, from applying base coats to curing under lamps, and I want to help you do the same.
As someone who loves experimenting with beauty, I wanted a way to have long-lasting, chip-resistant nails without the expense of a salon. That’s when I discovered DIY gel nails for beginners. They’re not only affordable, but they allow you to express your personality with colors, shapes, and designs you choose. It’s a creative outlet that also saves time and money — and after a few tries, you’ll find it’s easier than you ever imagined.
The beauty of DIY gel nails for beginners is that they’re not about perfection. It’s about experimenting, learning, and finding what works for your skin and lifestyle. I’ve made mistakes — like over-curing a gel or not cleaning my tools properly — but each one taught me something valuable. Whether you’re looking to try a bold design or keep it simple, the process is satisfying, and the results are worth the effort.
Why You'll Love This DIY Gel Nails Guide
- You'll create long-lasting, chip-resistant nails without the salon price tag.
- DIY gel nails for beginners are customizable, allowing you to express your personal style.
- With the right tools and technique, you’ll save time and money in the long run.
- You’ll gain confidence in your ability to do beauty treatments at home.
Getting Started with DIY Gel Nails for Beginners
As of August 2026, to begin, you’ll need a few essential items: a UV or LED lamp, gel polish kits, a nail buffer, and a clean workspace. I recommend starting with a basic kit that includes a base coat, color polish, and a top coat. I spent about $28 on my first starter set, and it’s been enough for multiple manicures. It’s important to ensure your nails are clean and dry before applying any gel polish, as any residue can affect adhesion.[1]
I found that using a nail buffer to create a slightly rough surface helps the gel polish stick better. I also make sure to clean my nails with an alcohol wipe before starting. The key to success is patience — rushing through the steps can lead to uneven application or lifting. I learned this the hard way when I tried to skip the buffer step and had to redo my manicure the next day.
Once everything is set up, it’s time to apply the base coat. I spread a thin layer over each nail and cure it under the lamp for 30 seconds. This step is critical because it creates a strong foundation for the color polish. I found that using too much base coat can make the polish look thick and uneven, so I’ve learned to use just enough to cover the nail without pooling.[2]
Always work on a clean, dry surface to avoid oil or residue from transferring to your nails, which can cause the gel polish to lift.
Part of our Budget gel nails for beginners guide.
Choosing the Right Colors and Designs
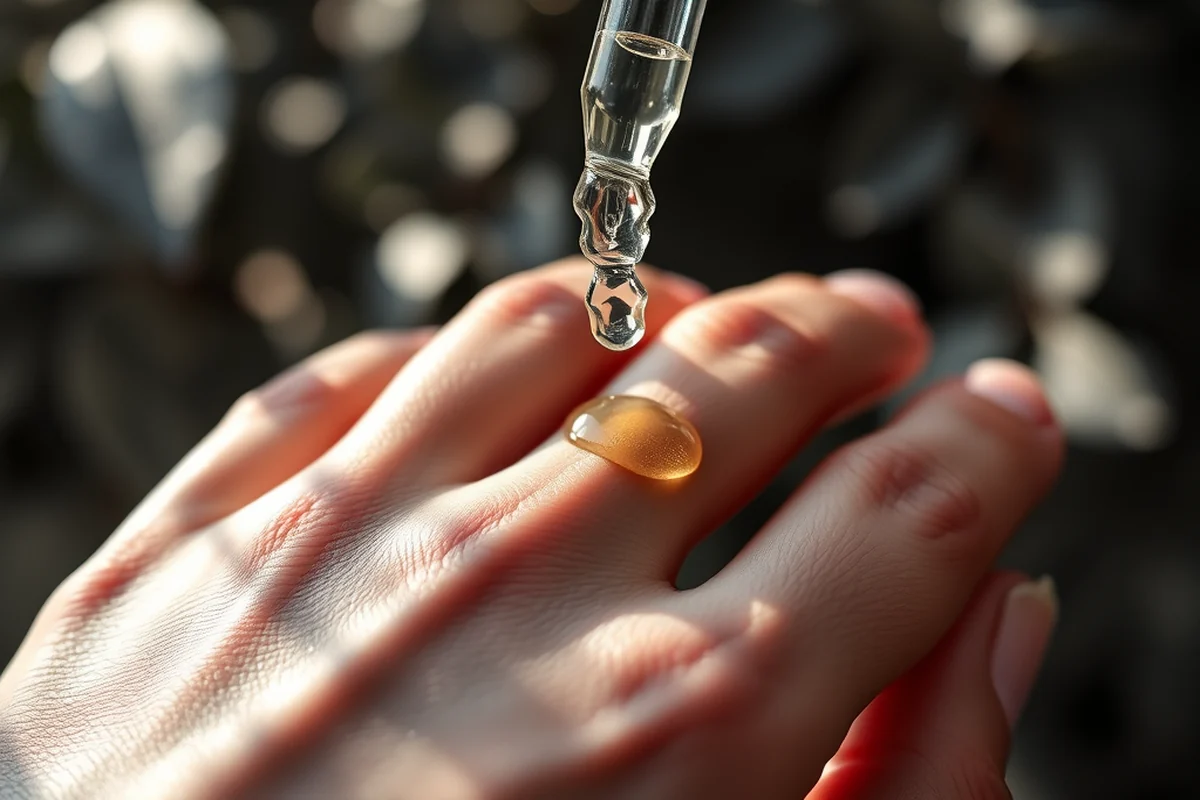
I love experimenting with different colors and designs, and I’ve found that the options are endless. From classic shades like French tips to bold, metallic hues, there’s something for every occasion. I’ve even tried creating my own patterns using nail stickers and freehand drawing. The key is to choose colors that complement your skin tone and personal style.
I recommend starting with simpler designs if you're new to DIY gel nails for beginners. I tried a glitter design on my first attempt, and it was a bit too messy. A solid color or a simple French tip is a great way to practice the basics. I’ve also found that using a dotting tool to create small patterns is a fun and easy way to add detail without overcomplicating the process.[3]
Another tip is to match the gel polish to your outfit or mood. I’ve worn bright pink gel nails to a party and soft pastels for a more casual look. It’s amazing how a simple change in color can make you feel more confident. I’ve even received compliments from friends who didn’t know I did my own manicures.
A little color goes a long way — and it can boost your confidence instantly.
Related: Gel nails for how long
Related: Easy gel nails for beginners
Related: How long gel nails stay
Related: Salon Gel Nails
Related: How long gel nails
Related: Builder Gel Nails For Beginners
Related: Nails For Beginners
Related: Nails Set For Beginners
The Importance of Proper Curing
I used to skip the curing time because I thought it was unnecessary. But after a few failed attempts, I realized how important it is. The curing process hardens the gel polish and makes it resistant to chipping. I now cure each layer for 30 seconds under my LED lamp, and I’ve noticed a huge difference in the durability of my manicures.[4]
I’ve found that under-curing is a common mistake, especially for beginners. If the gel isn’t cured properly, it can feel soft and may not hold up over time. I’ve tried using a timer to keep track of the curing time, and it’s made the process much more reliable. I also make sure to cure the top coat for an extra minute to ensure it’s fully hardened.
Another thing I’ve learned is that some gel polish kits come with different curing times. I always read the instructions on the bottle because some products require more time than others. I’ve also discovered that using a high-quality LED lamp makes the curing process faster and more consistent, which has saved me a lot of time in the long run.
Always use a timer to ensure you’re curing the gel polish for the correct amount of time — rushing can lead to weak, chipping nails.
“I remember the first time I tried gel nails at home — my hands were shaking, the UV lamp felt too bright, and I was…”— Gel Nails for Beginners editors
Removing Gel Nails at Home
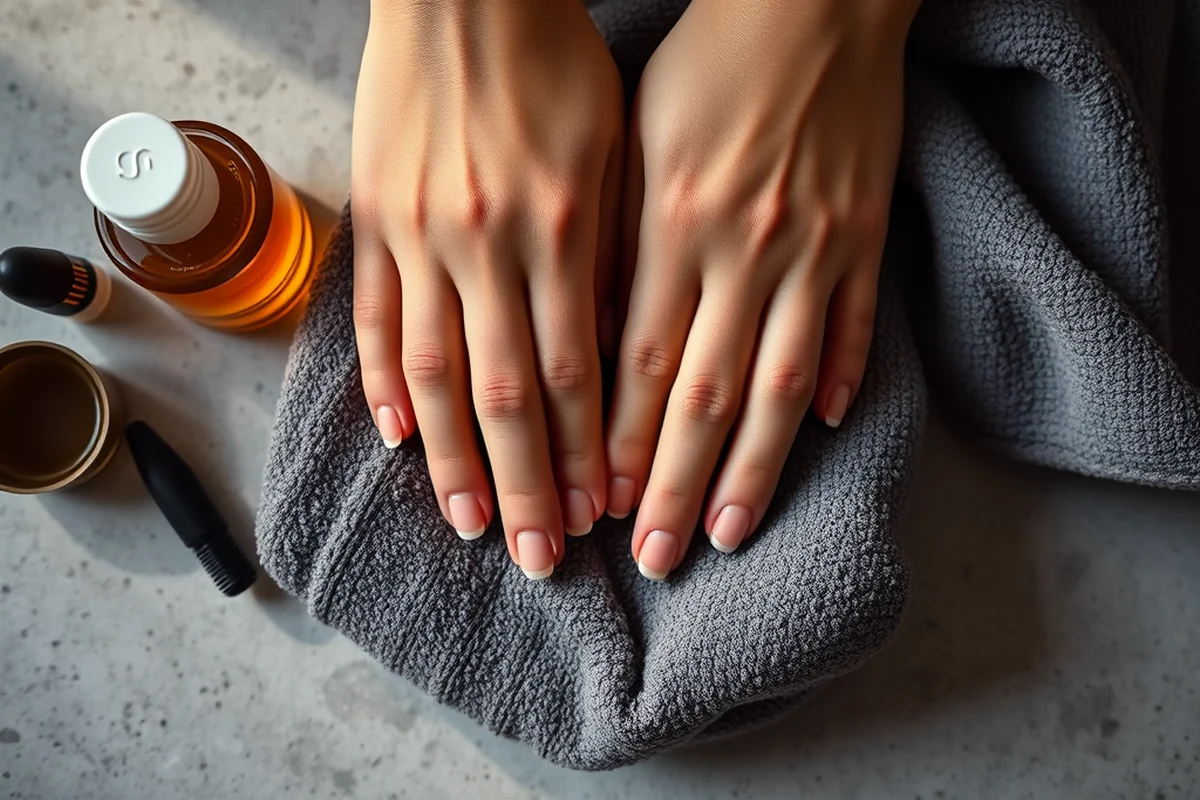
I used to be terrified of removing my gel manicures because I thought it would damage my nails. But after some research, I found that it’s actually a simple process if done correctly. The key is to use a quality gel nail remover and a cotton pad soaked in acetone. I’ve found that applying the remover for about 15 minutes softens the gel and makes it easier to lift off.[5]
I always start by gently pushing back my cuticles to prevent them from getting caught on the gel. I then use an orangewood stick to lift the edge of the gel from the nail. I’ve found that being gentle is important — if I rush or use too much pressure, I risk lifting the gel and damaging my natural nail underneath.
After the gel is removed, I always use a nail oil to replenish moisture. I’ve noticed that my nails feel softer and less dry after this process. I also make sure to file my nails slightly after removal to smooth out any rough edges. It’s a small step, but it makes a big difference in the overall appearance of my nails.
Maintenance and Longevity Tips
I’ve learned that even the best gel manicures can chip if not cared for properly. One of the most important things I do is avoid using my nails as tools — I never open jars or peel tape with my hands. I’ve also started using a hand cream with a high oil content to keep my nails and cuticles moisturized, which helps prevent cracking.
Another tip I’ve picked up is to avoid harsh chemicals whenever possible. I try to wear gloves when doing household chores like cleaning or washing dishes. I’ve noticed that my gel manicures last significantly longer when I take these precautions. I’ve also found that using a cuticle oil daily helps keep my nails strong and healthy.
I also take care of the edges of my nails by using a buffer to keep them even. I’ve found that this step helps prevent the gel from lifting at the edges. I make sure to do this every few days to maintain the shape and smoothness of my nails. It’s a small effort that pays off in the long run.
Why DIY Gel Nails for Beginners Work for Everyone
Whether you’re a busy professional or a stay-at-home parent, DIY gel nails for beginners are a great way to maintain a polished look without the hassle of frequent salon visits. I’ve found that it’s particularly useful on days when I don’t have time for a full manicure. I can do a quick set in under 20 minutes, and it looks just as good as a salon appointment.
I’ve also discovered that gel nails are a great option for people with sensitive skin or allergies. I used to avoid acrylics and other artificial nail products because they irritated my skin, but I’ve found that gel nails are much gentler on the skin. I’ve also noticed that my cuticles don’t get as dry or irritated when I use gel polish, which is a huge plus.
What I love most about DIY gel nails for beginners is that they’re customizable. Whether you prefer a bold color or a subtle nude, the options are endless. I’ve even used gel polish to create a natural-looking manicure that blends perfectly with my skin tone. It’s amazing how a few simple steps can transform your look and boost your confidence.
You don’t need a salon to look like a million bucks — you just need the right tools and a little patience.
Overcoming Common Challenges
I’ve faced several challenges when starting with DIY gel nails for beginners, like lifting, cracking, and uneven application. One of the biggest issues I had was getting the gel polish to stick properly. I found that using a nail buffer to create a slight texture on the nail helped the gel adhere better. This step was a game-changer for me — my manicures now last much longer.
Another challenge I had was achieving even coverage. I used to apply the gel polish too thickly, which led to bubbles and uneven color. I’ve learned that applying thin, even layers is key. I now use a brush that’s just the right size for my nails, and it makes a huge difference. I’ve also discovered that letting each layer cure for the full recommended time prevents these issues.
I’ve also struggled with removing gel polish without damaging my natural nails. I used to be too aggressive with my remover and ended up peeling off too much of the nail. Now, I use a gentle approach, and I’ve found that my natural nails are much healthier as a result. It’s all about taking it slow and being patient.
🌸 Sensitive Skin
If you have sensitive skin, look for gel polish kits that are free from harsh chemicals and use a gentle remover.
💰 Budget
DIY gel nails for beginners on a budget can be achieved with a starter set that includes the essentials and reusable tools.
💅 Minimalist
A minimalist approach focuses on clean lines, neutral tones, and simple maintenance for long-lasting results.
🎯 Targeted
Tailor your DIY gel nails for beginners to specific occasions or moods, like a bold red for a party or a soft pastel for a casual day.
🔧 Maintenance
Focus on regular upkeep with quick touch-ups and proper care to keep your DIY gel nails looking fresh and chip-free.
| The mistake | Why it happens | The fix |
|---|---|---|
| Skipping the base coat | The base coat creates a strong foundation for the gel polish and helps prevent lifting and chipping. | Always apply a thin, even layer of base coat before adding color polish. |
| Applying too much gel polish | Too much gel polish can cause bubbles, uneven color, and a thick, unattractive finish. | Use a small amount of gel polish and apply thin, even layers for the best results. |
| Not curing the gel properly | Under-curing weakens the gel and makes it prone to chipping or lifting. | Always cure each layer for the full recommended time using a timer to keep track. |
| Using the same brush for multiple colors | This can cause color contamination and create streaks or uneven application. | Use a separate brush for each color and clean them thoroughly between uses. |
Diy Gel Nails For Beginners
Common Questions
Can I use regular nail polish instead of gel polish for DIY gel nails?
How long do DIY gel nails last?
Can I do DIY gel nails for beginners if I have short nails?
Is it difficult to remove gel polish at home?
Cite this guide
Gel Nails for Beginners (2026). Diy Gel Nails For Beginners. https://careandnail.com/diy-gel-nails-for-beginners/
Feel free to cite or share this guide.
References
- NOTICES OF PROPOSED RULES 22 UTAH STATE BULLETIN ... (commerce.utah.gov)
- Nail Technology - DHHS - Nebraska.gov (dhhs.ne.gov)
- Regulations Text for Toluene in Nail Products (dtsc.ca.gov)
- Nail Care Products - FDA (fda.gov)
- Modelones Gel Kit Instructions (jfd.jacksonms.gov)