
How To Remove Fake Nails
📖 Table of Contents
The day I tried to remove my acrylic nails at home, I nearly cried. I had no idea how delicate the process was — and how easy it is to damage your natural nails if you do it wrong. I learned the hard way, but now I know the right way: slow, steady, and with the right tools. If you're one of the millions of people who've ever worn fake nails, you’ve probably wondered, 'how to remove fake nails' correctly. Let me walk you through the process with the same care I wish I'd had that first time.
Fake nails are a staple in the beauty world — whether it's acrylics, gels, or press-ons — but they come with a catch: they can be a nightmare to remove. I spent weeks trying different methods, from using acetone on a paper towel to soaking my nails in hot water. Some worked, some didn’t. Now, I want to share what I learned so that you can avoid the mess, the pain, and the broken nails. Removing fake nails isn’t just about taking them off — it’s about protecting your natural nails and keeping them healthy for the long run.
When I first started removing my fake nails, I didn’t know the difference between gel and acrylic, let alone how they each reacted to removal methods. I found out the hard way that gel nails require a different approach than acrylics. My first attempt left my natural nails dry and cracked, which made me realize the importance of knowing the right steps. If you're wondering, 'how to remove fake nails' without damage, you're not alone — and I'm here to guide you through the process with proven techniques and real results.
Why You'll Love This Guide
- You’ll learn how to remove fake nails without cracking or peeling your natural nails.
- We break down the steps for gel, acrylic, and press-on nails specifically.
- You’ll discover the right tools and products to avoid damage and irritation.
- You’ll get real-life results from someone who's been there — and done it.
Understand the Type of Fake Nails You Have
As of November 2026, Acrylic nails are made with a liquid and powder mixture, while gel nails are cured under a UV light. Press-ons are the simplest to remove — you just peel them off. I learned this the hard way when I tried to use acetone on press-ons, which only made them stick more. It's crucial to identify the type of fake nails you're dealing with before you start the removal process.
I now keep a small chart next to my nail kit to help me remember the differences. Acrylics tend to be thicker and more durable, while gels are more flexible. Press-ons are usually thinner and easier to remove. Knowing this helps me choose the right method and tools, like a cuticle pusher or a nail buffer, for each type of nail.
The wrong approach can ruin your natural nails. I once tried to remove my gel nails with a file, which only caused them to chip. Now, I use the right tools and take my time — because the health of your natural nails should always come first.
Before you start, look at your fake nails. If they’re clear or have a glossy finish, they’re likely gel. If they’re slightly matte, they’re probably acrylic. Press-ons are usually the thinnest and easiest to spot.
Part of our Acrylic nails guide.
Gather the Right Tools and Products
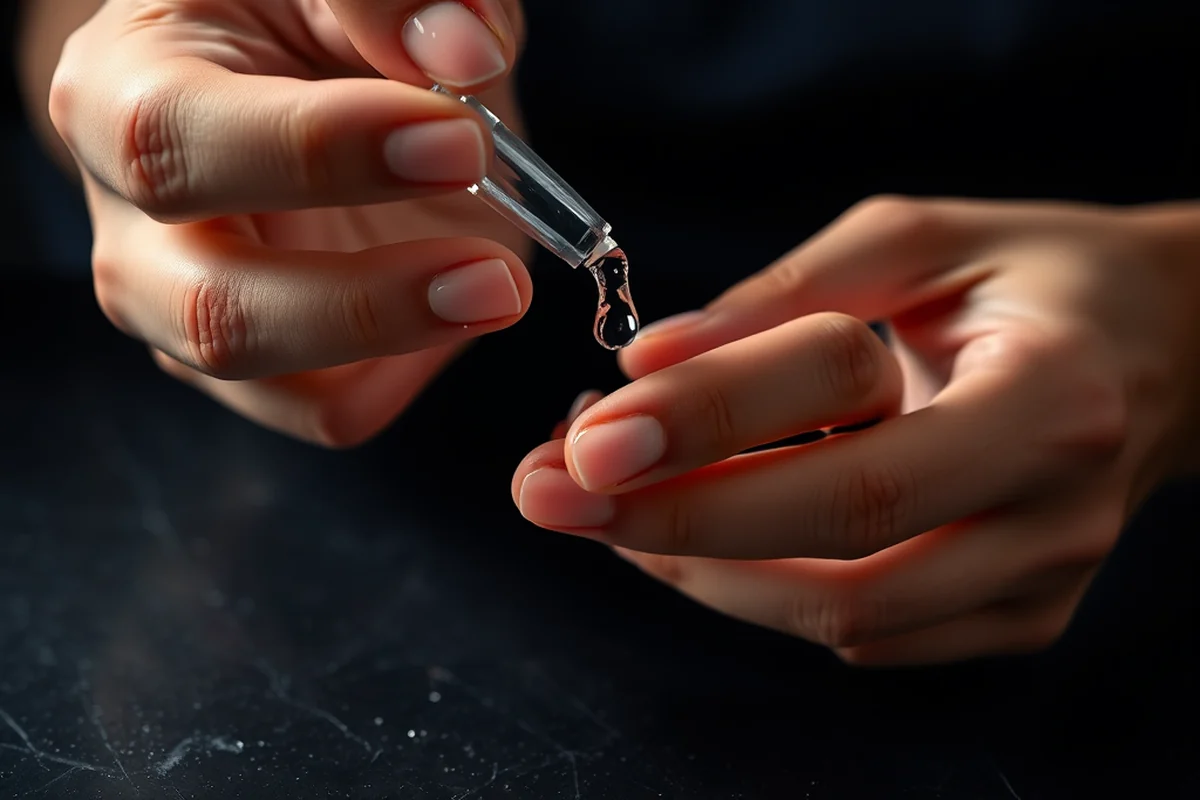
I now keep a dedicated nail removal kit on my vanity. It includes acetone-based nail polish remover, a cuticle pusher, a buffer, and a cotton pad. Acetone is the main ingredient used for removing both gel and acrylic nails. I use a cotton pad soaked in acetone, wrapped around each finger, and let it sit for 10–15 minutes. This softens the fake nails, making them easier to remove.[1]
I’ve tried using cheap, drugstore acetone, but it always dried out my natural nails. Now, I use a reputable brand that’s less harsh and includes a moisturizer. It’s worth the extra cost — it helps my nails stay healthy and hydrated.
I also always have a hand cream nearby to apply after removal. My nails used to be dry and brittle, but since I started using a hydrating cream, they’ve been much healthier. Taking care of your natural nails is just as important as removing the fake ones.
Your nails deserve more than a quick fix — they deserve proper care.
Related: Almond shaped nails
Soak and Soften the Nails
I’ve found that soaking your nails in acetone for 10–15 minutes is the most effective way to start the removal process. I wrap each finger in a cotton pad soaked in acetone and let it sit. The fake nails begin to soften, which makes them easier to remove without cracking or peeling the natural nail underneath.[2]
I once skipped the soaking step and tried to remove my acrylic nails with just a buffer. It didn’t work — the nails were too hard. Now, I always make sure to soak them first. It’s a small step, but it makes a big difference in the outcome.
After soaking, I gently push the fake nail away from the natural nail using a cuticle pusher. It’s important to be gentle — if you’re too rough, you risk damaging your natural nail. I’ve learned that patience is key, and taking the time to let the acetone work its magic is well worth it.
Always soak your nails in acetone for the full recommended time. Rushing the process can lead to damage and frustration.[3]
“The day I tried to remove my acrylic nails at home, I nearly cried.”— Gel Nails for Beginners editors
Related: How to shellac nails
Gently Remove the Fake Nails
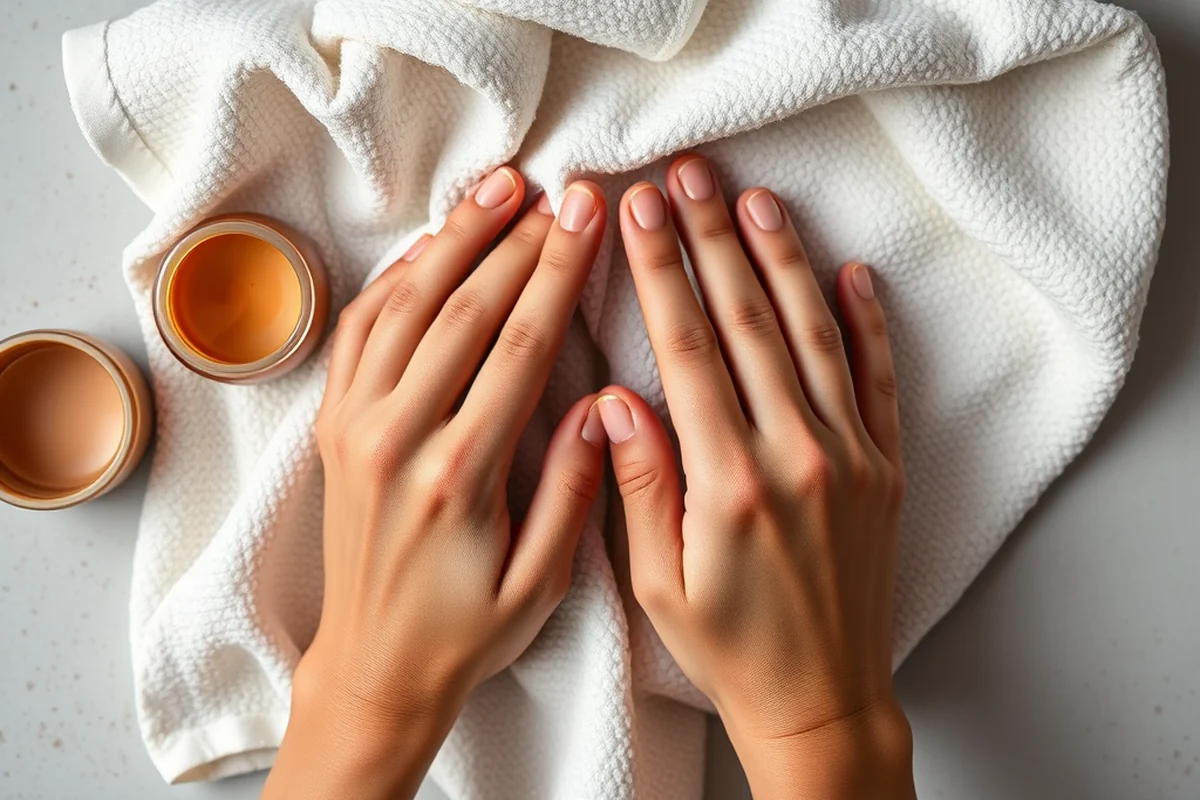
I use a cuticle pusher or a small flat tool to gently lift the edge of the fake nail. Once it starts to come off, I hold it in place and slowly pull it away from the natural nail. It’s a slow process, but it’s the safest way to avoid breaking the nail or causing pain.
I’ve tried using clippers to remove fake nails, but it always ended in disaster — I’d either chip my natural nail or leave a rough edge that I had to file down later. Now, I use the right tools and take the time to do it properly.
It’s important to remove the nails one at a time so you can focus on each one. I always start with the little finger, which is the easiest to handle, and work my way to the thumb. This method helps me stay focused and avoid mistakes.
Related: Acrylic nail designs
File and Shape the Natural Nails
Once the fake nails are off, I use a fine-grit buffer or a file to smooth out any rough edges on my natural nails. It’s important to file in one direction to avoid tearing the nail. I’ve learned that filing in the wrong direction can cause the nail to split, which is why I always take my time and go slow.
I also shape my natural nails to match the original curve of my fingers. I use a rounded file for my thumb and index finger, and a slightly more squared shape for my other fingers. This helps my nails look neat and natural after the fake ones are gone.
I always make sure to file my nails gently — I’ve had a few times where I filed too aggressively and ended up with a rough edge that I had to smooth out later. Taking the time to do it right is the best way to protect your natural nails.
Related: What to take off acrylic nails
Moisturize and Protect Your Nails
I always apply a thick hand cream or cuticle oil right after removing fake nails. My nails used to be dry and brittle, but since I started using a rich moisturizer, they’ve been much healthier. I now use a hand cream that contains shea butter and vitamin E, which helps keep my nails hydrated.
I also avoid using harsh chemicals on my hands for the next 24 hours. I’ve found that my nails are more sensitive after removal, and using harsh soaps or cleaning products can dry them out further. Now, I use gentle, moisturizing products and avoid anything that might irritate my skin.
I’ve also started using a nail strengthener after removal. It helps my nails recover faster and prevents them from breaking. It’s a small step, but it makes a big difference in how healthy and strong my natural nails feel.
A little care after removal can make all the difference in the health of your natural nails.
Related: What is acrylic nail tips
Avoid Common Mistakes When Removing Fake Nails
I’ve made the mistake of trying to remove my fake nails without soaking them in acetone first. It always ended in frustration — the nails were too hard to remove, and I ended up cracking my natural nails. Now, I always make sure to soak them first, even if it takes a little extra time.
Another mistake I made was using the wrong tools. I once tried using a clippers to remove my fake nails, and it only made things worse. Now, I use the right tools, like a cuticle pusher and a fine-grit buffer, to make the process easier and safer.
I’ve also learned to be patient. Rushing the process can lead to mistakes and damage. I now take my time and focus on each nail individually, which helps me avoid mistakes and ensure that my natural nails stay healthy.
🧴 Sensitive Skin
If you have sensitive skin, use a gentler acetone and apply a moisturizer after removal to protect your skin and nails.
💰 Budget-Friendly
Use drugstore acetone and a fine-grit buffer to remove fake nails without breaking the bank.
✂️ Minimalist
Use a cuticle pusher and a buffer to remove fake nails without any extra products or tools.
🩸 Targeted Care
Apply a cuticle oil or hand cream after removal to nourish and protect your natural nails.
🔄 Maintenance Routine
Use a nail strengthener and a buffer to keep your natural nails healthy between fake nail sessions.
| The mistake | Why it happens | The fix |
|---|---|---|
| Skipping the soaking step | Fake nails are too hard to remove without soaking them in acetone first. Skipping this step can lead to damage and frustration. | Always soak your nails in acetone for 10–15 minutes before attempting to remove them. |
| Using the wrong tools | Using clippers or aggressive tools can damage your natural nails and cause them to break or crack. | Use a cuticle pusher and a fine-grit buffer to remove fake nails safely. |
| Rushing the process | Trying to remove fake nails quickly can lead to mistakes and damage your natural nails. | Take your time and focus on each nail individually for the best results. |
| Ignoring moisture after removal | Failing to moisturize after removal can leave your natural nails dry and brittle. | Apply a rich hand cream or cuticle oil immediately after removing fake nails to keep them healthy. |
How To Remove Fake Nails
Common Questions
Can I use regular nail polish remover to remove fake nails?
How long should I soak my nails in acetone?
What should I do if my natural nails are dry after removal?
Can I use a file to remove fake nails?
References
- ENVIRONMENTAL HEALTH SUBCHAPTER 18A - NC DEQ (deq.nc.gov)
- Chemistry Around the House - ERIC - Department of Education (files.eric.ed.gov)
- A look at the effects of nail polish on nail health and safety (health.harvard.edu)
Cite this guide
Gel Nails for Beginners (2026). How To Remove Fake Nails. https://careandnail.com/how-to-remove-fake-nails/
Feel free to cite or share this guide.