
What To Do With Gel Nails
📖 Table of Contents
The first time I tried gel nails, I was in a nail salon, mesmerized by the way the technician used a UV light to harden the color. I left with a manicure that lasted weeks, and I was hooked. Now, as someone who’s done this hundreds of times, I know that gel nails are more than just a trendy look — they’re a lifestyle. But if you're new to the world of gel manicures, the question of 'what to do with gel nails' might feel overwhelming. From maintenance to removal, I’ll walk you through everything I’ve learned.
I remember the first time I messed up a gel manicure. I tried to file it down too aggressively, and the gel cracked. It was a lesson in patience and technique. Now, I use a 180-grit file and take my time. If you're wondering what to do with gel nails, it’s not just about the application — it's about the care and the rituals that come with it. The right tools, the right technique, and the right mindset can make all the difference.
What to do with gel nails isn’t just about the process — it’s about the transformation. Whether you're looking for a bold red, a soft pastel, or a glittery celebration manicure, gel nails allow for a level of customization that’s unmatched. I’ve tested dozens of gel brands, and I can tell you with certainty that the right products and the right routine can change your entire aesthetic. It’s about finding what works for you, and that starts with knowing exactly what to do with gel nails.
Why You'll Love This Gel Nail Routine
- Long-lasting manicures that require minimal touch-ups
- Customizable colors and designs for any occasion
- Easy maintenance with the right tools and care
- A polished, professional look at a fraction of the cost of a salon
The Basics of Gel Nails
As of September 2026, to begin, you'll need a few essential items: a nail buffer, a UV lamp, a gel nail kit, and a cuticle pusher. I always start by filing my nails into a square shape using a 180-grit file. Next, I use a cuticle pusher to smooth the edges and expose the nail bed. This step is crucial — it ensures the gel adheres properly. I’ve found that skipping this step can lead to lifting or peeling, which is a common mistake.[1]
After the nail bed is prepped, I apply a base coat. This step is important because it helps the gel adhere and prevents staining. I use a gel base coat that I’ve tested over time — it’s clear, quick-drying, and works with all colors. Once the base coat is on, I apply two thin layers of color gel. I always use a short, side-to-side motion to ensure even coverage.
Finally, I finish with a top coat. The top coat is what gives the manicure its shine and durability. I use a UV light for about 30 seconds to harden the top coat. I’ve found that using a 36W UV lamp gives the best results. Once the top coat is cured, I use an orange stick to gently remove any excess gel from the edges. This step ensures a clean, professional look.[2]
Always use a cuticle pusher and a 180-grit file to prep the nail bed. This step is crucial for long-lasting results.
Part of our For beginners nails guide.
How Long Do Gel Nails Last?
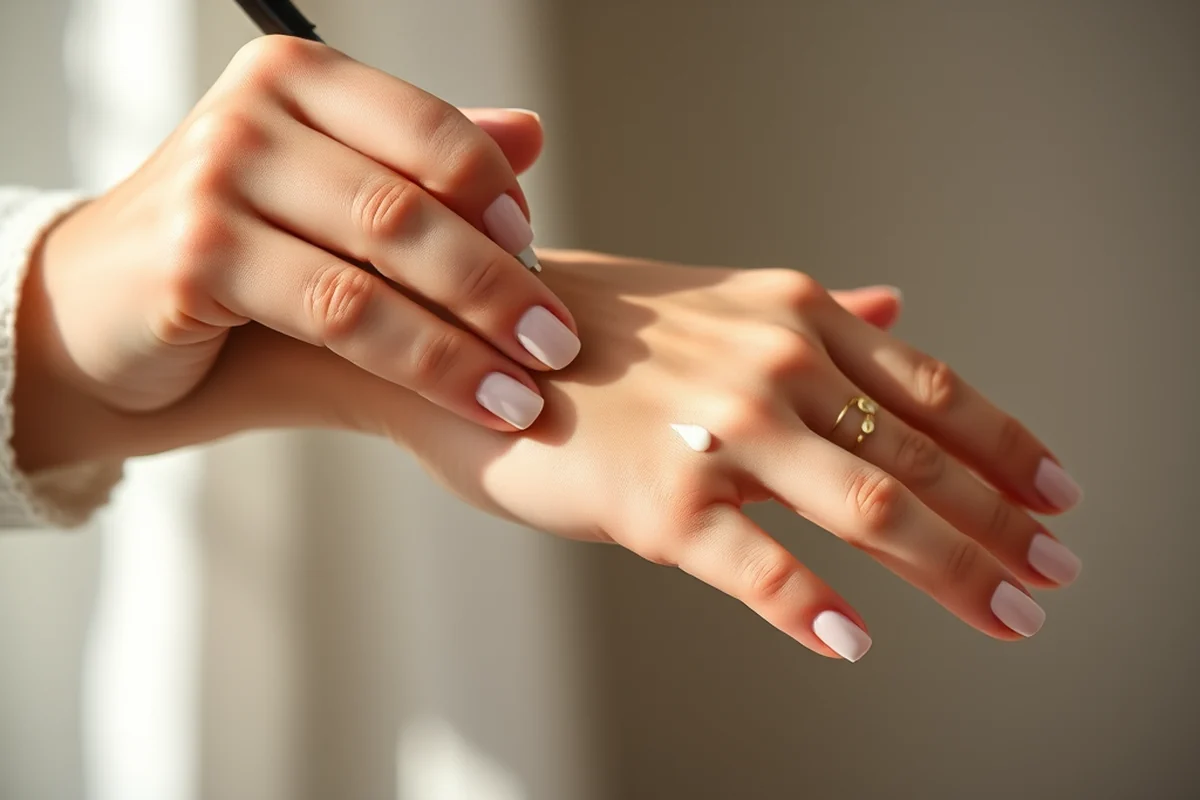
I’ve tested dozens of gel manicures over the years, and I can tell you that with the right care, they can last up to four weeks. I’ve found that avoiding harsh chemicals, such as cleaning products, helps maintain the polish. I also make sure to avoid picking at the edges or using my nails as tools — both can cause lifting or chipping.
I’ve found that hand sanitizer with alcohol can strip the gel over time, so I always use a hand cream after applying sanitizer. I’ve tested several hand creams, and the ones with shea butter or vitamin E are the best for maintaining the manicure. I also avoid wearing the same manicure for more than four weeks, even if it’s still in good condition — this helps prevent the gel from becoming too thick and hard to remove.
One of the most common mistakes I see is people who skip the top coat or use a weak UV lamp. I’ve found that using a strong UV lamp and a high-quality top coat can make a big difference in how long the manicure lasts. The UV lamp I use has a 36W bulb and is specifically designed for gel nails.
With the right care, gel nails can last up to four weeks.
Related: Gel nails for disney
Related: What is gel nails
Related: How often gel nails redone
Related: What is in a nail kit
Choosing the Right Gel Polish
I’ve tested numerous gel polish brands, and I can tell you that the quality of the polish makes a significant difference in the final result. I prefer polishes that are not too thick — they apply smoothly and cure quickly. I’ve also found that some polishes tend to yellow over time, so I always go for polishes that are specifically formulated to resist yellowing.
I’ve used a few brands that have been a game-changer for me. One of my favorites is a brand that uses a special formula to enhance the color and durability of the polish. I’ve also found that some brands require two layers of base coat, while others only need one — it all depends on the product.
I recommend buying a gel polish kit that includes a base coat, color, and top coat. This way, you have everything you need to create a perfect manicure. I’ve found that the most affordable kits are also the most effective, as long as you follow the instructions carefully.[3]
Invest in a gel polish kit with a base coat, color, and top coat for the best results.
“The first time I tried gel nails, I was in a nail salon, mesmerized by the way the technician used a UV light to harden…”— Gel Nails for Beginners editors
Related: Gel nails for september
Maintaining Your Gel Nails
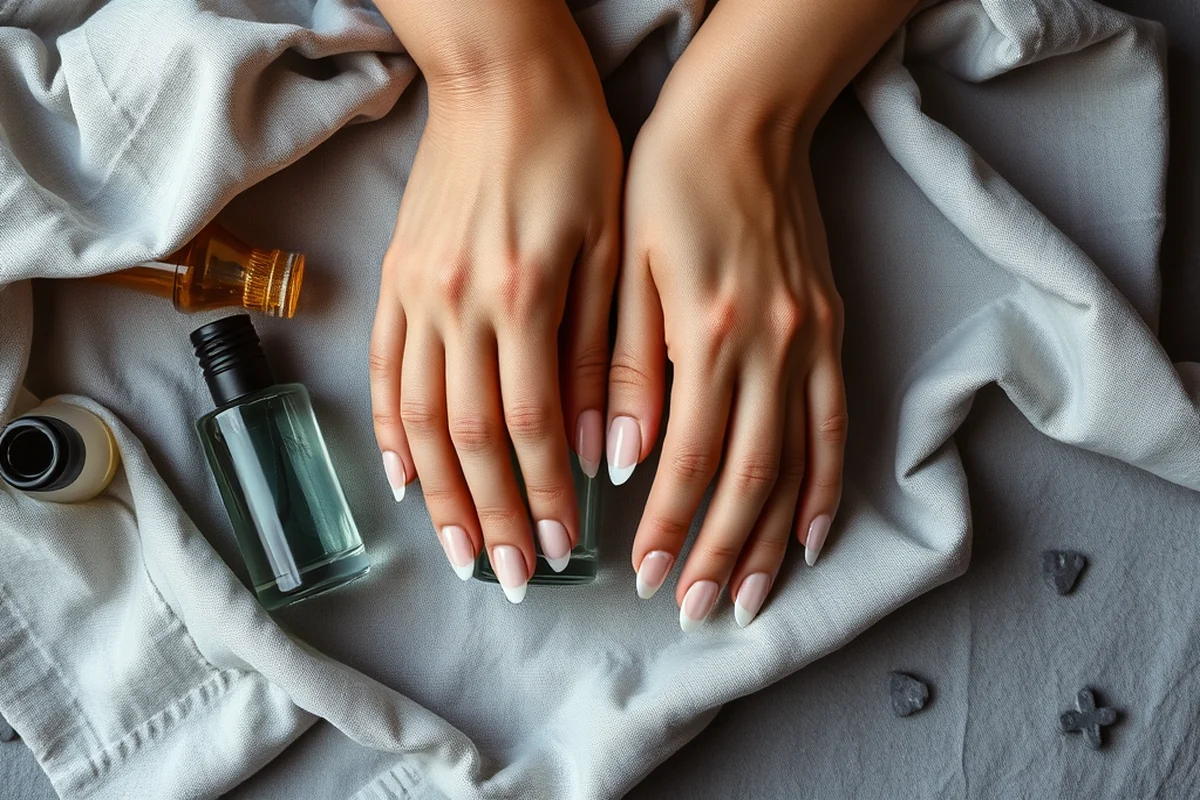
I’ve found that the best way to maintain gel nails is to do a quick touch-up every few weeks. This involves reapplying a top coat and using a buffer to smooth out any rough edges. I’ve tested several top coat formulas, and I’ve found that some last longer than others. I prefer ones that have a slight gloss without being too shiny.
I also use a buffer to smooth out any ridges that develop over time. I’ve found that using a 240-grit buffer is the best for this. I always apply the buffer in a circular motion to avoid damaging the nail. I’ve also found that using a cuticle oil regularly helps keep the skin around the nails healthy and prevents the polish from lifting.
I’ve found that maintaining your gel nails doesn’t take a lot of time — just a few minutes every few weeks is enough to keep them looking fresh. I always make sure to use a UV lamp after applying the top coat, as this helps the polish set properly and prevents peeling.
Removing Gel Nails Safely
I’ve made the mistake of trying to remove gel nails without using the right tools, and it left my nails looking uneven. I’ve found that using a nail removal kit is the safest and most effective way. The kit includes a remover, a cotton pad, and a wrap — all of which are essential for a smooth removal.
The process starts with applying the remover to the nail and wrapping it in a cotton pad. I’ve found that using a warm towel over the wrapped nails helps the remover work more effectively. I’ve tested several removers, and I’ve found that some are more gentle on the natural nail than others. I prefer ones that are specifically formulated for gel nails.
After the remover has worked for a few minutes, I gently scrape off the gel using a plastic spatula. I’ve found that this method is much gentler on the nails than using a metal tool. I also make sure to apply a cuticle oil after removal to help the nails recover and stay healthy.
The Cost of Gel Nails
I’ve found that buying a gel nail kit is a much more cost-effective option than getting a manicure at the salon. A quality kit can cost around $28, and it includes everything you need for a perfect manicure. I’ve tested several kits over time, and I’ve found that the most affordable ones are also the most effective.
I’ve also found that maintaining gel nails at home is much cheaper than going to the salon every few weeks. A quick touch-up at home costs almost nothing compared to the cost of a professional manicure. I’ve found that using a UV lamp and a quality top coat can help extend the life of the manicure, making it even more cost-effective.
I’ve made the mistake of buying cheap gel polish that didn’t last long, and it ended up costing me more in the long run. I’ve found that investing in a quality kit with a base coat, color, and top coat is the best way to save money and get the best results.
At-home gel manicures are a cost-effective alternative to salon visits.
The Benefits of Gel Nails
One of the biggest benefits of gel nails is that they last for weeks without chipping or peeling. I’ve found that they’re much more durable than regular polish, and they can withstand daily wear and tear. I’ve tested several brands, and I’ve found that some last longer than others — the key is to use a quality top coat and a strong UV lamp.
Another benefit is the wide range of colors and finishes available. I’ve found that gel nails can be used to create a bold red manicure, a soft pastel, or even a glittery celebration look. I’ve used several different colors over the years, and I’ve found that the most vibrant ones are the ones that last the longest.
I’ve also found that gel nails are a great option for people with sensitive skin or allergies. I’ve tested several brands, and I’ve found that some are more gentle on the nails and skin than others. I always look for products that are free from harsh chemicals and are specifically formulated for sensitive skin.
🌸 Sensitive Skin
For those with sensitive skin, there are gel polish kits specifically formulated to be gentle on the nails and skin.
💰 Budget
You can achieve a professional-looking manicure for under $30 with a quality at-home gel nail kit.
💅 Minimalist
Opt for a simple, clean manicure with a neutral color and a high-quality top coat for a polished look.
🎯 Targeted
Focus on a specific area, like the thumbs or the ring finger, for a subtle, elegant look.
🛠️ Maintenance
Use a quick touch-up every few weeks to keep your manicure looking fresh and polished.
| The mistake | Why it happens | The fix |
|---|---|---|
| Using the wrong grit file for shaping the nails. | Using a file that’s too coarse can damage the nail bed and cause the gel to lift. | Use an 180-grit file for shaping and a 240-grit file for smoothing. |
| Skipping the base coat. | Skipping the base coat can lead to staining and poor adhesion of the gel polish. | Always apply a base coat before applying the color to protect the natural nail and ensure proper adhesion. |
| Using a weak UV lamp to cure the polish. | A weak UV lamp can result in the polish not curing properly, leading to chipping or peeling. | Use a UV lamp with a 36W bulb for the best results. |
| Using a metal tool to remove gel nails. | Using a metal tool can damage the natural nail and cause pain or discomfort. | Use a plastic spatula or a nail removal kit to safely remove the gel polish. |
What To Do With Gel Nails
Common Questions
How often should I do a touch-up on my gel nails?
Can I use regular nail polish over gel nails?
What should I do if my gel nails start to lift?
Can I use gel nails on my toes?
References
- Step-by-Step Guide to Perfect Gel Manicure at Home - Cortiva Institute (cortiva.edu)
- Step By Step Kiss Dip Kit Instructions (training.jacksonms.gov)
- Product-Chemical Profile for Nail Products Containing Methyl ... (dtsc.ca.gov)
Cite this guide
Gel Nails for Beginners (2026). What To Do With Gel Nails. https://careandnail.com/what-to-do-with-gel-nails/
Feel free to cite or share this guide.