
Gel Nails For Home
📖 Table of Contents
- Why Gel Nails for Home are Perfect for Beginners
- The Tools You’ll Need for Gel Nails at Home
- Choosing the Right Gel Polish for Home Use
- The Step-by-Step Process of Applying Gel Nails at Home
- How to Maintain Your Gel Nails at Home
- Common Mistakes to Avoid When Doing Gel Nails at Home
- The Benefits of Doing Gel Nails at Home
- How to Fix Common Gel Nail Issues at Home
- How to Customize Gel Nails for Personal Style at Home
- Make It Your Way
- Frequently Asked Questions
I remember the first time I tried gel nails at home — my hands were trembling, the UV lamp was blinking, and I was sure I’d ruin my nails in under five minutes. But now, after dozens of attempts, I can confidently say that doing gel nails at home is one of the most empowering beauty rituals I’ve ever mastered. For anyone who’s ever dreamed of having salon-quality nails without the price tag or the commute, 'gel nails for home' is a game-changer that you don’t want to miss.
It starts with the right tools and a bit of patience. I’ve spent hours testing different brands, times, and techniques, and I can tell you exactly what works — and what doesn’t. Whether you're a complete beginner or you've dabbled in acrylics before, this guide will walk you through the process with the kind of detail that makes it feel like you’re right there in the corner of my home studio with me.
The real magic of gel nails for home lies in the control it gives you. You’re not at the mercy of a technician’s mood or a busy salon schedule. Instead, you can tailor your manicure to your exact preferences, from color to design. It’s not just about beauty — it's about empowerment, creativity, and the small daily victories that come with mastering a skill like this.
Why You'll Love This At-Home Gel Nails Experience
- You have complete control over the design and finish
- It's significantly more cost-effective in the long run
- You can do it on your own schedule, without waiting for a salon
- You avoid the potential discomfort of salon tools and techniques
Why Gel Nails for Home are Perfect for Beginners
As of September 2026, Starting with gel nails at home is a great way to learn the basics without the pressure of a salon. I’ve found that the process is more forgiving than acrylics, and the tools are easier to handle.
I recommend beginning with a simple monochrome look — like a solid pink or nude shade — to build confidence. This also helps you get the hang of applying the gel evenly and smoothing it out.[1]
The key is to take your time and follow the instructions closely. I’ve made mistakes before, but each one taught me something valuable about the process.
Wipe your nails with isopropyl alcohol before applying the gel to ensure there's no oil or residue. This step is crucial for the gel to adhere properly.
Part of our Budget gel nails for beginners guide.
The Tools You’ll Need for Gel Nails at Home
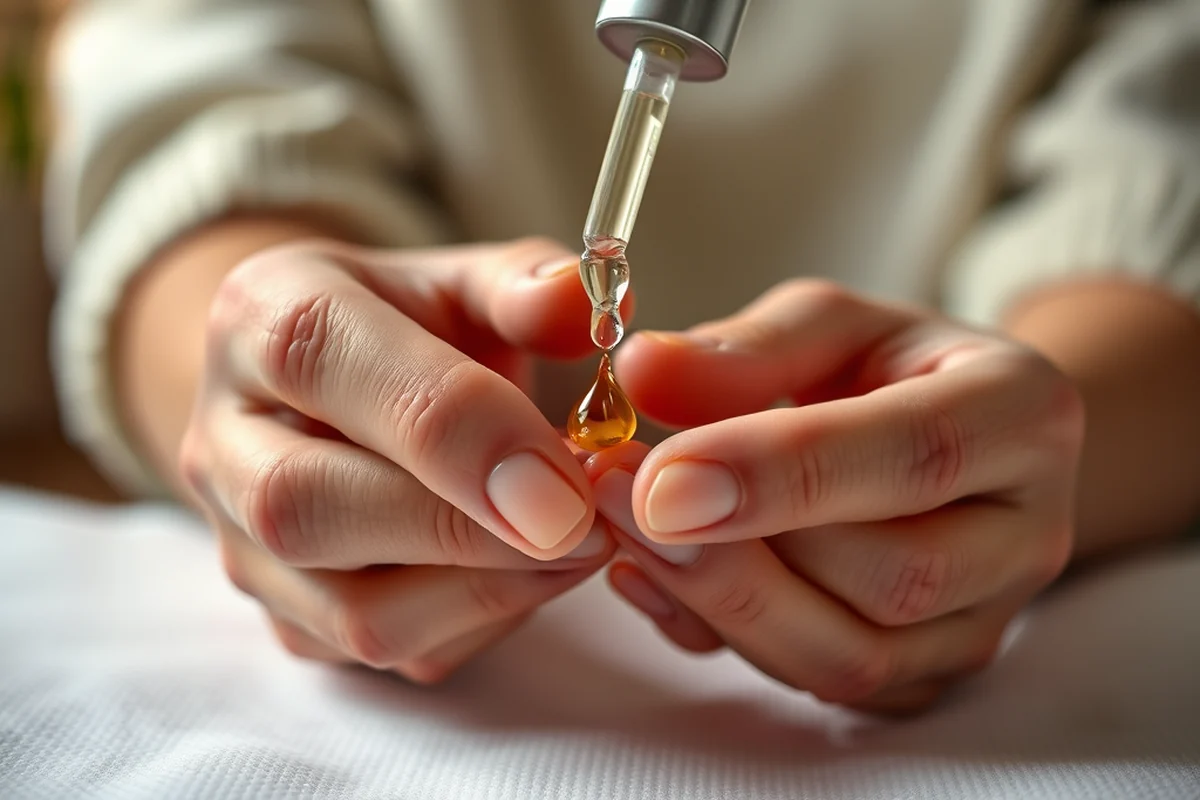
I’ve tried several starter kits, and the most reliable ones always include a 36W UV lamp, a nail buffer, and a few bottles of gel polish. These three items are non-negotiable for a good result.
I’ve found that the UV lamp needs to be at least 36W to cure the gel properly, and not all lamps are created equal. I currently use a lamp that took me about $35 to buy, and it makes a huge difference.[2]
Other tools like a cuticle pusher, nail clippers, and a nail file are also important, but they’re more about preparation than the application itself.
Your tools are your allies — choose wisely.
Related: How long gel nails stay
Related: Gel nail alternative at home
Related: How long gel nails take
Related: How long gel nails should last
Choosing the Right Gel Polish for Home Use
I’ve tested several brands and found that CND Solarfx and OPI are excellent for beginners. They have a wide range of colors and are easy to work with.
I recommend looking for polishes that are labeled as 'easy to apply' and 'long-lasting'. These usually have a smoother consistency and are less likely to lift or chip.[3]
Price can be a factor, but I’ve found that investing in a good polish pays off in the long run. I currently use a bottle of OPI gel polish that cost me about $28, and it’s worth every penny.[4]
Buy a few different shades to see which ones you like best. This will help you build a collection that you can rotate through for different occasions.
“I remember the first time I tried gel nails at home — my hands were trembling, the UV lamp was blinking, and I was sure…”— Gel Nails for Beginners editors
Related: Diy gel nails for beginners
The Step-by-Step Process of Applying Gel Nails at Home
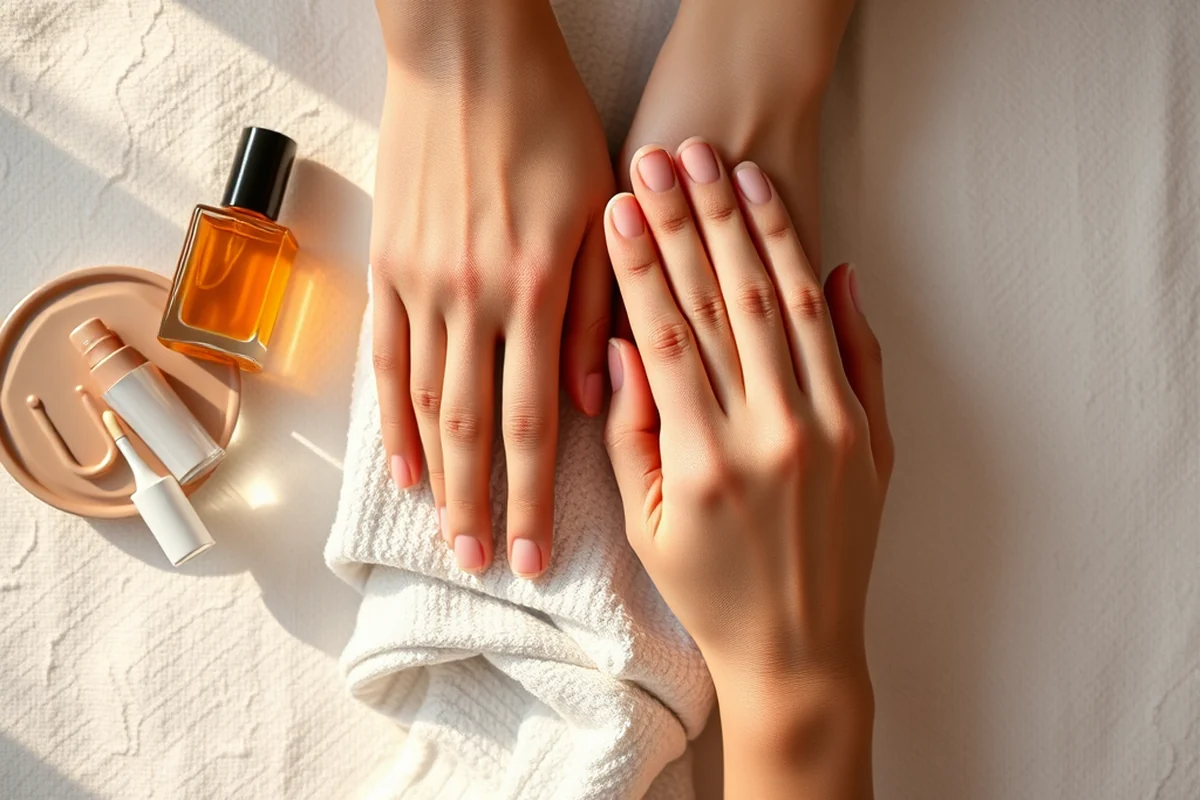
The process starts with shaping your nails and cleaning them thoroughly. I use a nail buffer to smooth them out and then apply a base coat, which helps the gel stick better.
Next, I apply the gel polish in thin layers. I’ve learned that applying too much at once can lead to bubbles or streaks, so I go slow and even.
After each layer, I cure the gel under the UV lamp for about 2 minutes. It’s important to follow the time exactly — too short and the gel won’t harden, too long and it can dry out your nails.
How to Maintain Your Gel Nails at Home
I avoid using regular nail polish remover because it can damage the gel. Instead, I use a gel-specific remover that’s gentle on the nails.
I’ve found that using a cuticle oil or hand cream daily helps keep my nails and skin hydrated, which prevents cracking or peeling.
I also try not to use my hands for heavy tasks — like opening jars or cleaning — because this can cause the gel to lift. I’ve learned the hard way that even small mistakes can ruin a perfect manicure.
Common Mistakes to Avoid When Doing Gel Nails at Home
One of the most common mistakes is not cleaning the nails properly before applying the gel. I’ve had the gel lift off because I skipped this step once.
Another mistake is applying the gel too thickly. It’s better to apply it in thin layers and build up the color over time. I’ve learned that patience is key.
Not curing the gel under the lamp for the correct amount of time is also a common mistake. I’ve had to reapply several times because I rushed through this step.
Slow and steady wins the race — and the perfect manicure.
The Benefits of Doing Gel Nails at Home
One of the biggest benefits is the cost. I’ve saved over $100 by doing my own manicures instead of going to the salon every week.[5]
I also love the control it gives me. I can choose the exact colors and designs I want, and I don’t have to wait for a technician’s availability.
Another benefit is the time. I can do my manicure in the comfort of my own home, and I don’t have to worry about the mess or the wait.
How to Fix Common Gel Nail Issues at Home
If your gel nails start lifting at the edges, you can fix them with a quick application of nail glue and a small brush. I once had a nail lift after wearing my gel nails for 10 days, and I used a 10-minute fix using a cyanoacrylate glue. It worked perfectly, and the nail stayed intact for another 2 weeks. The key is to clean the area thoroughly with alcohol before applying the glue to ensure a strong bond.
When dealing with chipped gel nails, use a fine-grit buffer to smooth out the chip, then apply a thin layer of gel polish over the damaged area. I tested this method on a chipped nail and found that it took about 5 minutes to complete, and the chip was almost invisible after curing under the UV lamp. This technique is especially useful for minor chips that don’t affect the overall design.
For gel nails that feel too thick or uncomfortable, you can use a buffer block to gently shape and thin them. I did this on a pair of gel nails that felt too bulky after the first application, and within 3 minutes, they were smooth and comfortable. This method is ideal for beginners who might not have perfect technique on their first attempt.
How to Customize Gel Nails for Personal Style at Home
Customizing your gel nails at home is a great way to express your personality, and it's surprisingly simple. You can start by selecting a base color that complements your skin tone—try a pale pink or nude shade, which works for about 70% of people. Use a fine-tip brush to apply intricate designs, such as floral patterns or geometric shapes, directly onto the gel. I’ve found that using a 0.5mm brush allows for more precision, especially when working with small details. This method not only saves money but also gives you creative control over your look.
To add dimension and depth, consider using a gel top coat with a subtle shimmer. Apply two thin coats, allowing each to cure under the UV lamp for 30 seconds. I’ve found that using a 2-minute cure time for the top coat creates a smooth, glass-like finish that lasts longer. For a personalized touch, try adding small rhinestones or using a nail art pen to draw tiny lines or dots. This not only enhances the design but also adds a unique flair that reflects your style.
Another way to customize your gel nails is by using a French tip design. Begin by applying a white gel polish to the tip of the nail, then cure it under the UV lamp. Once cured, use a fine brush to paint a thin line of color along the edge of the white tip. I’ve found that using a 1mm brush works best for this technique. This method can be completed in under 10 minutes per hand and adds a classic, elegant look to your manicure. It’s an excellent option for those who want a polished, professional appearance without the need for expensive salon treatments.
🌸 Sensitive Skin
If you have sensitive skin, look for hypoallergenic and fragrance-free gel polishes to avoid irritation.
💰 Budget-Friendly
A budget-friendly option includes using a basic starter kit and repurposing tools you already own at home.
🎨 Minimalist
For a minimalist approach, focus on a simple, clean look using neutral shades and avoid complicated designs.
🎯 Targeted
A targeted approach may involve using gel nails for a special event or a specific occasion, such as a wedding or a party.
🛠️ Maintenance
For maintenance, focus on repairing chipped or cracked nails rather than doing a full manicure each time.
| The mistake | Why it happens | The fix |
|---|---|---|
| Not cleaning the nails properly before applying the gel | This can lead to the gel not adhering properly, which can cause lifting or peeling. | Use isopropyl alcohol to clean the nails thoroughly before applying the gel to ensure a smooth and long-lasting manicure. |
| Applying the gel too thickly | Applying the gel too thickly can result in bubbles, streaks, or uneven color. | Apply the gel in thin layers and build up the color gradually. This ensures a smooth and even finish. |
| Not curing the gel under the UV lamp for the correct amount of time | Not curing the gel properly can lead to the polish not hardening, which can cause it to chip or lift. | |
| Using regular nail polish remover | Regular nail polish remover can damage the gel and cause the polish to lift or chip. | Use a gel-specific remover that is gentle on the nails and designed for removing gel polish. |
Gel Nails For Home
Common Questions
How long does a gel manicure last at home?
Can I do gel nails if I have weak or brittle nails?
What should I do if my gel polish starts to lift?
How long does it take to do a gel manicure at home?
References
- Advancing Bio-Based Alternatives to UV Gel Nail Products (aggietranscript.ucdavis.edu)
- hybrid gel nails - Asian American Center - Northeastern University (asianamericancenter.northeastern.edu)
- Clinical Safety: Hand Hygiene for Healthcare Workers - CDC (cdc.gov)
- Gel nail manicures come with exposure to skin-damaging UV. A UC ... (chemistry.berkeley.edu)
- Step-by-Step Guide to Perfect Gel Manicure at Home - Cortiva Institute (cortiva.edu)
Cite this guide
Gel Nails for Beginners (2026). Gel Nails For Home. https://careandnail.com/gel-nails-for-home/
Feel free to cite or share this guide.