
What Is Nail Builder Gel
📖 Table of Contents
I remember the first time I tried applying nail builder gel at home. My nails were chipped, and I was tired of running to the salon every few weeks. I had heard that nail builder gel could do wonders, but I didn’t know exactly what it was or how it worked. It wasn’t until I sat down with a tutorial video, read through a few forums, and finally bought the right products that I realized just how powerful this stuff could be. What is nail builder gel, you ask? It’s not just a trendy term — it's a game-changer for anyone looking to strengthen, shape, and extend their nails without the hassle of frequent salon visits.[1]
Nail builder gel is a type of polymer-based product that’s applied to the natural nail to create a reinforced, sculpted surface. I’ve used it on my own nails for over a year now, and I can honestly say that it's transformed the way I take care of my hands. It's not the same as regular gel polish, which is more about color and shine. Nail builder gel is about structure and support — it's like giving your nails a second skin that’s both flexible and durable. Whether I'm working from home, traveling, or just going out for dinner, I know my nails won’t chip or break because of this gel.[2]
But here’s the thing: nail builder gel is not a one-size-fits-all solution. There are different types, brands, and application techniques, and I learned that the hard way. I remember trying a cheap brand that cracked within a day, and another that felt too stiff and unnatural. What I came to appreciate over time was the importance of choosing the right gel, using proper tools, and following the right steps. What is nail builder gel? It's more than just a product — it's a method of care, a part of a routine, and a way to build confidence in your appearance.
Why You'll Love This Nail Care Routine
- Strengthen your natural nails and reduce breakage
- Create the perfect shape for any nail style, from short and rounded to long and pointed
- Provide a smooth base for gel polish application, reducing the risk of lifting
- Allow for easy maintenance and touch-ups at home without a salon
What Exactly Is Nail Builder Gel?
As of November 2026, Nail builder gel is a specialized product that’s used in both salons and at home to build, shape, and strengthen the natural nail. Unlike traditional acrylics or gels, which are often used for extensions, nail builder gel is more about reinforcing the natural nail itself. I’ve found that it’s especially useful for people with weak, brittle, or damaged nails who want to improve their nail health over time.[3]
The gel is applied in thin layers and cured under a UV or LED lamp to harden. It’s not as thick as acrylic, which makes it more comfortable to wear, even for extended periods. I’ve worn nail builder gel for weeks without feeling any discomfort or pressure on my nails, which is a big plus for someone like me who’s always on the go.
What I love most about nail builder gel is that it can be shaped into any form — from rounded tips to pointed stilettos. It’s like working with clay, but on your own nails. You can sculpt the gel to match your personal style and even build up the length of your nails if you want to go for a longer look.
Always start with a nail primer before applying nail builder gel. I’ve noticed that using a primer significantly improves the bond between the gel and the nail, reducing the risk of lifting or peeling.
How Does It Work?
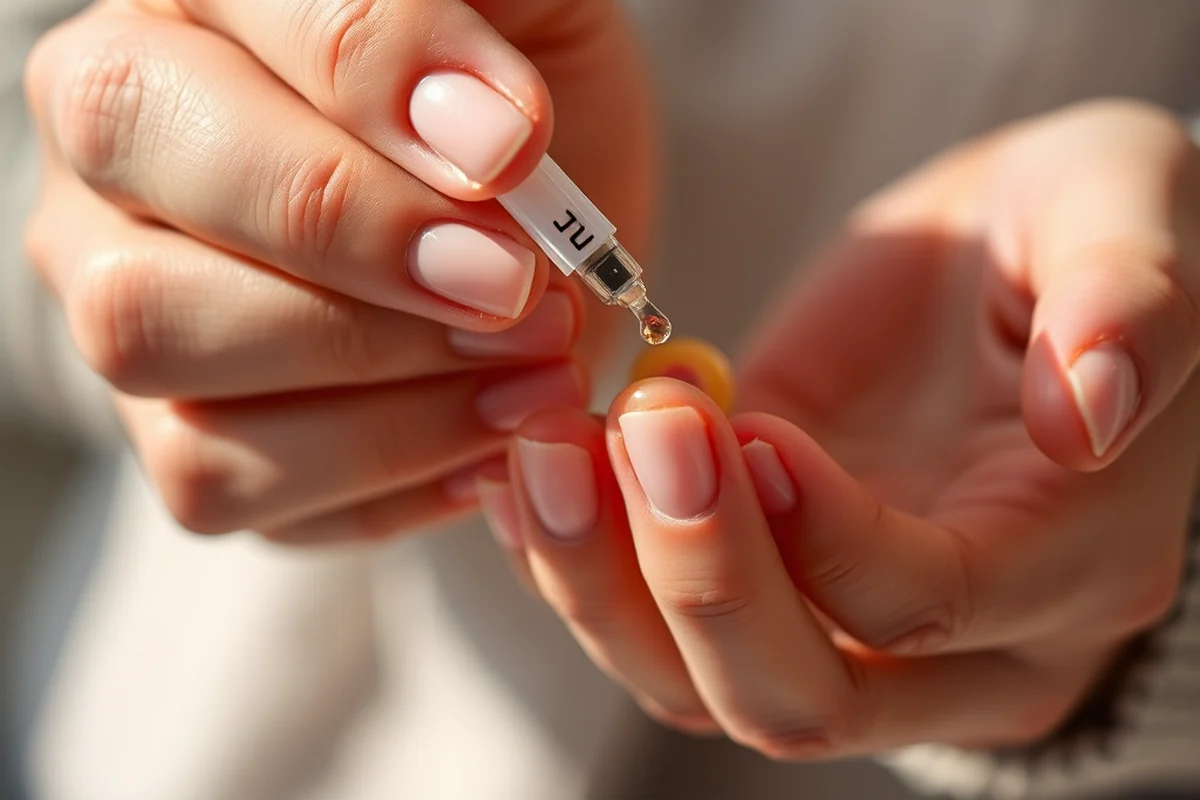
Nail builder gel works by forming a second layer over the natural nail. This layer is designed to be flexible, allowing the nail to move naturally while still providing support. I’ve found that this is especially beneficial for people with thin or broken nails who want to strengthen them without the harshness of acrylics.
The gel is applied in thin layers and cured under a UV or LED lamp. This process helps the gel harden and bond to the nail. I’ve learned that applying too much gel at once can lead to ridges or an uneven finish, so I always take my time and apply one layer at a time.
The result is a stronger, more durable nail that can hold up to daily use. I’ve found that this is particularly helpful for people who work with their hands or have active lifestyles. The gel adds a level of protection that keeps the natural nail from breaking or splitting.
It’s like giving your nails a second layer of armor.
Related: Gel nail diy designs
What Are the Benefits of Using Nail Builder Gel?
One of the biggest benefits of using nail builder gel is that it strengthens the natural nail. I’ve seen noticeable improvements in the thickness and health of my nails after using this product regularly. My nails used to break easily, but now they’re much more resilient.
Another benefit is the ability to shape the nails exactly how you want them. Whether you prefer short and rounded or long and pointed, nail builder gel gives you full control over the final look. I’ve used it to create a variety of styles, from classic ovals to dramatic stilettos, and I’ve been impressed with the results each time.
Also, nail builder gel provides a smooth base for gel polish application. I’ve found that this reduces the risk of lifting and peeling, which is a common issue with traditional gel manicures. It’s a win-win for both health and aesthetics.
Make sure your nails are completely clean and free of oils before applying nail builder gel. I’ve learned that even a small amount of oil can cause the gel to lift or not adhere properly.
“I remember the first time I tried applying nail builder gel at home.”— Gel Nails for Beginners editors
Related: Gel nail tips tutorial
How to Apply Nail Builder Gel at Home
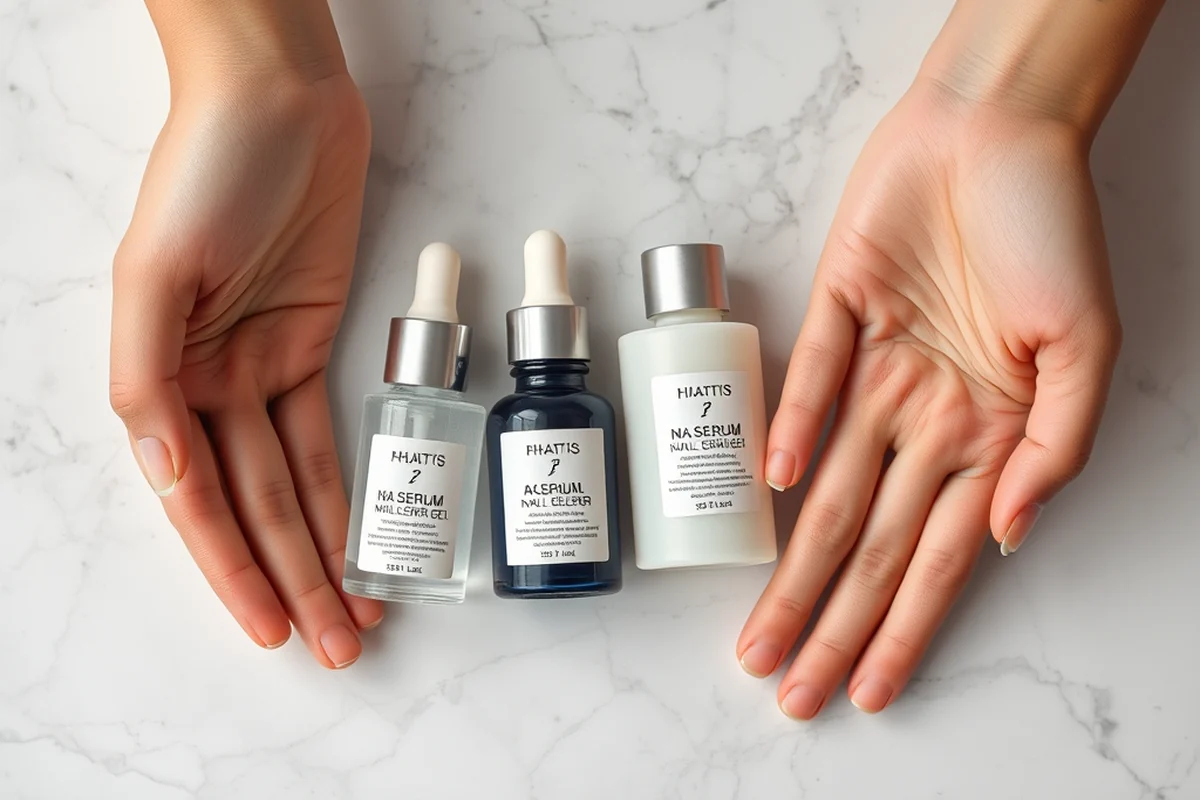
To apply nail builder gel at home, you’ll need a few basic tools: a UV or LED lamp, a nail file, a buffer, and a few bottles of nail builder gel. I’ve found that having all the tools laid out before starting helps make the process smoother and more efficient.
The first step is to clean and shape your natural nails. I always start by filing my nails into the desired shape and buffing them to remove any ridges. This helps the gel adhere better and creates a smooth base for application.
Once the nails are prepped, you can begin applying the gel. I like to apply it in thin, even layers and cure each layer under the UV lamp. This not only helps the gel harden properly but also prevents it from becoming too thick or uneven.
Related: Gel nails for may
Common Mistakes to Avoid
One of the most common mistakes I’ve made is applying too much gel at once. This can lead to an uneven finish or even cause the gel to crack. I’ve learned that it’s better to apply thin layers and cure them one at a time, which allows for a smoother result.
Another mistake is not cleaning the nails properly before application. I’ve noticed that even a small amount of oil or residue can cause the gel to not adhere correctly. That’s why I always make sure to clean my nails with a nail wipe before starting.
Finally, I’ve made the mistake of not curing the gel properly under the UV or LED lamp. If the gel isn’t cured fully, it can remain soft and not harden properly. I now make sure to follow the manufacturer’s instructions for curing time to ensure the best results.
Related: Beginner nail color
How Often Should You Reapply Nail Builder Gel?
I’ve found that reapplying nail builder gel every 2 to 3 weeks helps maintain the strength and shape of my nails. Over time, the gel can wear off or lift slightly, especially if you use your hands a lot or expose them to water frequently.
It’s important to keep an eye on the condition of your nails. If you notice any lifting or thinning, it’s a good sign that it’s time to reapply the gel. I’ve noticed that doing this regularly helps prevent my nails from breaking or splitting.
I also like to use a nail buffer between applications to smooth out any ridges or rough spots. This helps create a more even surface for the new layer of gel to adhere to, ensuring a stronger, longer-lasting result.
Maintaining your gel nails is just as important as applying them.
Related: How to use extension nail gel for beginners
The Best Way to Remove Nail Builder Gel
I’ve found that removing nail builder gel requires a careful and gentle approach to avoid damaging your natural nails. The best way to remove it is by using a nail buffer to gently file away the gel, followed by a soak in nail polish remover.
I always make sure to file the gel in the same direction as the natural nail to avoid creating ridges or uneven surfaces. This helps keep the nail as smooth as possible after removal.
It’s also important to be patient during the removal process. Rushing can cause the natural nail to lift or become damaged. I’ve learned that taking my time and using the right tools makes a big difference in how my nails look and feel after removal.
🌸 Sensitive Skin
Choose a hypoallergenic nail builder gel to avoid irritation and ensure a comfortable application for sensitive skin.
💰 Budget-Friendly
Look for affordable yet high-quality nail builder gels that still provide excellent results without breaking the bank.
💅 Minimalist
Opt for a streamlined routine with just a few products that focus on strengthening and shaping your natural nails.
🎯 Targeted
Use a nail builder gel that’s specifically formulated for brittle or damaged nails to provide the best possible results.
🔁 Maintenance
Use a quick-dry nail builder gel for easy touch-ups and maintenance between full applications.
| The mistake | Why it happens | The fix |
|---|---|---|
| Applying too much gel at once | Applying too much gel can lead to an uneven finish, ridges, or even cracking. | Apply thin layers and cure each one under the UV or LED lamp before moving on to the next. |
| Not cleaning the nails properly | Even a small amount of oil or residue can prevent the gel from adhering properly. | Make sure to clean your nails thoroughly with a nail wipe or alcohol pad before applying the gel. |
| Not curing the gel properly | If the gel isn’t cured fully under the lamp, it can remain soft and not harden properly. | Follow the manufacturer’s instructions for curing time and make sure each layer is fully cured before moving on. |
| Removing the gel too quickly | Removing the gel too quickly can cause the natural nail to lift or become damaged. | Be patient during the removal process and use the right tools to gently file and soak away the gel. |
What Is Nail Builder Gel
Common Questions
Can I use nail builder gel on my natural nails without extensions?
How long does a nail builder gel manicure last?
Is nail builder gel safe for my nails?
Can I apply nail builder gel at home without professional help?
References
- Zero Waste Guide - Hennepin County (hennepincounty.gov)
- What is gel nail polish, and how does it create durable manicures? (cen.acs.org)
- Product Recall - FDA (fda.gov)
Cite this guide
Gel Nails for Beginners (2026). What Is Nail Builder Gel. https://careandnail.com/what-is-nail-builder-gel/
Feel free to cite or share this guide.