
How To Gel Polish
📖 Table of Contents
I remember the first time I tried gel polish — my hands were trembling, my nails were chipped, and I had no idea what I was doing. It was a hot summer day, and I just couldn't bring myself to go to the salon again. I bought a starter kit, followed the instructions, and somehow, I managed to make it look decent. It was a game-changer for my confidence, and it turned out that learning how to gel polish wasn't just about beauty; it was about control, creativity, and a little bit of self-care.
Since that day, I've experimented with every kind of gel polish — from the most vibrant colors to the subtlest pastels. The process might seem intimidating at first, but with the right tools and a little patience, it's actually quite simple. What I've learned is that gel polish isn't just a trend; it's a skill that can be mastered by anyone willing to put in the time. It's not just about making your nails look good — it's about making them last.
If you've ever wondered how to gel polish your nails at home, you're not alone. I've walked through the same questions, made the same mistakes, and discovered the same tips that make this process successful. I've tried nearly every product on the market and can tell you with certainty that the right tools, the right technique. A little bit of practice are all it takes to achieve salon-quality results at home. This article is the culmination of everything I've learned — and I'm here to guide you through it step by step.
Why You'll Love This ...
- Long-lasting manicures that stay chip-free for weeks.
- A customizable process that lets you choose your favorite colors and finishes.
- A cost-effective way to keep your nails looking fresh without breaking the bank.
- A confidence boost that comes from doing something beautiful on your own.
Choosing the Right Gel Polish Kit
As of September 2026, when I first started, I bought a cheap kit from a discount store, and it didn't last long. The polish didn't cure properly, and I ended up with a mess. Eventually, I realized that a good starter kit costs around $28 and includes a UV lamp, a buffer block, and a few bottles of gel polish. These kits are designed for beginners and come with everything you need to get started.
I recommend looking for kits that have a 36W UV lamp — these cure the polish much faster than lower wattage lamps. The buffer is also important because it helps shape the nails and smooth out any imperfections. I've used multiple kits, and the ones with a 36W lamp have made a noticeable difference in how quickly the polish cures and how long it lasts.[1]
I've found that the best kits also include a small set of tools like a nail file, a cuticle pusher, and a few pads for cleaning. These tools help you prepare your nails properly before applying the polish, which is essential for a clean, professional finish. Investing in the right kit is the first step in learning how to gel polish.
The right lamp can make a big difference in how quickly your gel polish cures and how long it lasts. Look for a 36W UV lamp for optimal results.
Part of our Gel polish guide.
Prepping Your Nails for Gel Polish
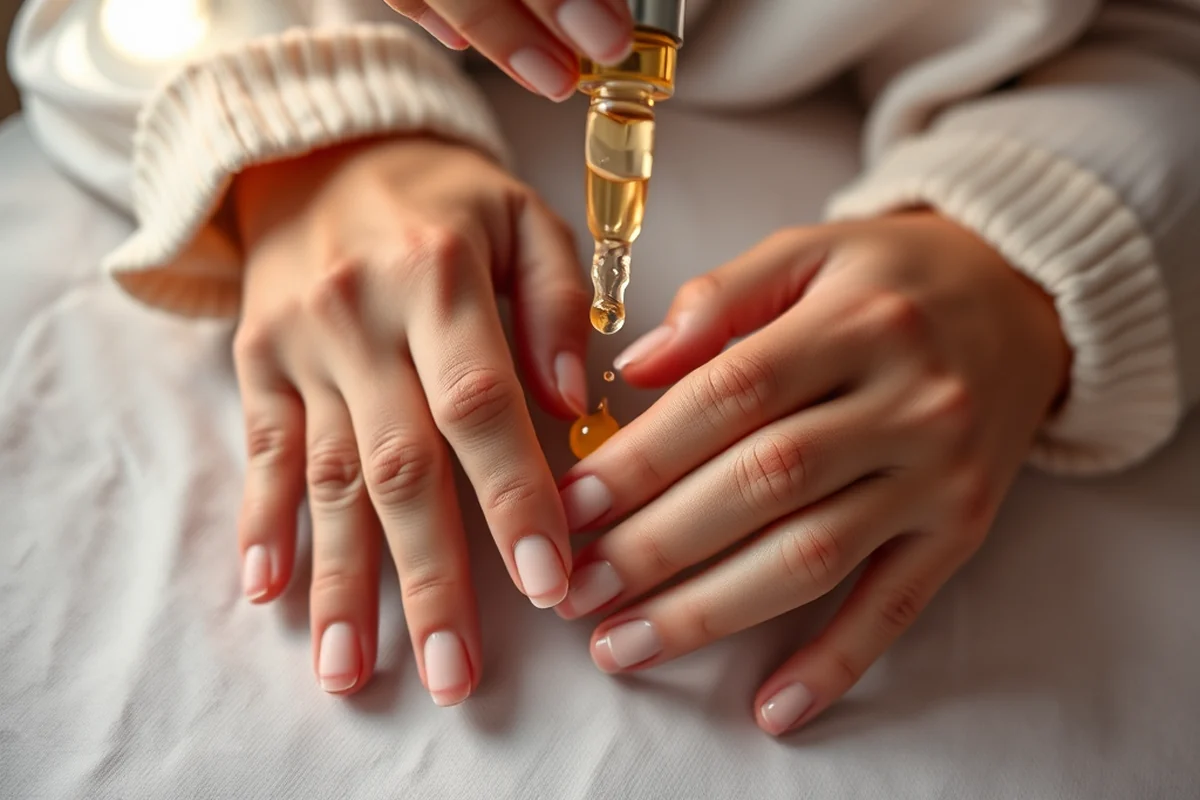
Before applying gel polish, I always start by cleaning my nails with a nail cleaner and removing any oils or residue. This helps the polish adhere better and prevents lifting. I've noticed that if I skip this step, the polish doesn't last as long and is more prone to chipping.
Next, I buff my nails lightly with a buffer block to create a slightly rough surface. This gives the gel polish something to grip onto and helps it stick better. I've found that using a fine-grit buffer is best — it doesn't damage the nails but still provides enough texture for the polish to adhere.
After buffing, I wipe my nails with a lint-free wipe to remove any dust or residue. This step is crucial because any debris on the nail can cause the polish to lift or bubble. Once the nails are clean and prepped, I'm ready to apply the gel polish.
A clean nail is the foundation of a perfect manicure.
Related: Can you fill gel nails
Related: What is nail polish remover
Related: Opi nail polish
Applying the Base Coat
I always start with a base coat, even if I'm not using it for the first time. The base coat helps build a smooth surface for the color and provides protection against staining and lifting. I've used several brands over the years, and I've found that a clear base coat with a slightly thick consistency works best.
After applying the base coat, I cure it under the UV lamp for about 30 seconds. I've found that curing for too long or too short can affect the finish, so I always stick to the recommended time. Once cured, I wipe off any excess with a lint-free wipe to keep the surface smooth.[2]
I've noticed that using a base coat significantly increases the longevity of the manicure. Without it, the polish is more likely to lift or chip, especially around the edges. It's a small step but one that makes a big difference.
A base coat acts as a protective layer and helps the color adhere better. It's an essential step in learning how to gel polish.
“I remember the first time I tried gel polish — my hands were trembling, my nails were chipped, and I had no idea what I…”— Gel Nails for Beginners editors
Related: Builder gel nails for beginners
Related: Gel nails for the summer
Applying the Color
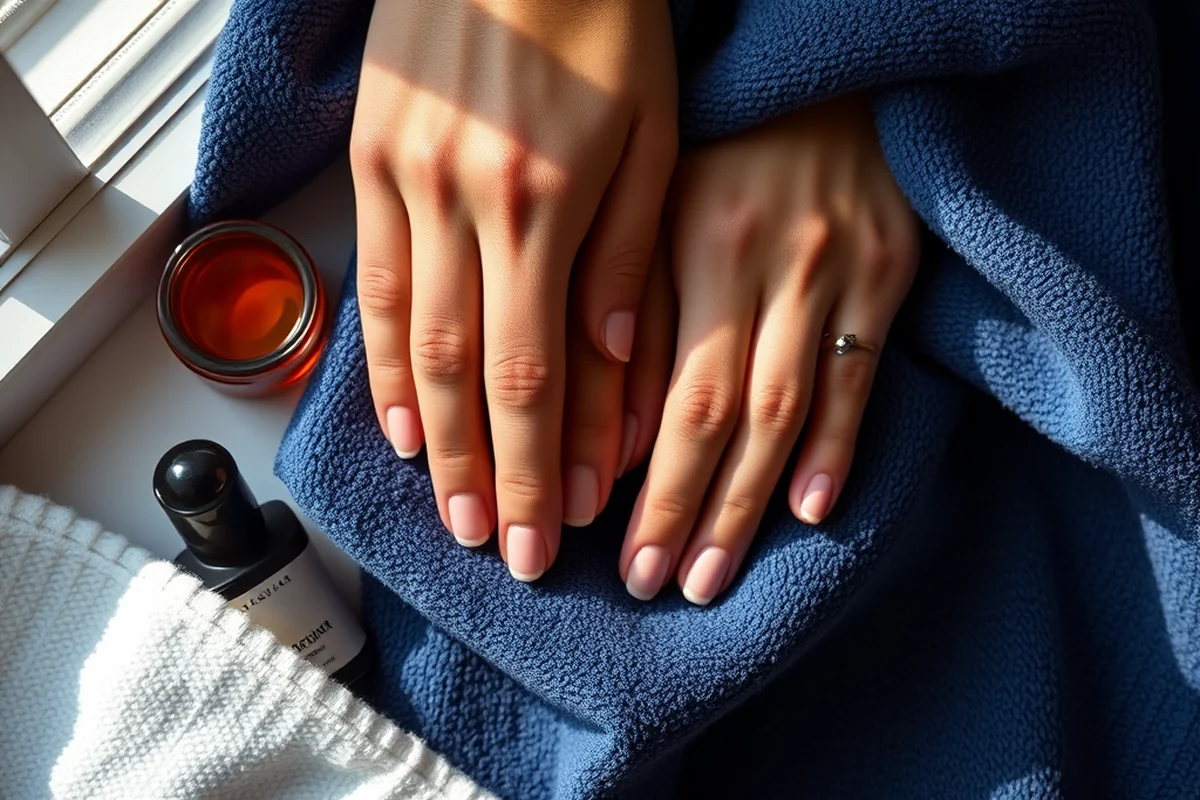
Once the base coat is cured, I'm ready to apply the color. I always start with a thin layer and cure it under the UV lamp for about 30 seconds. I've found that applying too much polish in one go can lead to streaks or bubbles, so I prefer to apply it in thin, even strokes.[3]
After the first coat is cured, I apply a second, slightly thicker coat and cure it again. This gives the color more depth and makes it more resistant to chipping. I've tried different brands and have found that some polishes have a more even finish than others, so I always test a few before committing to one.
I've noticed that some polishes require a longer curing time, especially if they're darker or have a metallic finish. It's important to follow the manufacturer's instructions for the best results. Once the color is applied and cured, I'm ready for the top coat.
Applying the Top Coat
After applying the color and curing it, I move on to the top coat. The top coat not only adds a glossy finish but also helps protect the color from chipping or fading. I've found that using a quick-dry top coat makes the process faster and more efficient.
I always apply the top coat in a thin, even layer and cure it for about 30 seconds. I've noticed that if I apply too much, it can leave a hazy or cloudy finish, so I always go for thin, even strokes. Once cured, I wipe off any excess with a lint-free wipe to keep the surface smooth.
The top coat is the final touch that makes the manicure look professional and long-lasting. It's the step that gives the nails that salon-quality shine and protects them from damage. I've found that using a good top coat can make a big difference in how long the manicure lasts.
Curing and Finishing
After applying the top coat, I place my hands under the UV lamp for the recommended curing time. I've found that most polishes require about 30 seconds of curing time, but some may take longer, especially if they're darker or have a metallic finish.
During the curing process, I always make sure my hands are fully under the lamp and that the light is evenly distributed. If any part of the nail isn't fully cured, it can lead to chipping or peeling later on. I've noticed that some lamps have a timer that beeps when the curing is complete, which is a helpful feature.
Once the curing is complete, I wipe off any excess polish with a lint-free wipe. This helps create a smooth, glossy finish and removes any dust or residue that may have settled on the nails. The final result is a perfectly finished manicure that looks salon-quality and lasts for weeks.
Curing is the secret to a chip-free manicure.
Maintaining Your Gel Polish
I've found that the key to keeping my gel polish looking fresh is to avoid using harsh chemicals or hand sanitizers that can cause the polish to lift. I always make sure to wear gloves when doing dishes or cleaning to protect my nails from water and chemicals.
I also avoid using my nails as tools — that means no opening jars or peeling stickers. I've noticed that using my nails in these ways can cause them to chip or lift, especially if the polish isn't fully cured. I've learned to be gentle with my nails and to use the right tools for the job.
If I notice any lifting or chipping, I use a cuticle pusher to gently lift the edges and reapply a thin layer of gel polish to fix the issue. I've found that doing this early on can prevent the polish from peeling completely and keep the manicure looking fresh for longer.
🧼 Sensitive Skin
For those with sensitive skin, using a hypoallergenic gel polish kit and a gentle base coat can minimize irritation while still providing a beautiful manicure.
💰 Budget
A budget-friendly approach includes using a basic starter kit and focusing on the essentials like a UV lamp and a few bottles of color and top coat.
💅 Minimalist
A minimalist approach means using only a few bottles of polish and focusing on a simple, elegant color that lasts for weeks without the need for multiple shades.
🎯 Targeted
A targeted approach includes using gel polish with specific benefits, such as strengthening formulas or color-enhancing polishes, to achieve a particular result.
🛠️ Maintenance
A maintenance routine involves using a quick-dry top coat and regular touch-ups to keep the manicure looking fresh and chip-free for longer.
| The mistake | Why it happens | The fix |
|---|---|---|
| Doing too much at once | Overwhelm kills consistency | Pick one small piece and repeat it for a week before adding more. |
| Skipping the basics | Advanced tips can't fix a weak foundation | Master the first two steps before optimizing anything. |
How To Gel Polish
Common Questions
How long does gel polish last?
Can I use regular nail polish with a UV lamp?
Do I need a UV lamp for gel polish?
Can I remove gel polish at home?
References
- Product-Chemical Profile for Nail Products Containing Methyl ... (dtsc.ca.gov)
- Title 326, ARTICLE 8. VOLATILE ORGANIC COMPOUND RULES (iar.iga.in.gov)
- How To Apply Nail Polish (jfd.jacksonms.gov)
Cite this guide
Gel Nails for Beginners (2026). How To Gel Polish. https://careandnail.com/how-to-gel-polish/
Feel free to cite or share this guide.