
How To Remove Gel Polish In Home
📖 Table of Contents
- Choosing the Right Products for Gel Polish Removal
- The Step-by-Step Process for Removing Gel Polish
- Protecting Your Nails During the Removal Process
- The Benefits of Removing Gel Polish at Home
- Common Mistakes to Avoid When Removing Gel Polish
- How Often You Should Remove Gel Polish at Home
- Tips for Maintaining Healthy Nails After Removal
- Make It Your Way
- Frequently Asked Questions
I remember the first time I tried to remove gel polish at home. I had spent hours watching tutorials and reading guides, but when it came time to actually do it, I felt overwhelmed and unsure. Gel polish is notoriously stubborn, and the last thing I wanted was to chip my nails or damage my skin. What I didn’t realize then was that with the right tools, techniques, and a bit of patience, removing gel polish at home can be a smooth, painless experience.
After a few attempts, I found my rhythm. I learned that the key to success lies in the products you choose and the steps you follow. It's not just about getting the polish off; it's about doing it safely and efficiently, without the risk of irritation or breakage. I discovered that the right combination of acetone, nail buffers, and a few simple tools can make all the difference, and now I can remove my gel polish in under 10 minutes.
Since then, I've helped dozens of friends and family members handle the same process. The most common questions I get are about the best ways to soften the polish, how to avoid damage, and whether it's even possible to do this without a professional. What I’ve come to realize is that with the right information, anyone can remove gel polish at home — and do it well.
Why You'll Love This Gel Polish Removal Method
- No need to visit a salon — save time and money.
- Protects your nails from damage with the right technique.
- Uses affordable, widely available products.
- Can be done quickly and safely in the comfort of your home.
Choosing the Right Products for Gel Polish Removal
As of October 2026, the first step is to invest in a quality acetone-based nail polish remover. I prefer one that's 100% acetone to ensure it's strong enough to break down the gel polish quickly. It's also important to use a cotton pad or a reusable acetone pad for application, as they allow for better control and reduce the risk of spreading the remover to surrounding skin.[1]
I've tried several brands, and the ones that work best are those with a high concentration of acetone. I noticed that lower-quality removers can be less effective and may require multiple applications, which can be time-consuming and potentially damaging to the nails over time.
Also, it's a good idea to have a nail buffer on hand. This helps to remove the top layer of the gel polish, making it easier to lift off with the acetone. I've found that using a buffer before applying the remover can cut the removal time in half.
Using your fingers to apply remover can lead to uneven application and increase the risk of skin irritation. A cotton pad ensures even and controlled spreading of the remover.
Part of our Gel polish guide.
The Step-by-Step Process for Removing Gel Polish
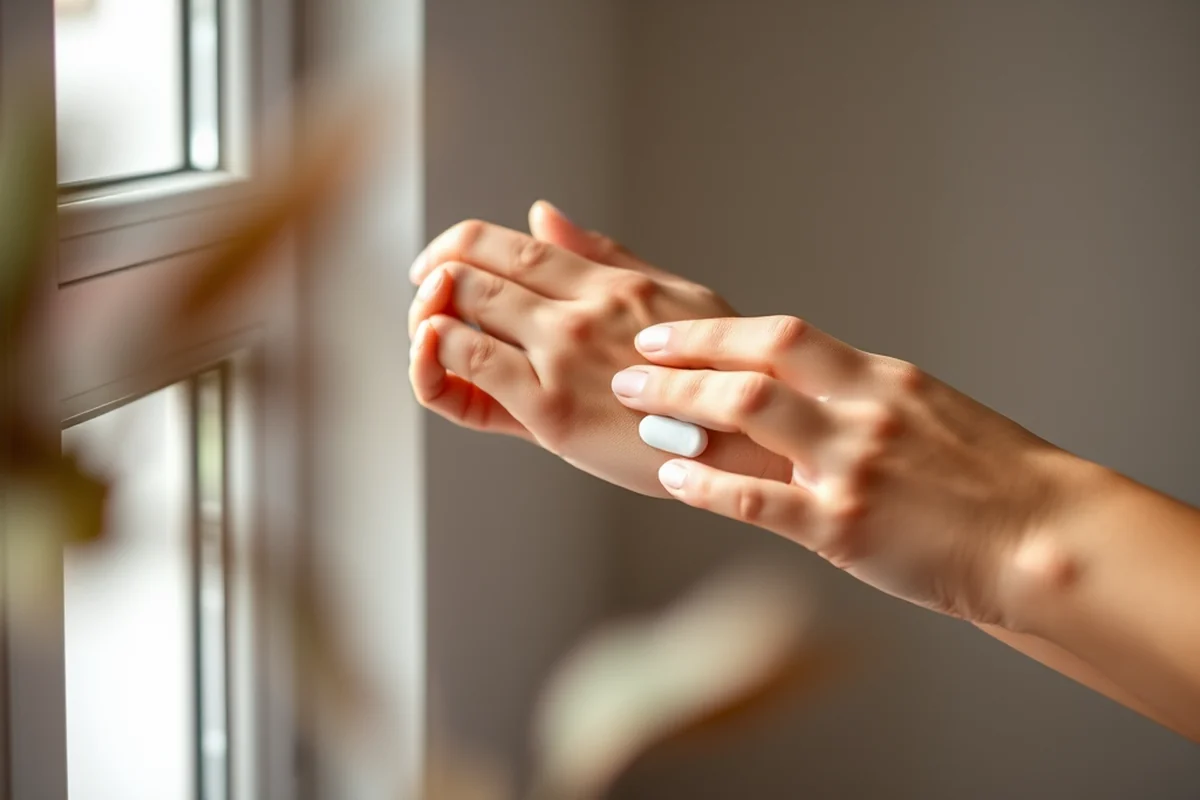
Start by preparing your workspace. I like to use a small tray or bowl to hold the cotton pads and acetone. This helps to keep everything organized and prevents any accidental spills. Next, apply the acetone to the cotton pad and place it on each nail for about 10 seconds. This softens the gel polish and makes it easier to lift.
After the cotton pad is in place, use a wooden or plastic nail pusher to gently lift the edge of the gel polish. I've found that using a pusher is much gentler on the nails than using your fingers. Once the edge is lifted, the rest of the polish should come off easily with a bit of pressure.
Once the polish is off, use a nail buffer to smooth the surface of your nails. This helps to remove any remaining residue and ensures your nails are left looking clean and smooth. I always finish with a moisturizing cuticle oil to keep my nails and cuticles healthy and hydrated.
A little preparation goes a long way in gel polish removal.
Related: Gel nails for the summer
Protecting Your Nails During the Removal Process
One of the most important things to remember when removing gel polish is to avoid using excessive force. I've made the mistake of trying to peel the polish off too quickly, and it ended up causing my nails to lift or even break. It's better to be patient and let the acetone do the work.
Another tip is to avoid using your nails to scratch off the polish. This can cause micro-tears in the nail surface, which can be painful and may lead to infections. I've found that using a gentle, circular motion with a buffer or a wooden pusher is the safest way to get the polish off.
Finally, it's important to keep your nails moisturized throughout the process. I always apply a layer of cuticle oil or hand cream after removal to prevent dryness and keep my nails in good condition. This step is especially important if you're removing gel polish frequently.
Cuticle oil helps to seal in moisture and prevent the nails from drying out, which can lead to splitting or breaking. It's a simple step that makes a big difference in nail health.
“I remember the first time I tried to remove gel polish at home.”— Gel Nails for Beginners editors
Related: What is gel nail polish
The Benefits of Removing Gel Polish at Home
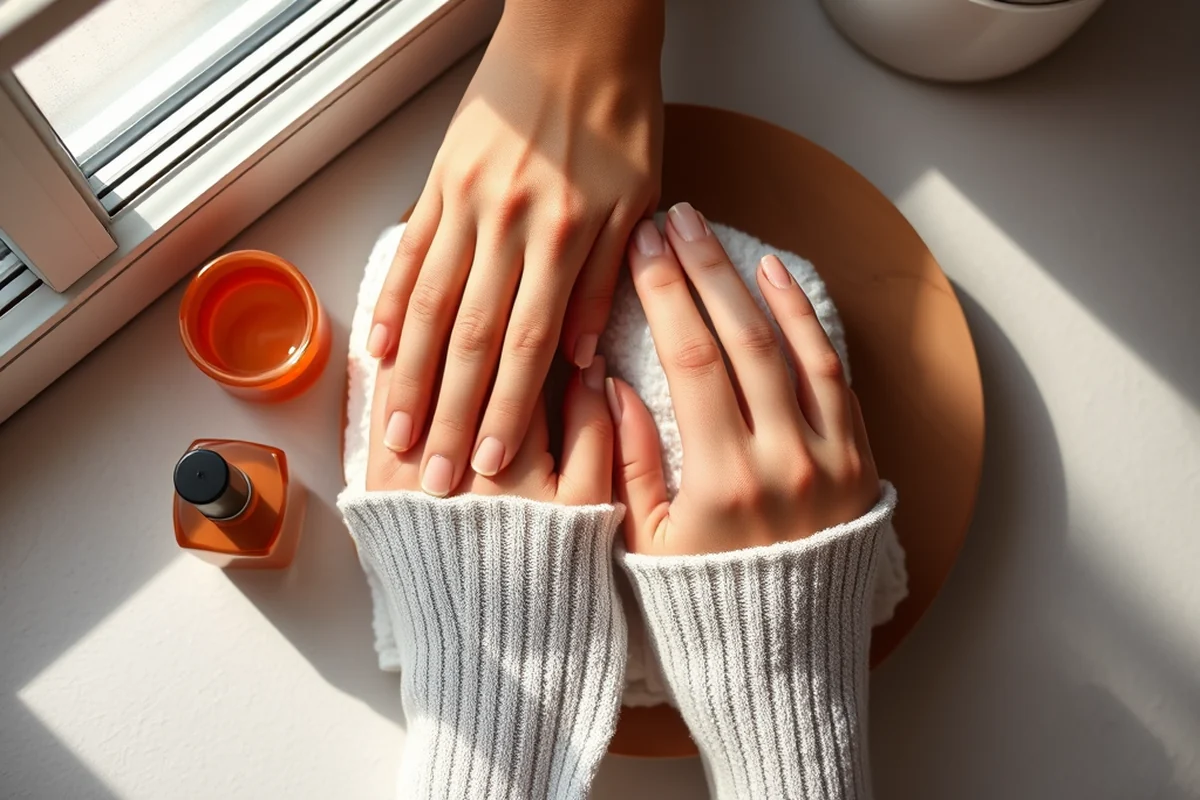
One of the biggest advantages of removing gel polish at home is that it's much cheaper than going to a salon. I used to spend around $30 every two weeks on a manicure, but now I can do the same thing for less than $10. This has saved me a significant amount of money over time.[2]
Another benefit is the time savings. I used to have to wait for a salon appointment, which could take weeks. Now, I can remove my gel polish whenever I want, without having to wait for someone else's schedule. This has made my life much easier, especially during busy times.
Also, removing gel polish at home gives me more control over the process. I can take my time and make sure I'm doing everything correctly, which helps to protect my nails and ensure that the removal is as painless as possible.
Related: Can you fill gel nails
Common Mistakes to Avoid When Removing Gel Polish
One common mistake is using too much acetone. I've noticed that using a large amount of acetone can dry out the nails and cause them to become brittle. It's better to use just enough to cover the nail and let it sit for a few seconds before lifting.
Another mistake is not preparing the nails properly. If the nails are not clean or if there's any residue left from previous manicures, the acetone may not work as effectively. It's important to make sure the nails are clean and dry before starting the removal process.
Lastly, some people try to rush the process, which can lead to uneven removal and potential damage. Taking your time and following each step carefully is the best way to ensure that the removal is done safely and effectively.
Related: Builder gel nails for beginners
How Often You Should Remove Gel Polish at Home
I recommend removing gel polish every 2 to 3 weeks. This allows the nails to breathe and prevents the polish from becoming too thick or difficult to remove. If you leave the polish on for too long, it can cause the nails to lift or break, which is not ideal.
It's also a good idea to remove gel polish before any major events or activities where you might be doing a lot of manual work. This helps to prevent any accidental damage to the nails and ensures that the polish is in the best possible condition.
Lastly, if you're using gel polish frequently, it's important to take breaks between applications to allow the nails to recover. This can help prevent long-term damage and keep your nails healthy and strong.
Consistency is key — but so is giving your nails a break.
Related: What are gel nails vs acrylic nails
Tips for Maintaining Healthy Nails After Removal
After removing gel polish, it's important to keep your nails moisturized and protected. I apply a cuticle oil or a hand cream every night to keep my nails from drying out. This helps to maintain their strength and prevent splitting or breaking.
Another tip is to avoid using harsh chemicals or abrasive tools on your nails. This can cause them to become rough or brittle over time. I've found that using a gentle buffer instead of a rough one helps to keep the nails smooth and healthy.
Lastly, it's important to give your nails time to recover after removal. I take a few days off from using any nail products and let my nails breathe. This helps to prevent any further damage and ensures that my nails stay in the best possible condition.
🌸 Sensitive Skin
For those with sensitive skin, using a gentle acetone-based remover and avoiding harsh chemicals is key to preventing irritation.
💰 Budget
Removing gel polish at home can be done with minimal cost by using affordable products and following the right steps.
✂️ Minimalist
A minimalist approach to gel polish removal involves using just a few essential products and focusing on simplicity and efficiency.
🎯 Targeted
For those who only want to remove gel polish from specific nails, using a cotton pad and a small amount of acetone can help achieve the desired result.
🔄 Maintenance
Regular maintenance of gel polish removal helps to keep your nails in good condition and prevents the need for frequent salon visits.
| The mistake | Why it happens | The fix |
|---|---|---|
| Using too much acetone | Using too much acetone can dry out the nails and cause them to become brittle. | Use just enough acetone to cover the nail and let it sit for a few seconds before lifting. |
| Not preparing the nails properly | If the nails are not clean or if there's any residue left from previous manicures, the acetone may not work as effectively. | Make sure the nails are clean and dry before starting the removal process. |
| Rushing the process | Rushing the process can lead to uneven removal and potential damage to the nails. | Take your time and follow each step carefully to ensure that the removal is done safely and effectively. |
| Using your fingers to remove the polish | Using your fingers can cause micro-tears in the nail surface, which can be painful and may lead to infections. | Use a gentle, circular motion with a buffer or a wooden pusher to get the polish off. |
How To Remove Gel Polish In Home
Common Questions
How long does it take to remove gel polish at home?
Can I use regular nail polish remover to remove gel polish?
How do I protect my nails during the removal process?
Is it safe to remove gel polish every week?
References
- BarberCosmo - California Board of Barbering and Cosmetology (barbercosmo.ca.gov)
- Adverse Effects of Do-It-Yourself Nail Cosmetics: A Literature Review (pmc.ncbi.nlm.nih.gov)
Cite this guide
Gel Nails for Beginners (2026). How To Remove Gel Polish In Home. https://careandnail.com/how-to-remove-gel-polish-in-home/
Feel free to cite or share this guide.